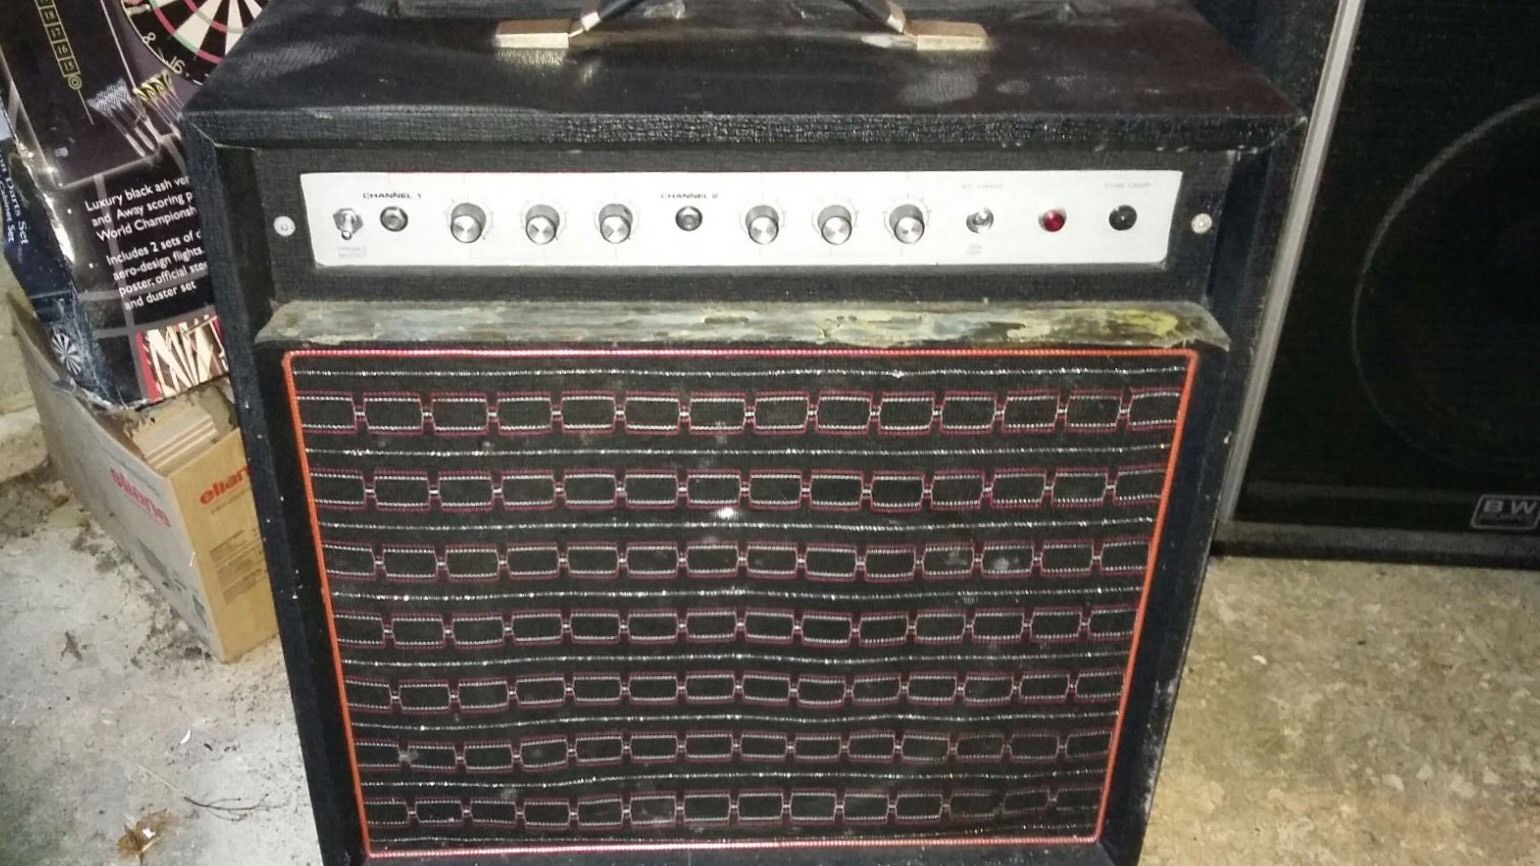
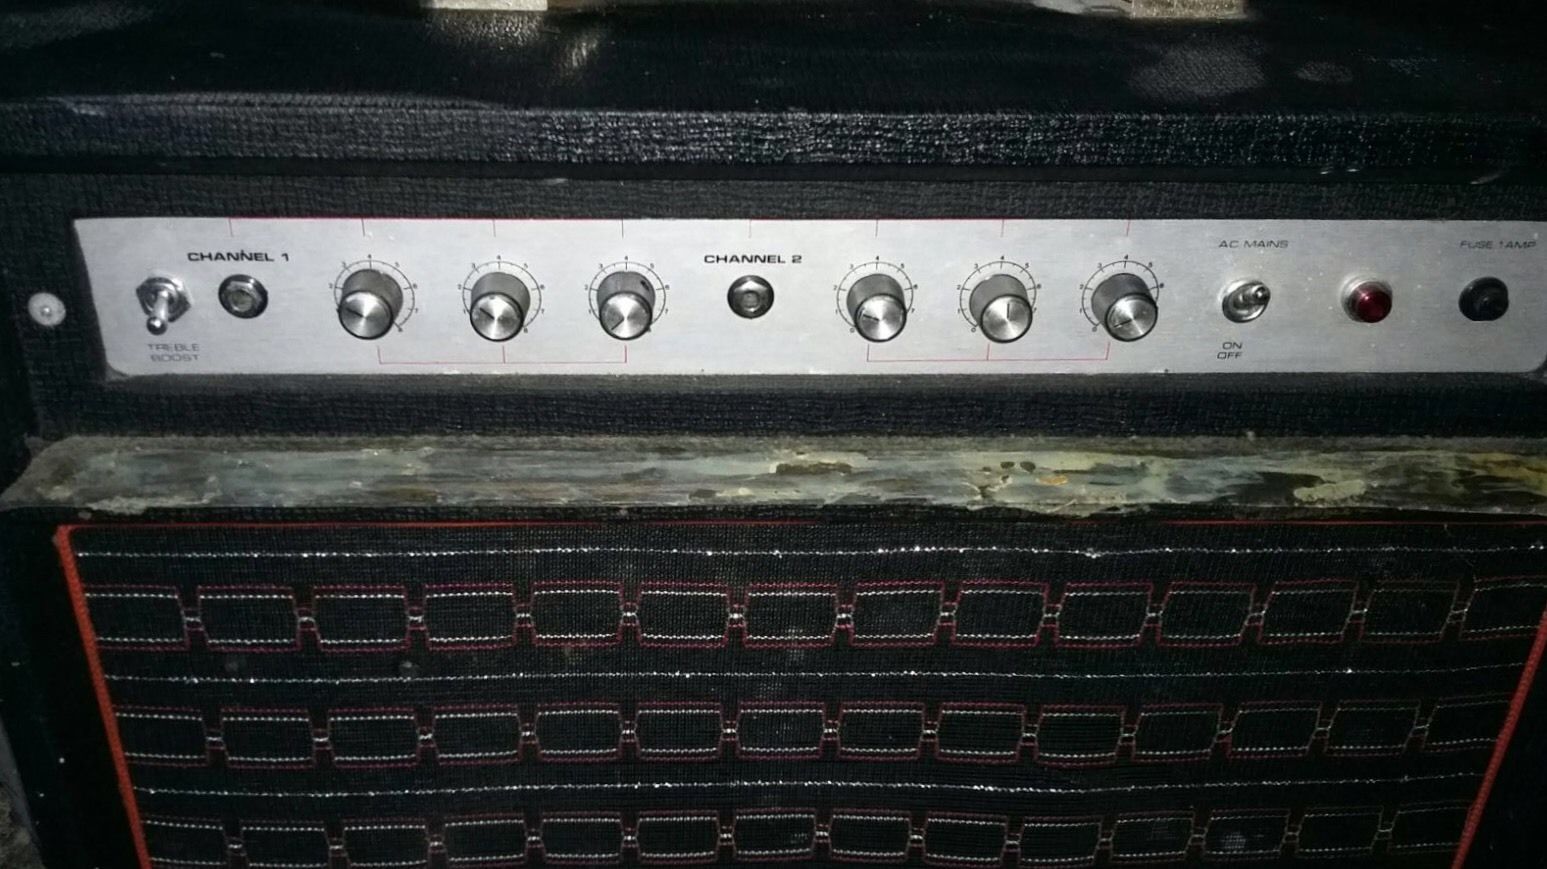
This is the Bass version of the Dominator and I acquired this on Christmas Day 2015 and it turned out to be a very nice Christmas present to myself. It was a bit tatty when I got it and it had a few issues, the main one being that some of the pots were either very crackly or didn’t work at all.
As is often the case with items I acquire, I started off by stripping the combo down completely. I fully expected to have to replace some of the pots but I soaked them all with switch cleaner and spent several minutes turning each one back and forth numerous times and it seemed to do the trick and so now all the pots work well and with no unwanted noise. I would also normally expect to get some mains hum but this amp was surprisingly quiet and so it didn’t need any extra work on the amp section.
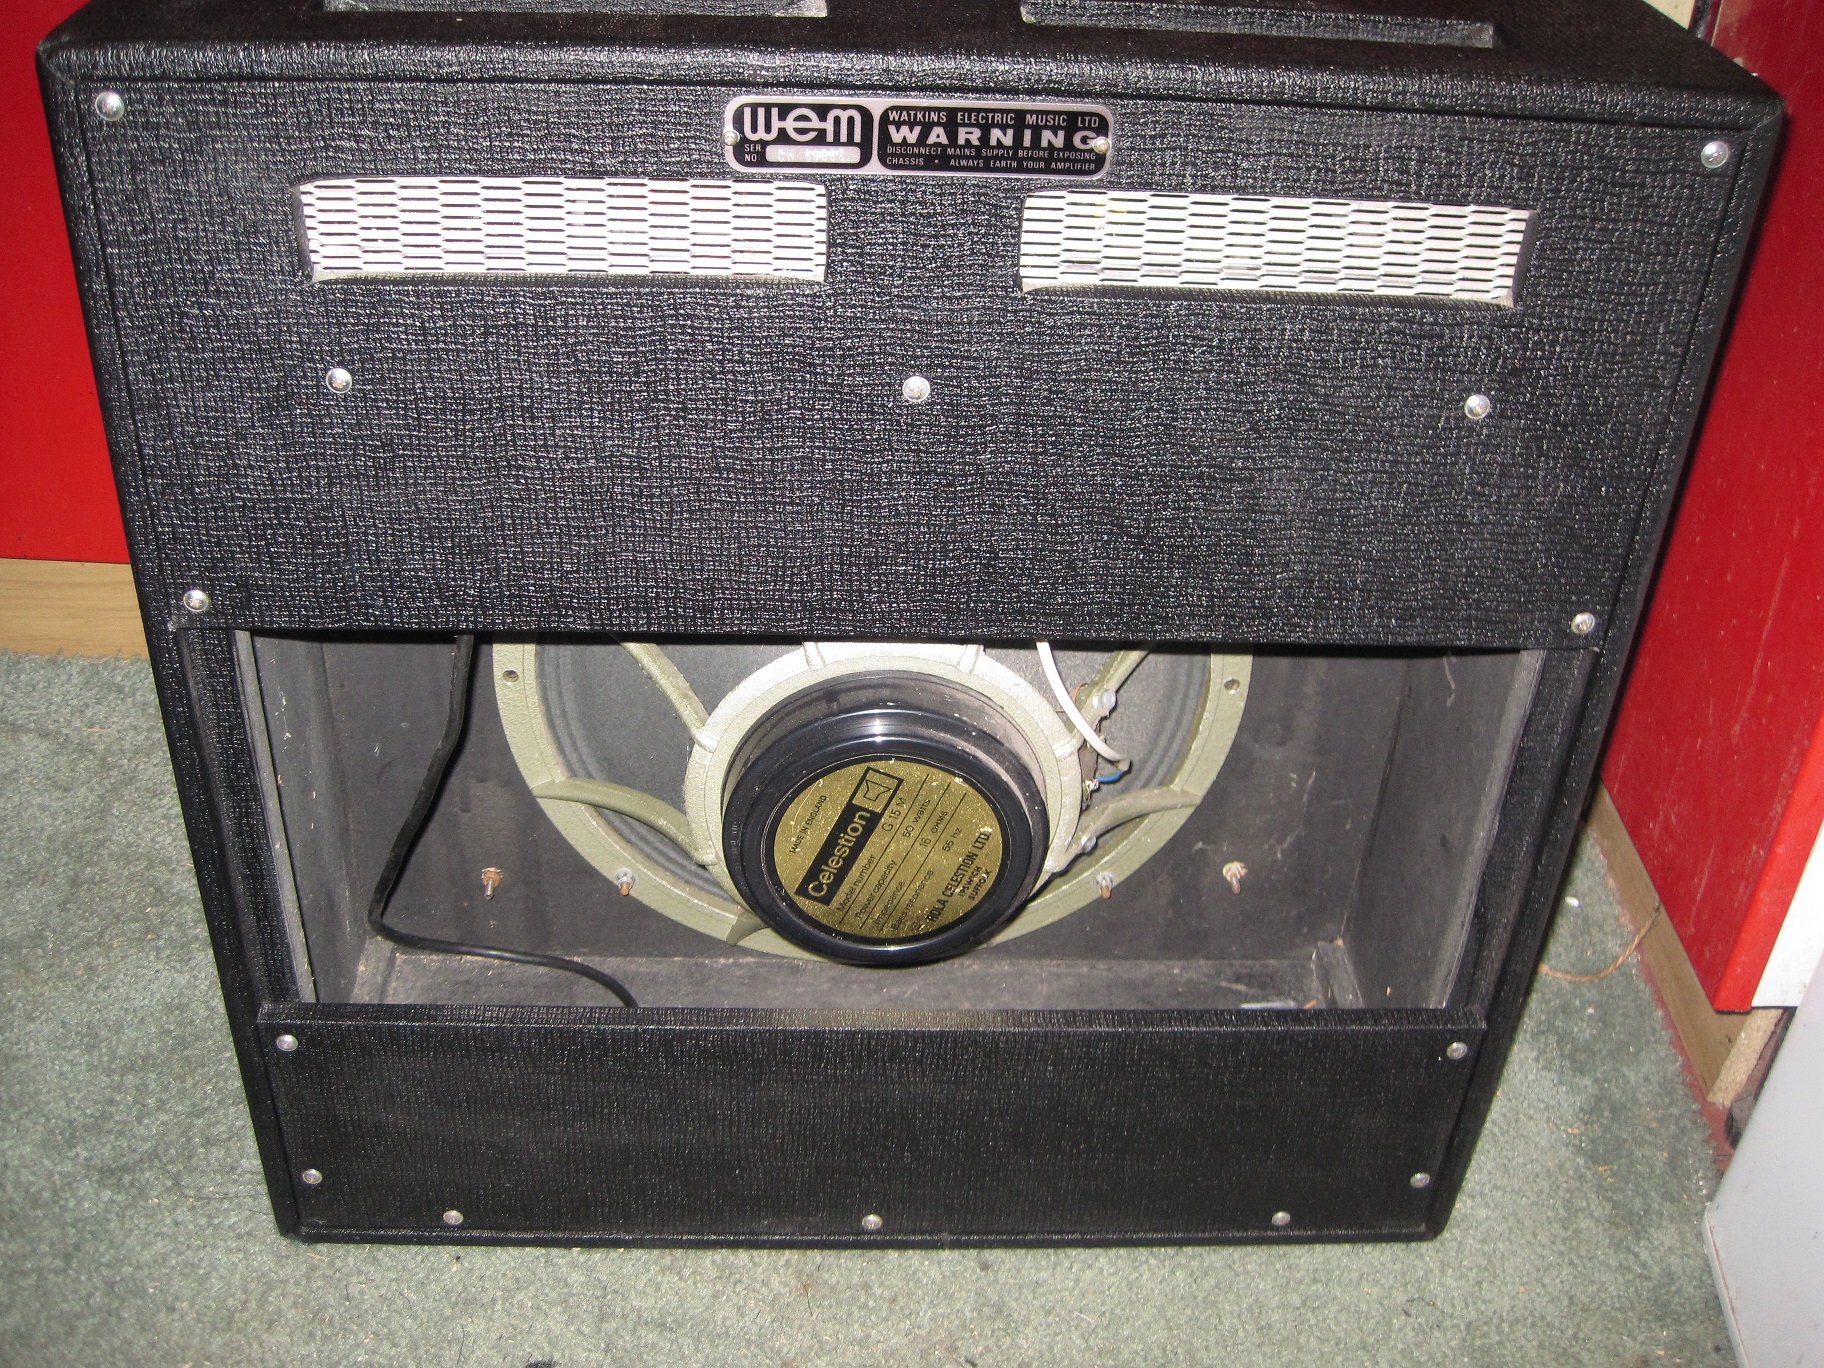
The casing of the amp was more dirty than anything else. However, as usual, the inner layer of plain black mesh grill cloth was badly torn. There is only one way to resolve this and that is to completely remove both layers of grill cloth and the piping and to do that meant removing the front part of the baffle. On some WEM amps there is only one layer of baffle which is either screwed or glued into place, or both. On this model there are two layers of baffle. The main layer to which the driver is bolted, is very firmly fixed into the casing as it is routed into the sides and the casing is built around the baffle. Removing this baffle is impossible without destroying the cab but fortunately that wasn’t necessary. The front section of baffle, to which the grill cloth is fixed, is glued to the main baffle and the only way to remove this is to force it off with a hammer and chisel. The chances of doing this without seriously damaging it are minimal so I just had to bite the bullet and go for it. As expected, the front baffle came off but not in one piece but it wasn’t a big issue as I just had to cut a new baffle out of 12mm ply which fortunately I had spare. Once the front baffle was off I was able to remove the patterned grill cloth and piping. I then fitted replacement black mesh onto the replacement baffle and then fitted the patterned grill cloth and piping onto the new baffle but, before I did, I fitted bolts to the baffle so that it could be bolted to the main baffle. This means that it can easily be removed in the future if needed.
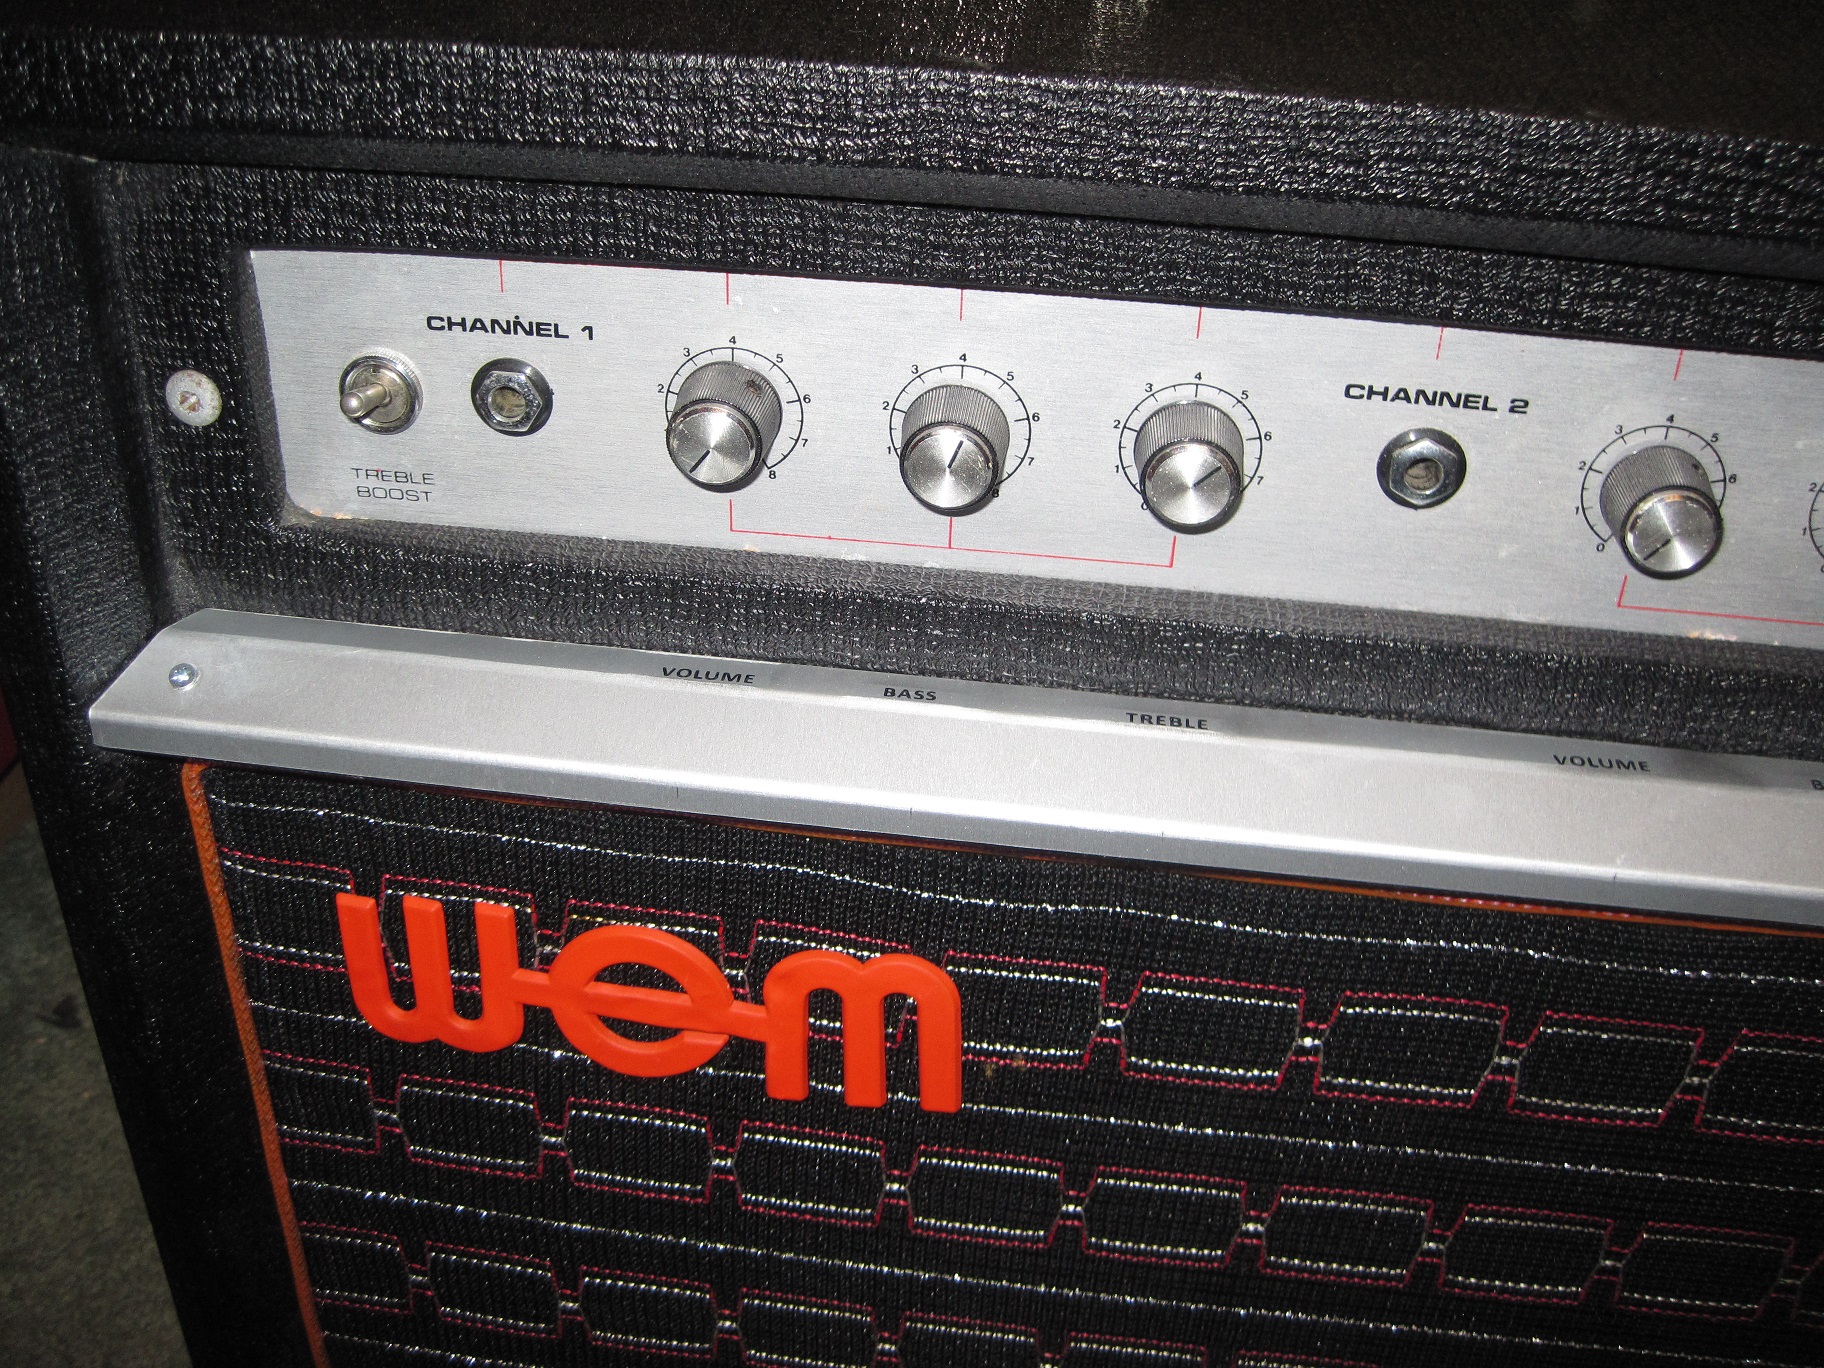
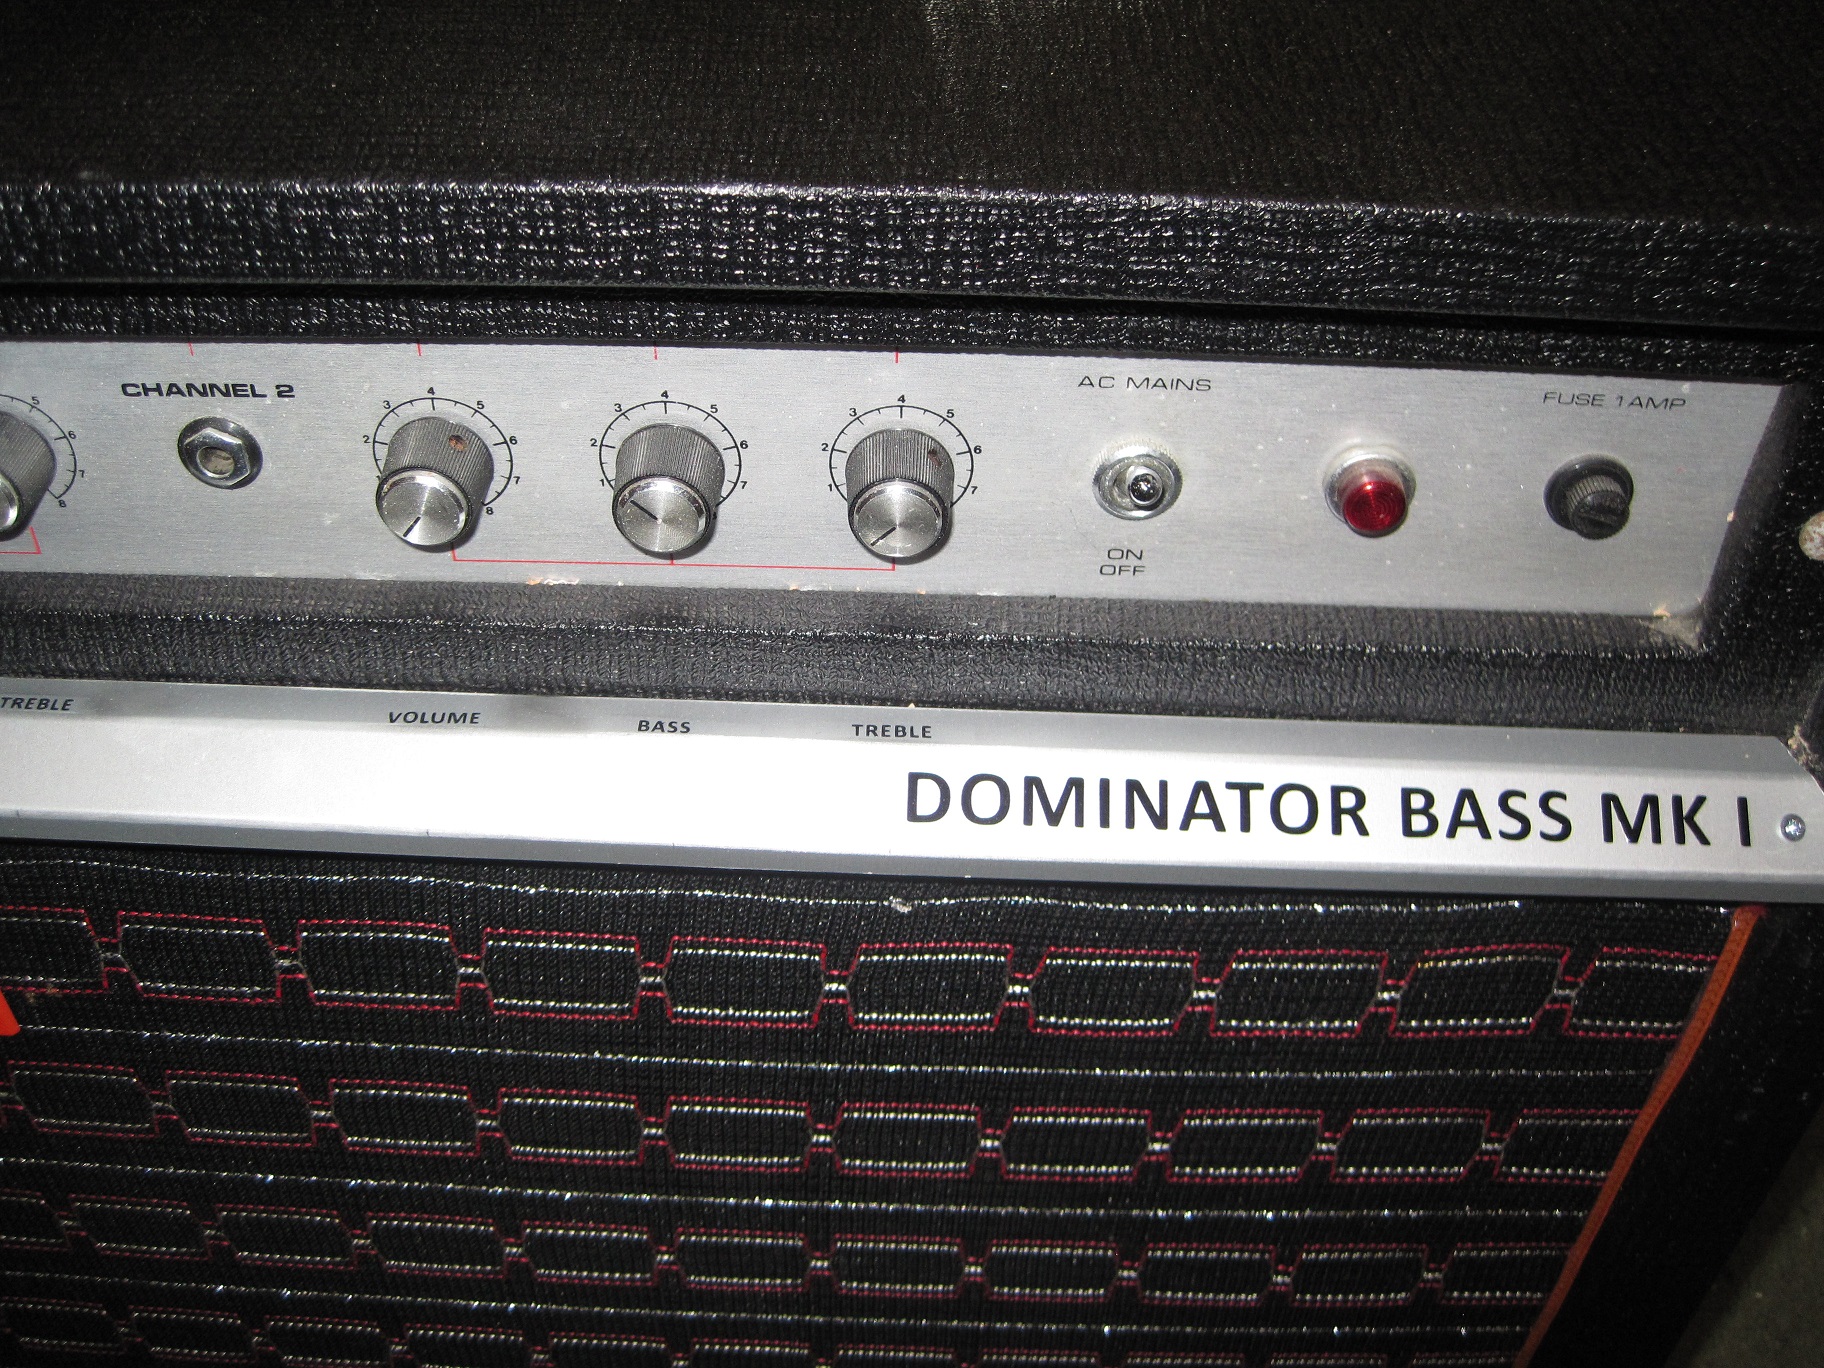
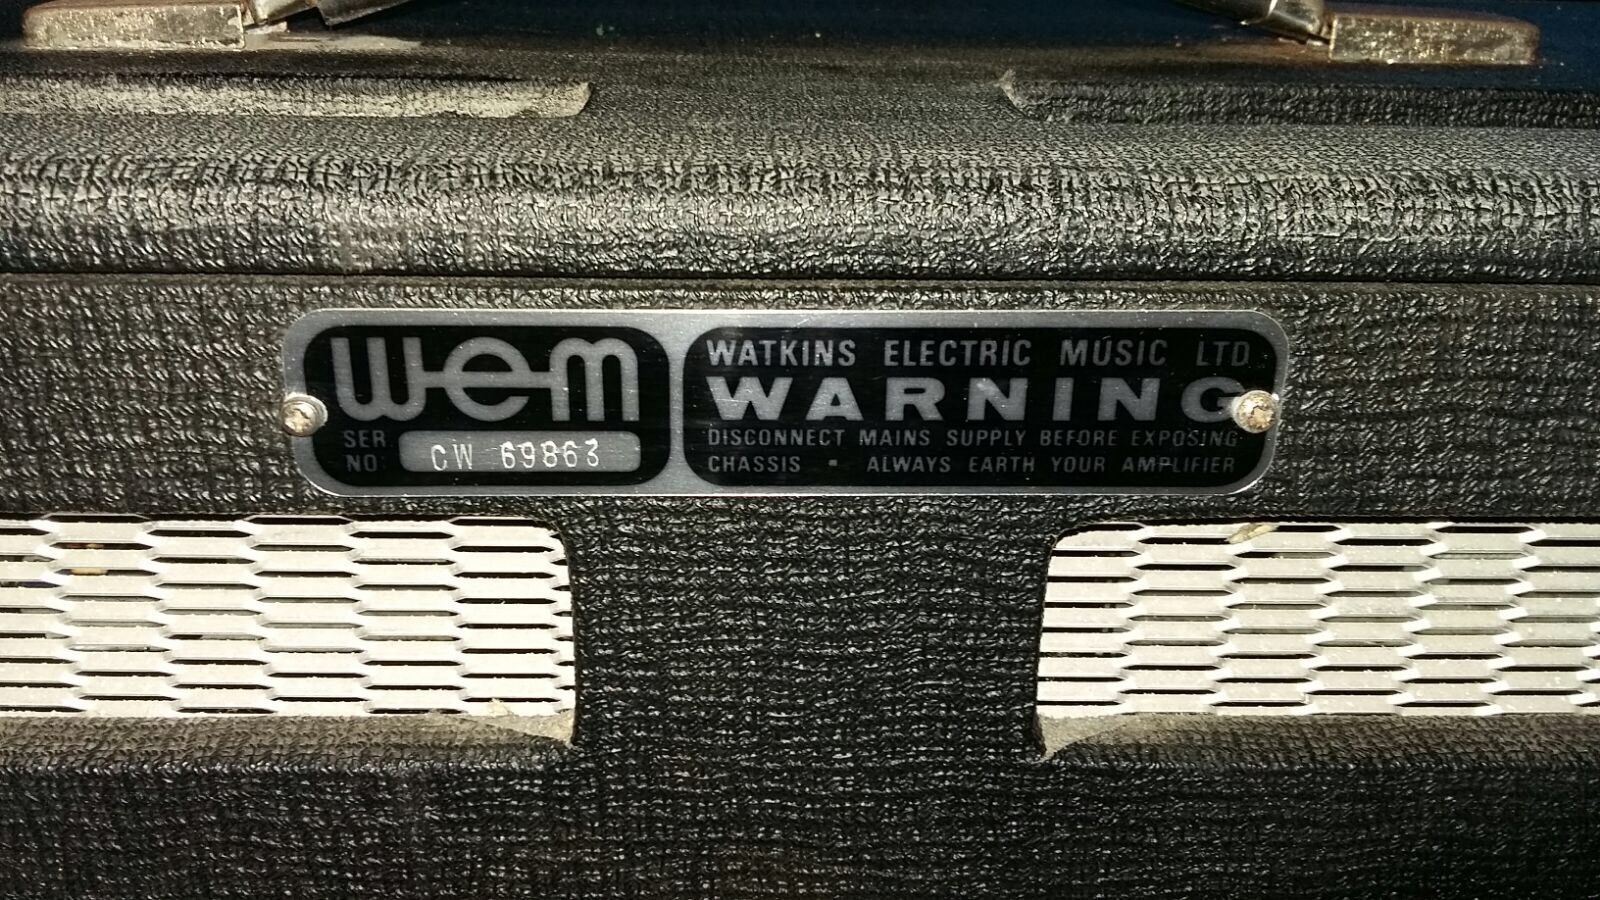
Fortunately I had a spare metal fascia from a previous restoration and I got some black lettering done to go on the fascia. It’s not an exact match to the lettering WEM used but it’s close enough and I’ve used two small screws to hold it in place so that it doesn’t fall off and get lost – which is what usually happens. I also had a spare WEM logo, which was lucky as these are now becoming very scarce.
The only other change I made was to fit a new handle which was an exact match for the original.
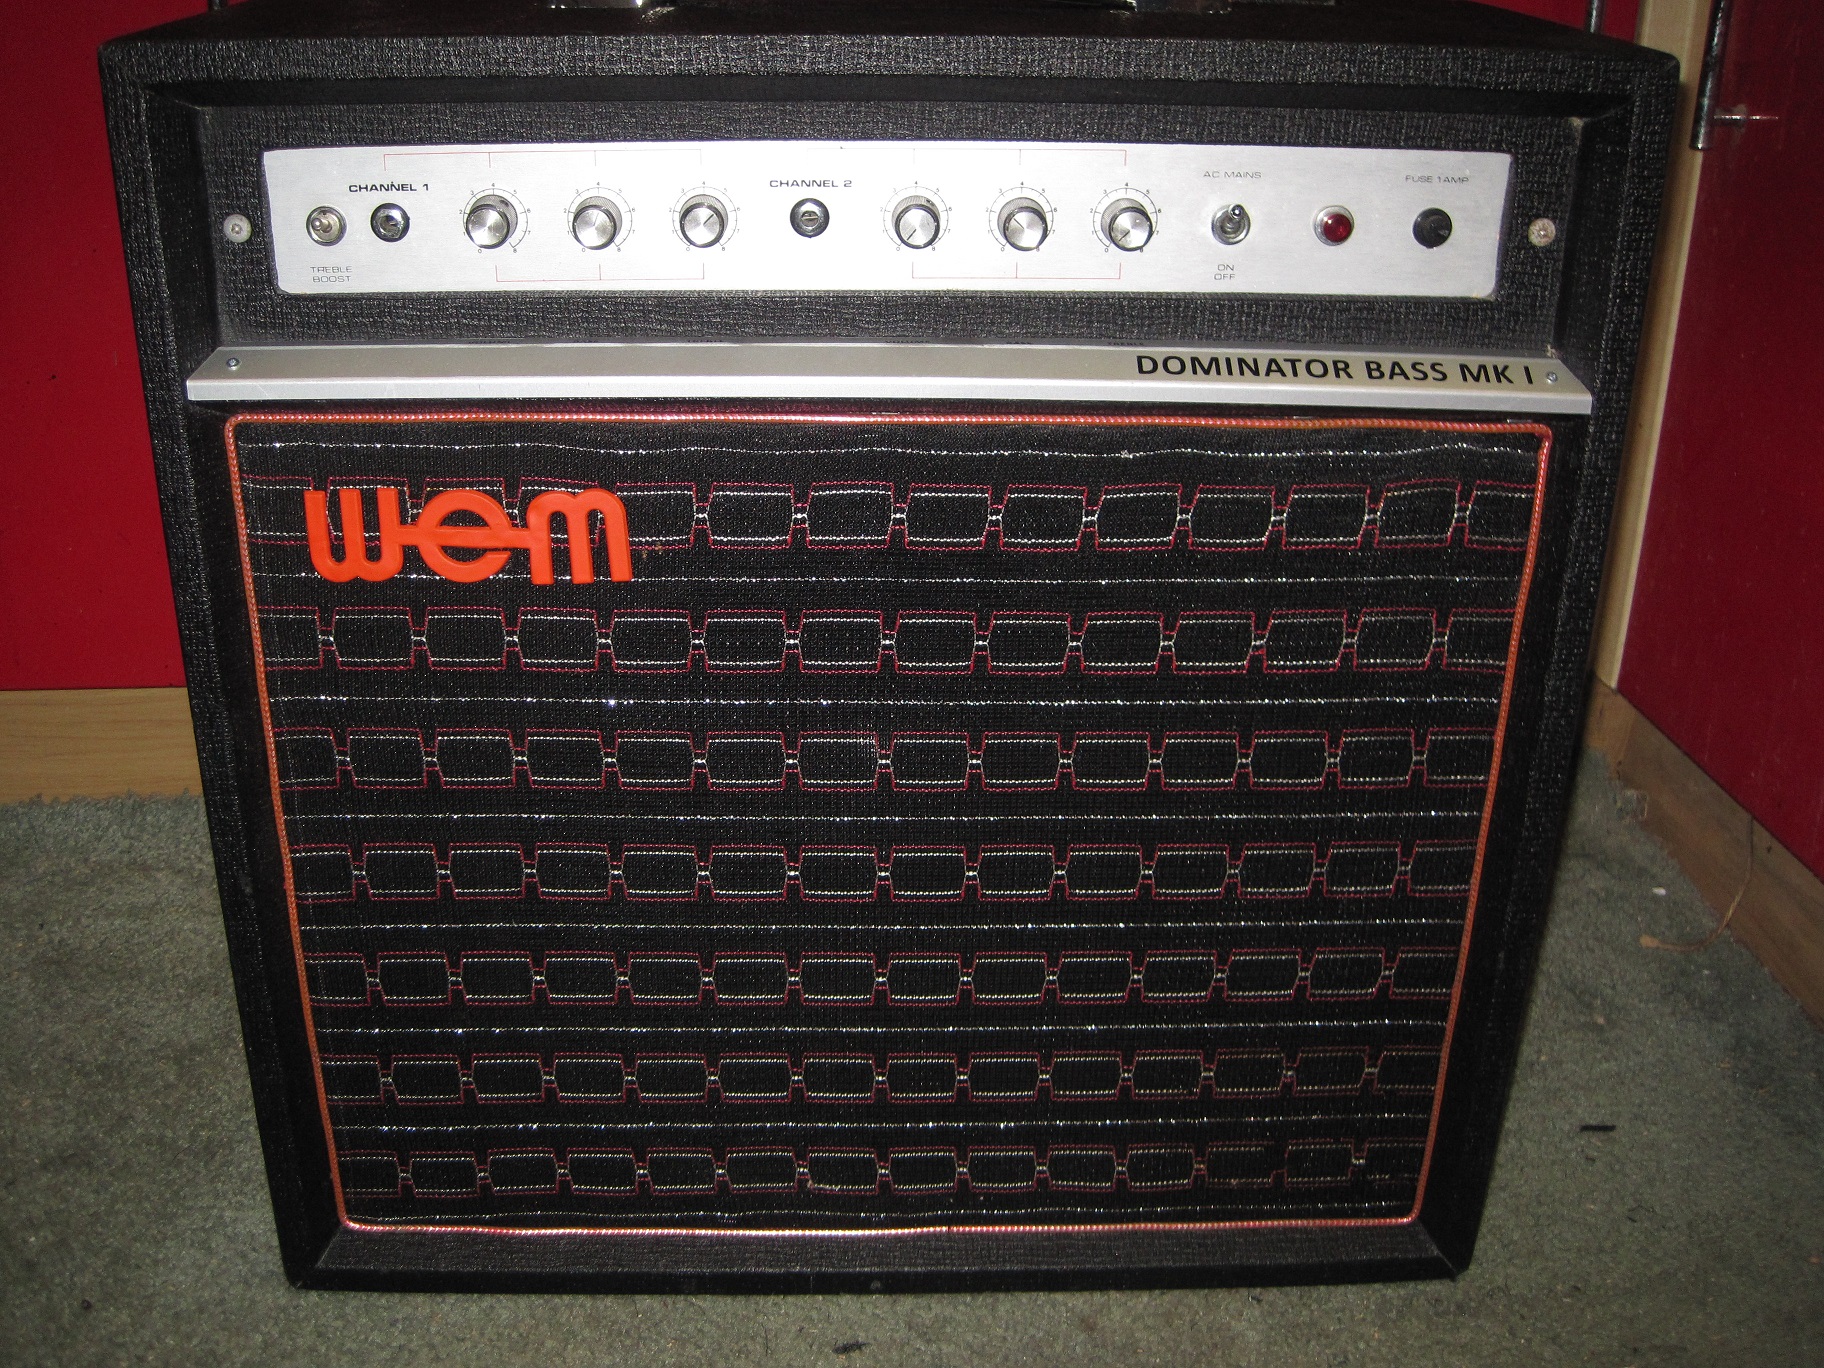
I’ve added a few before and after pics below and, overall, I’m very pleased with the final result. It looks and sounds great and is a very nice addition to the collection.
Before restoration –
After restoration –