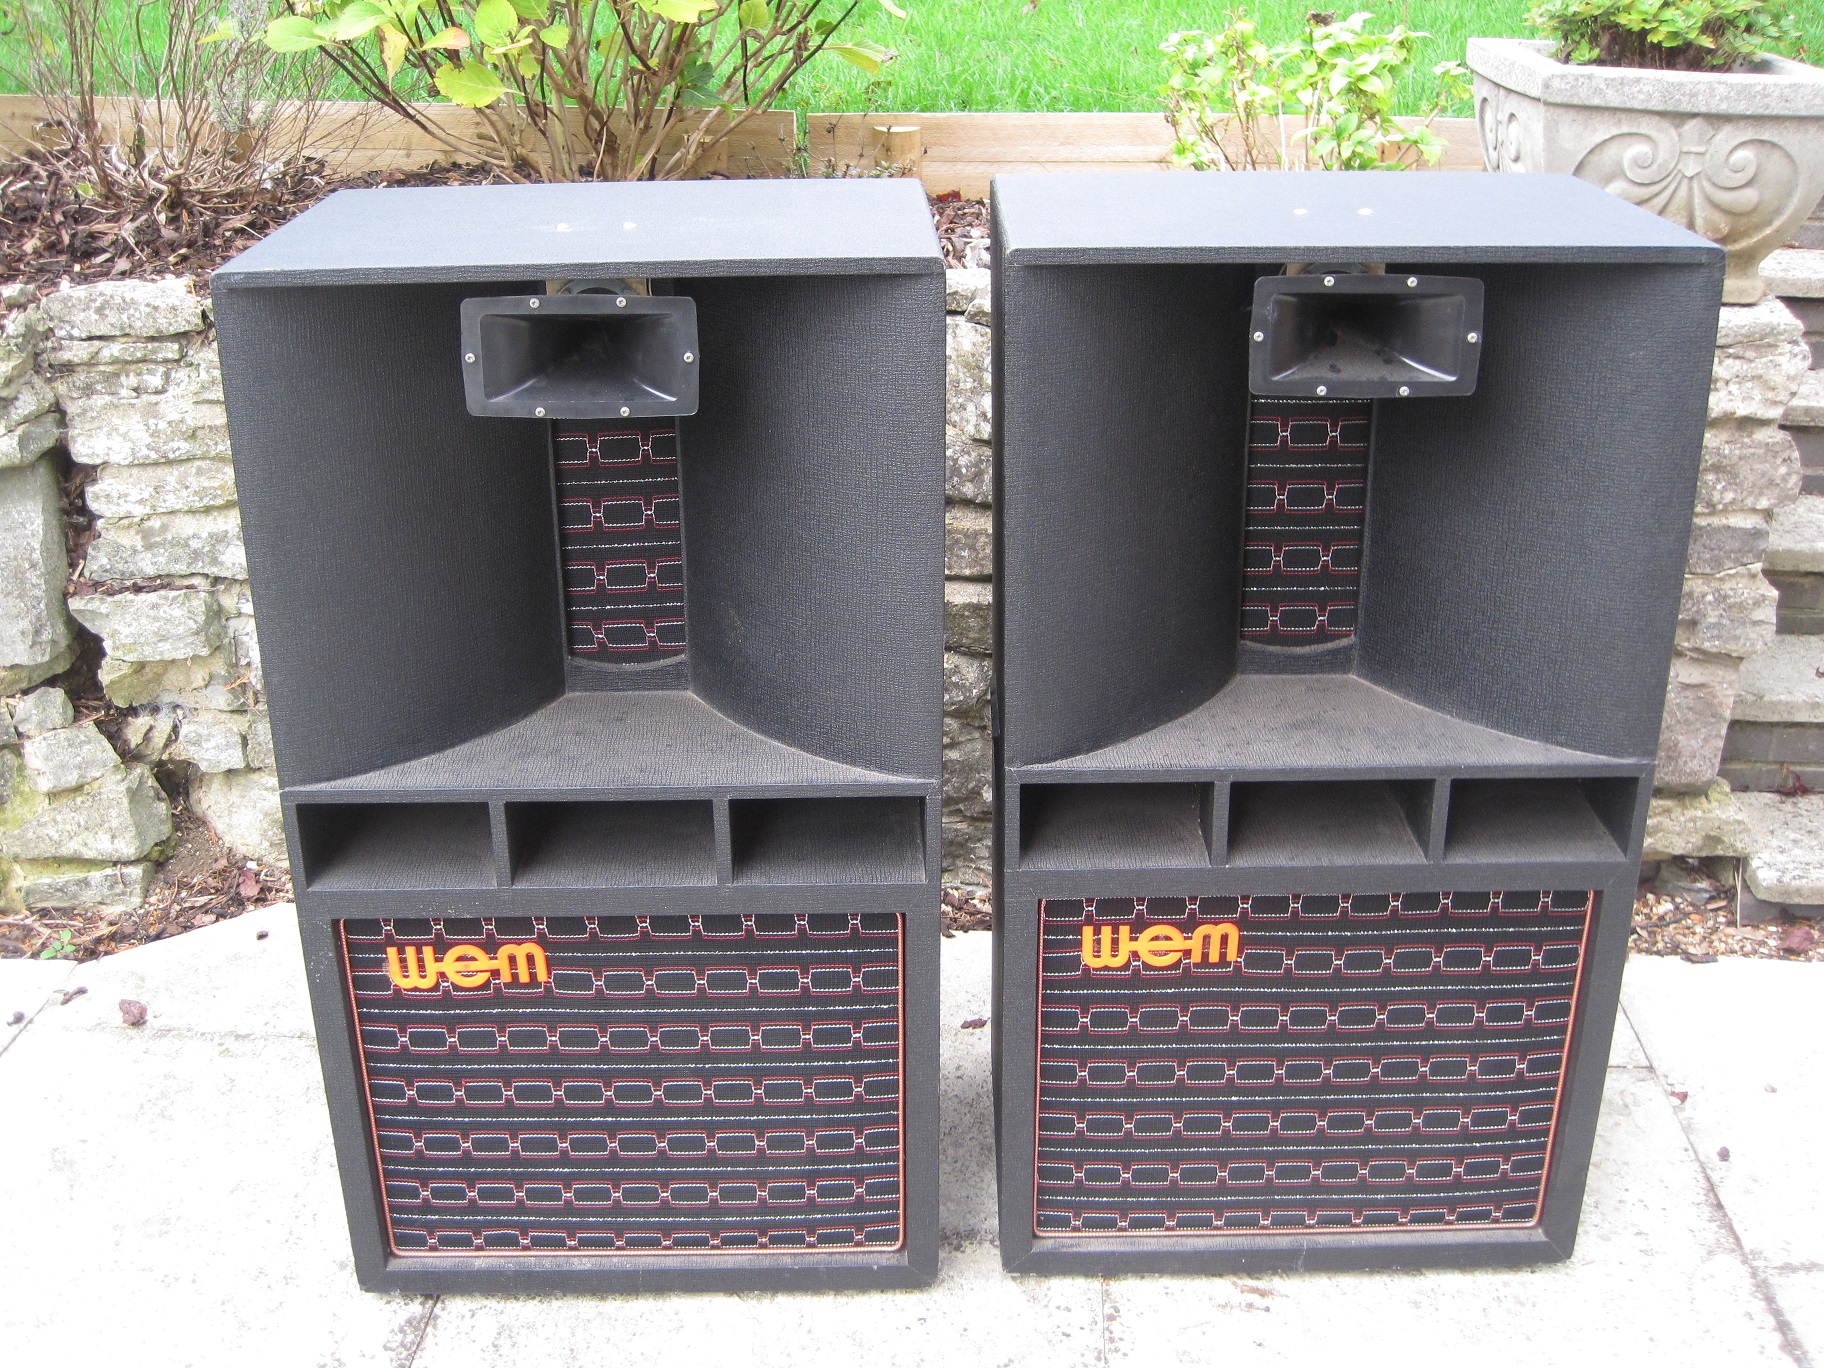
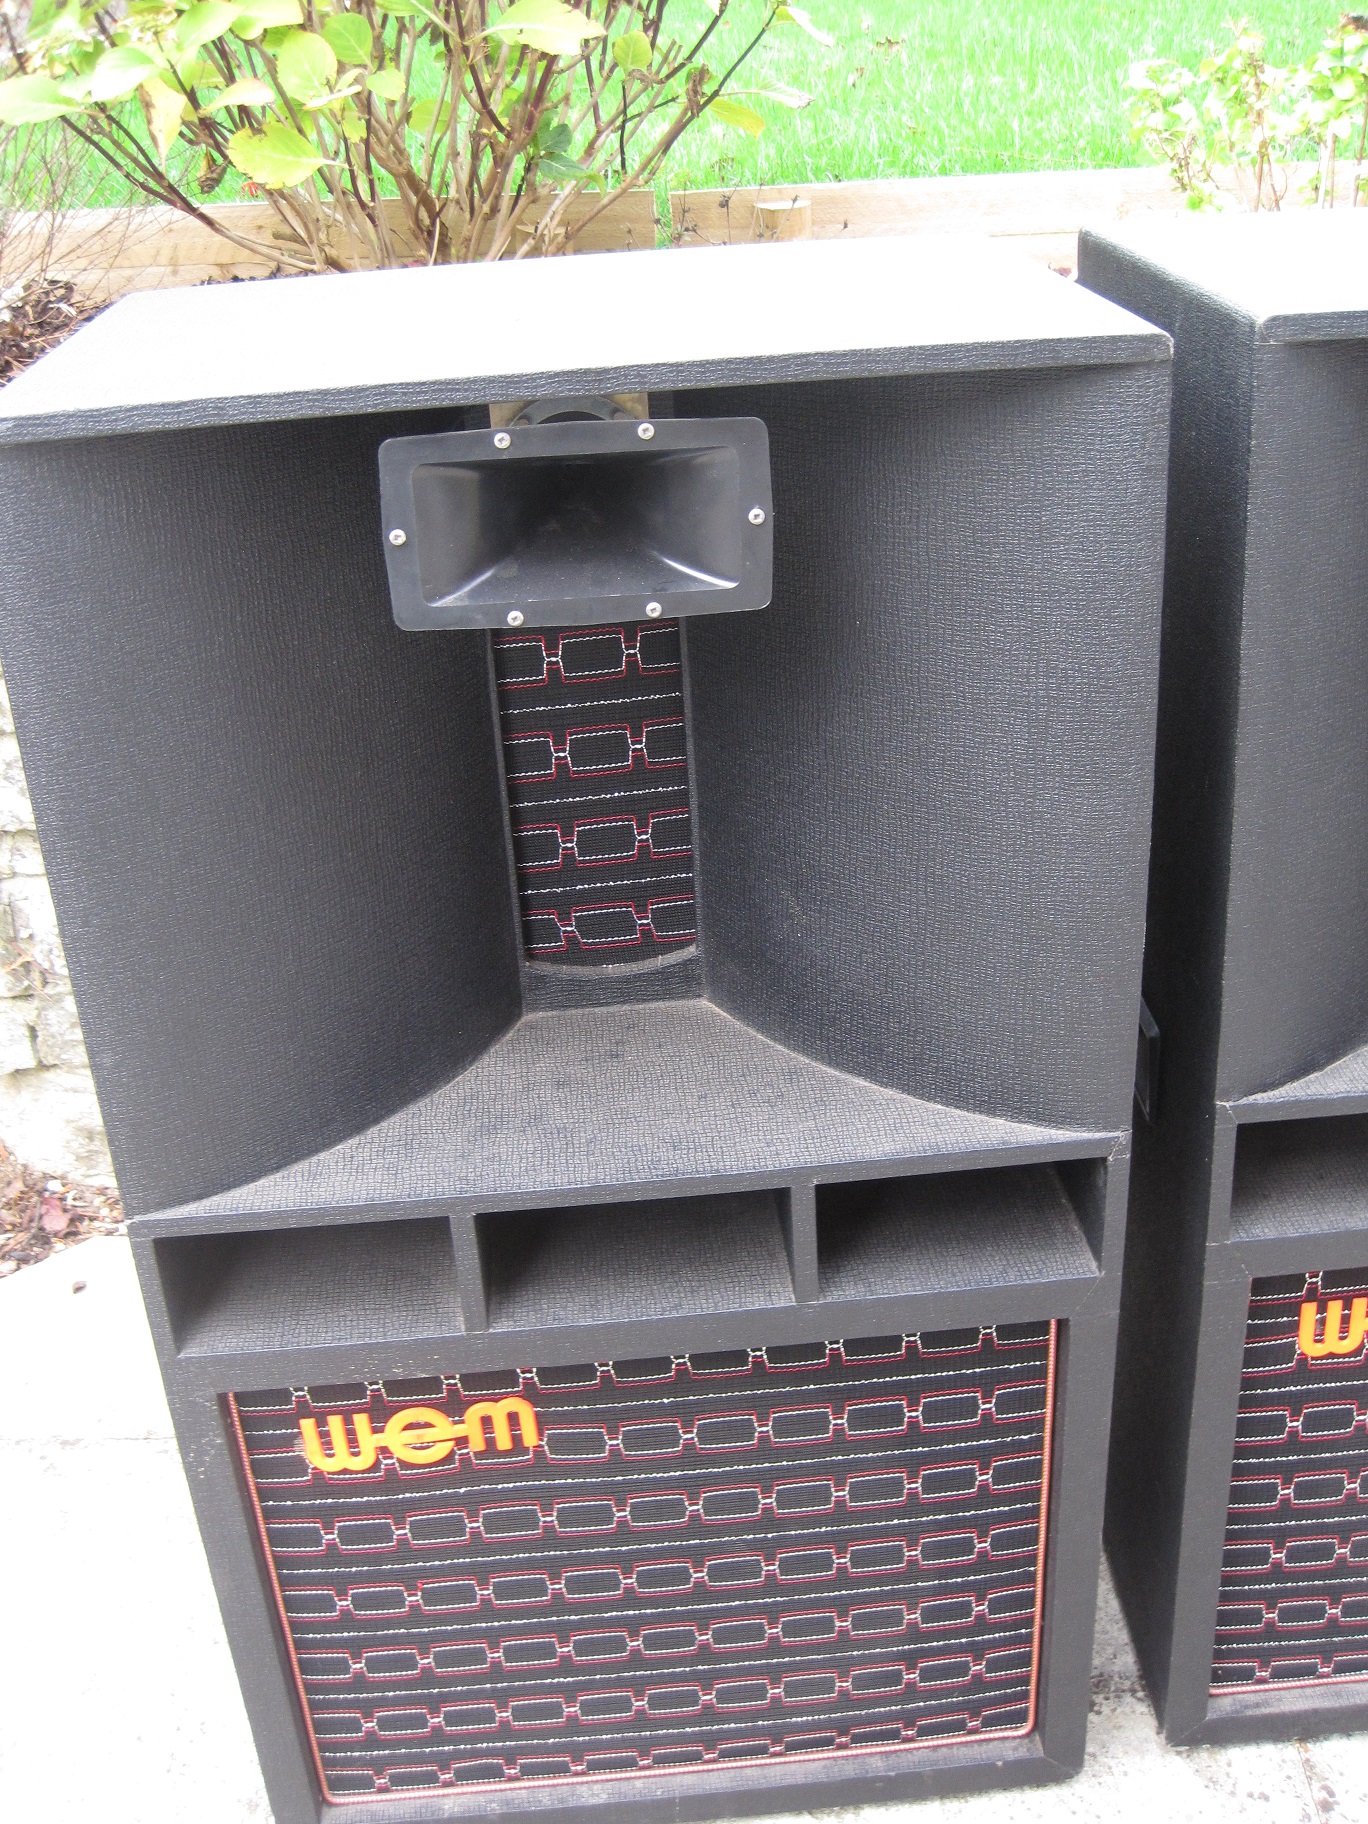
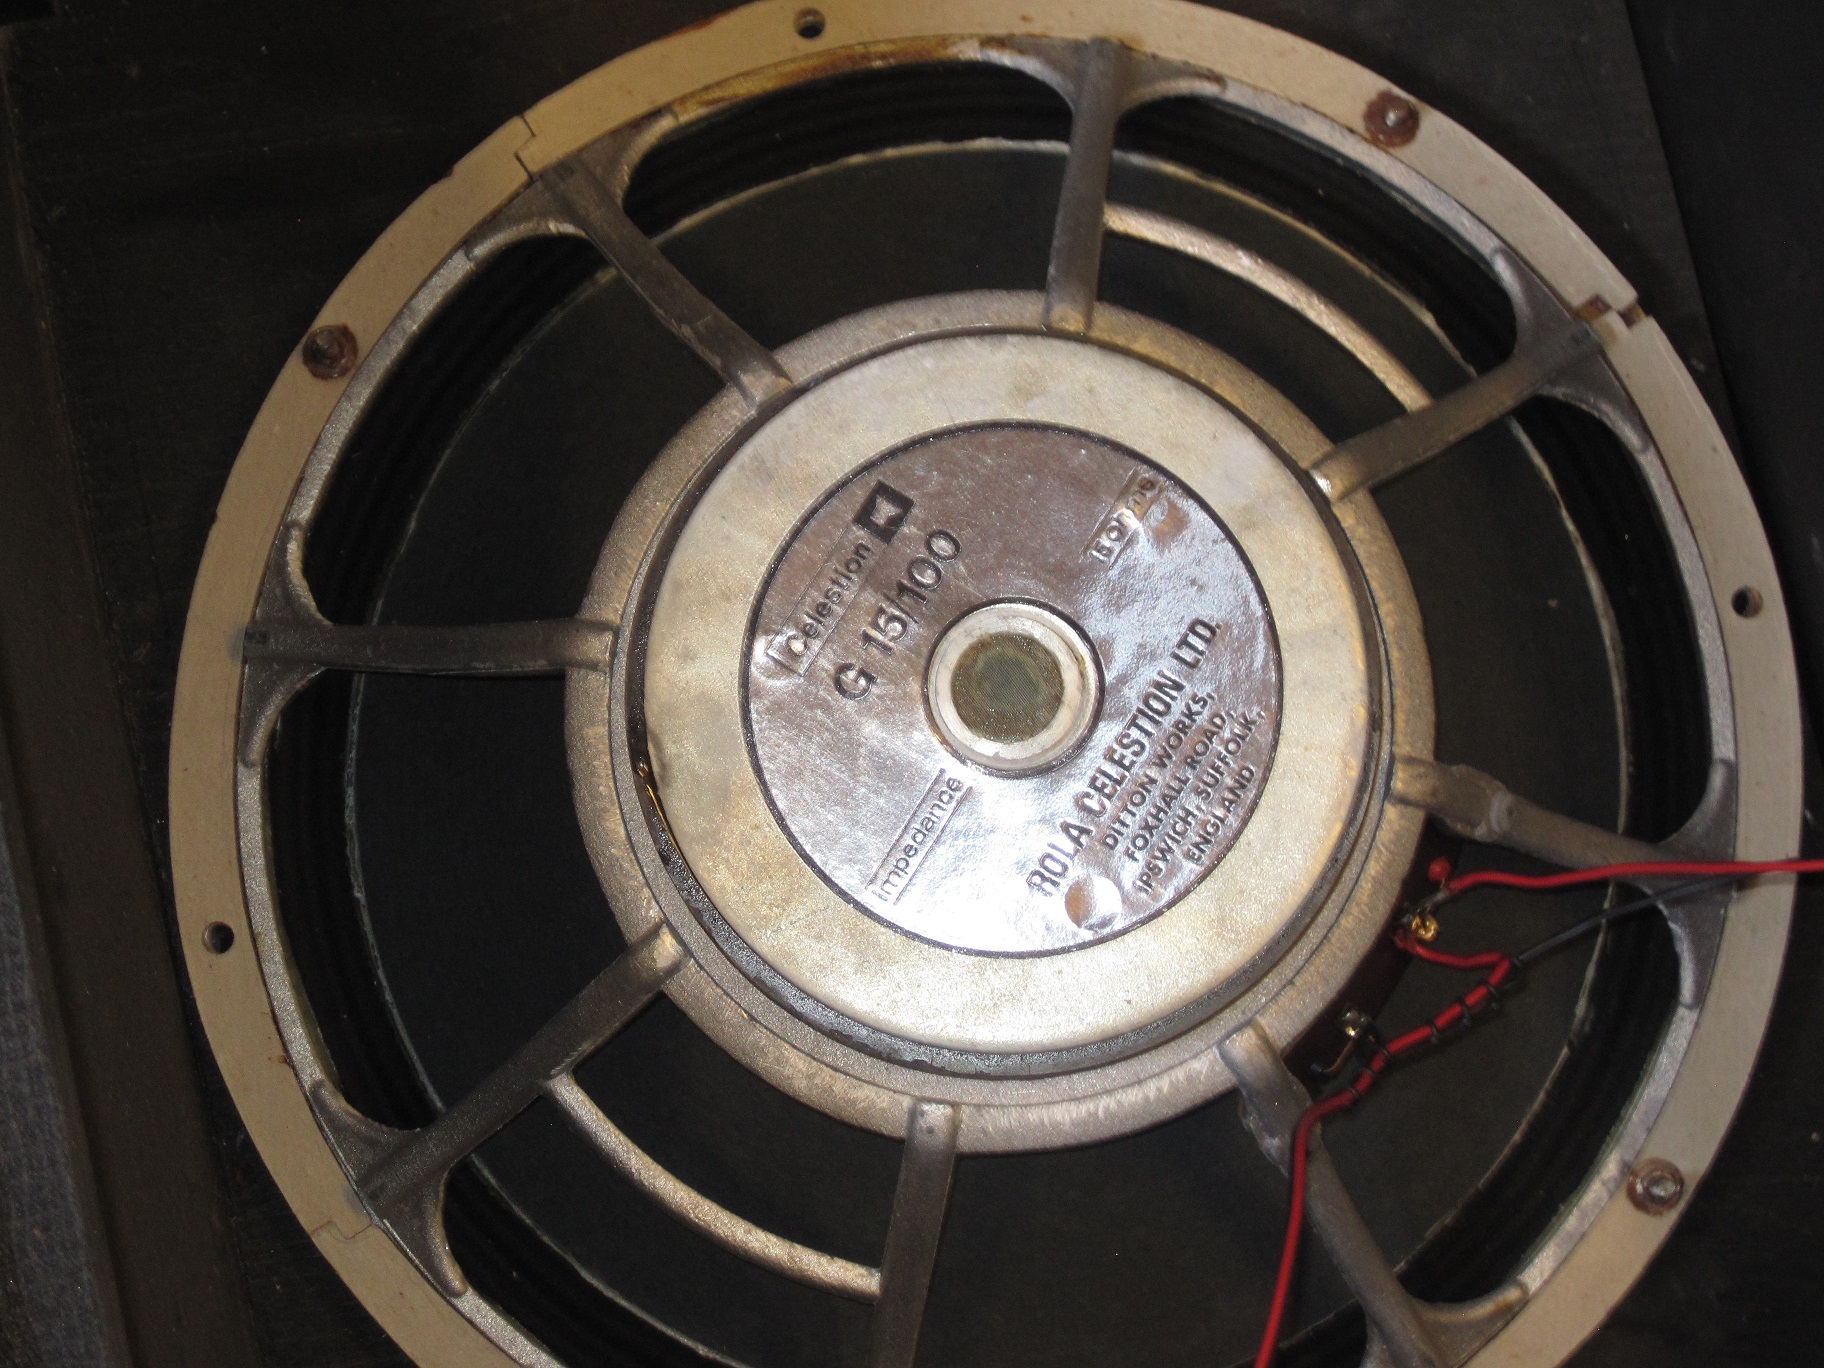
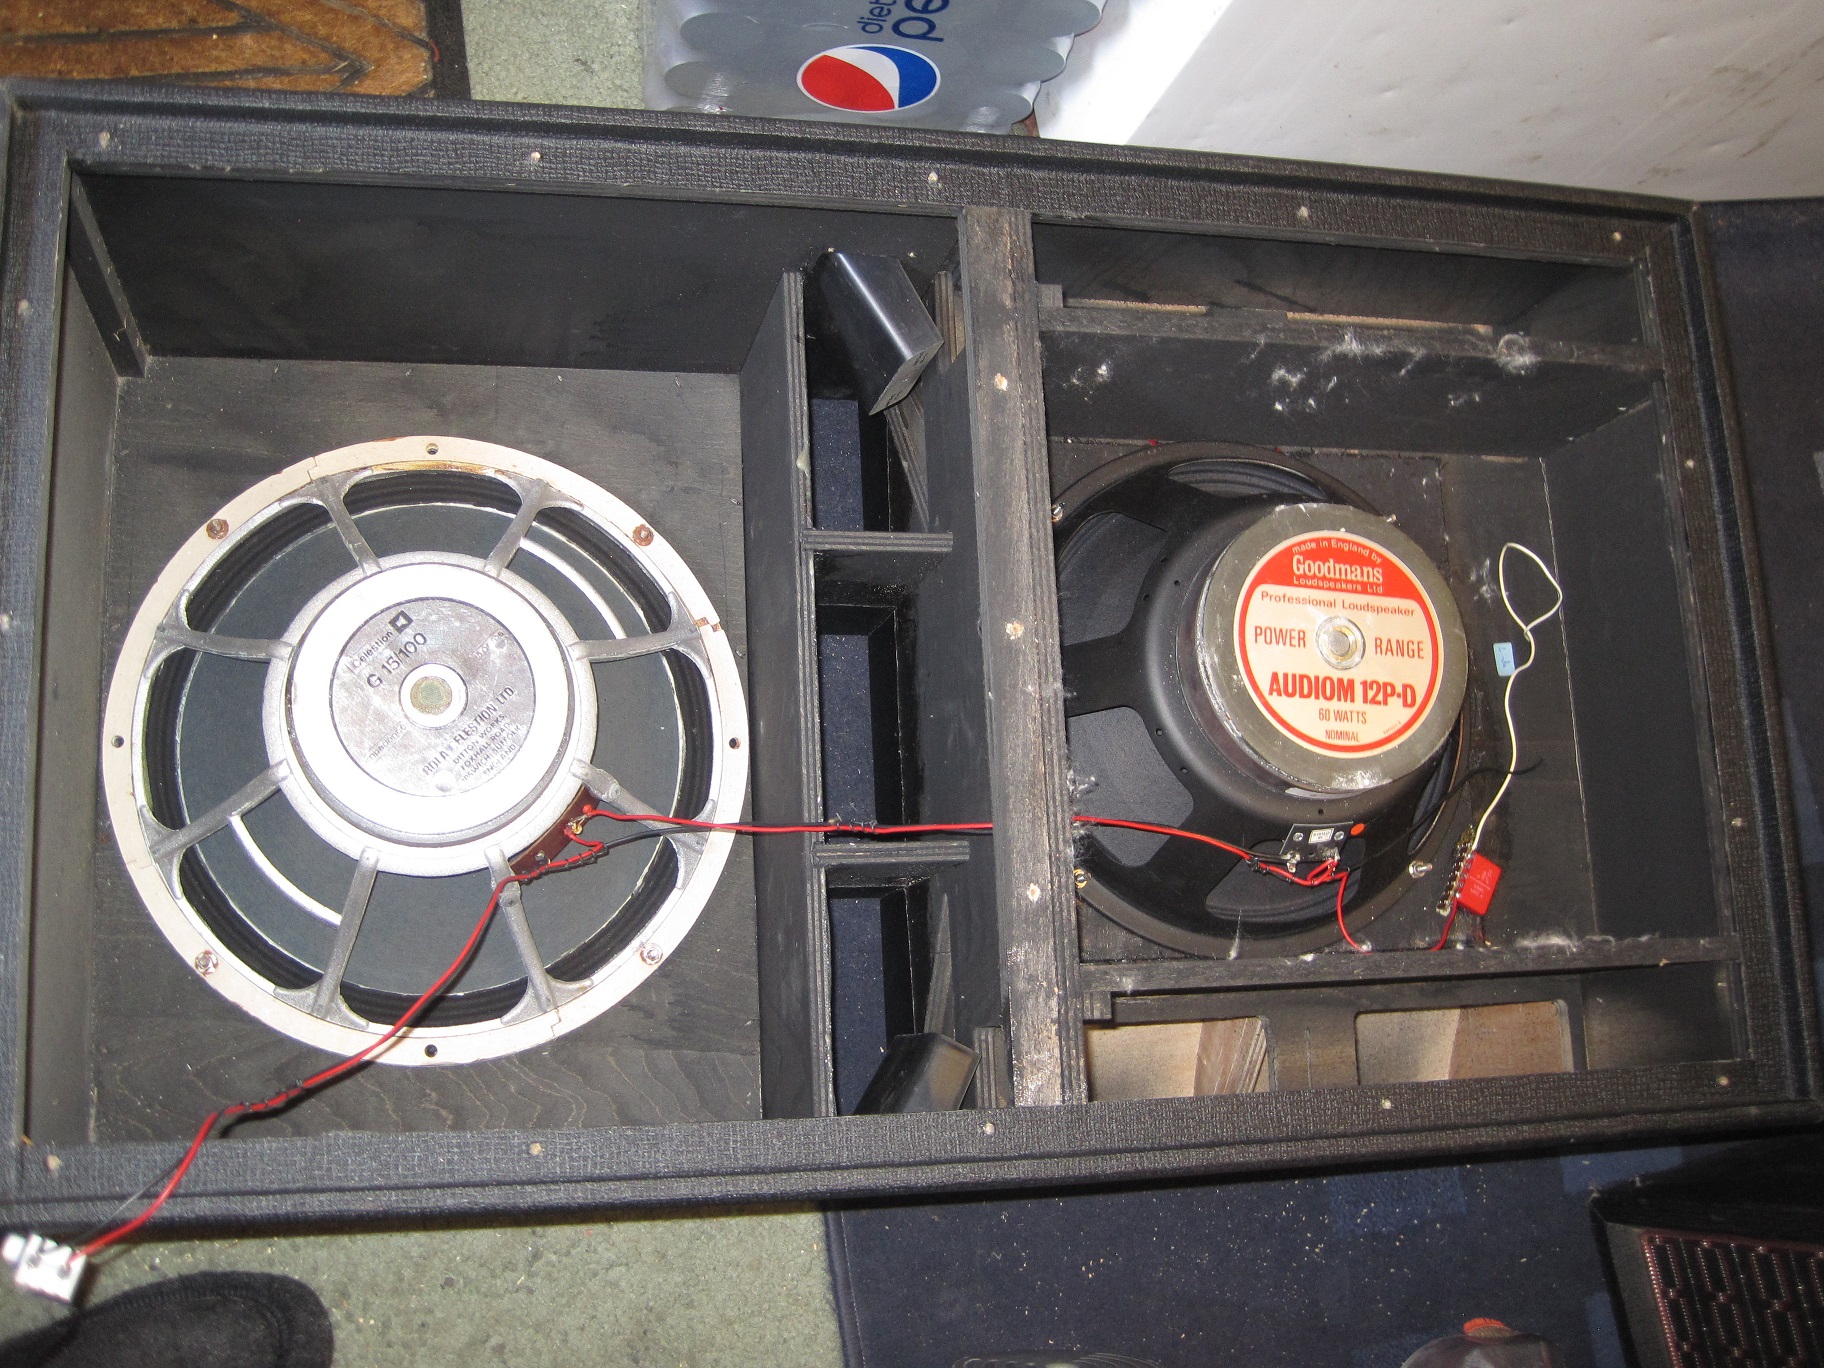
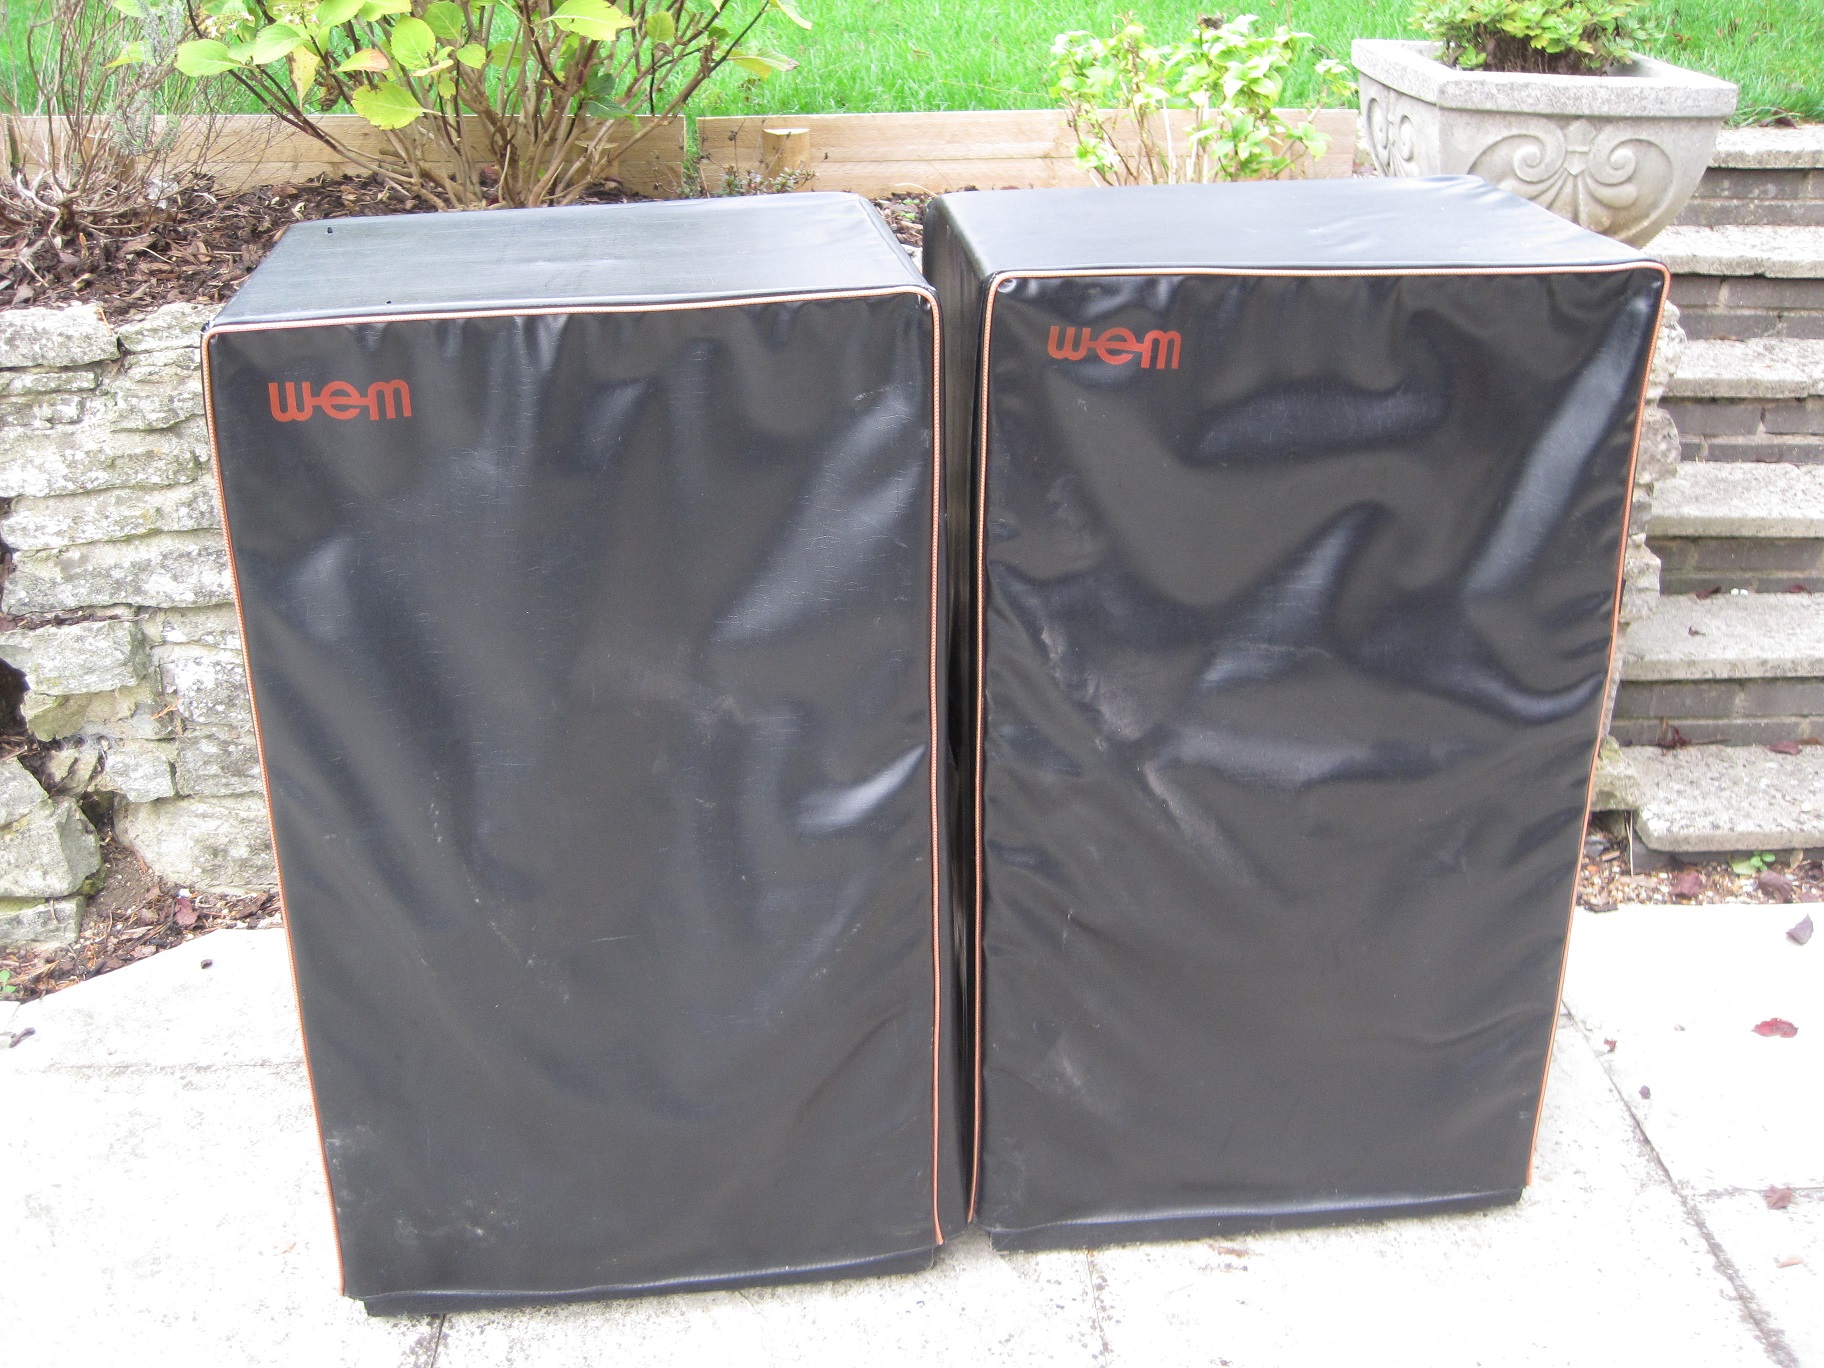
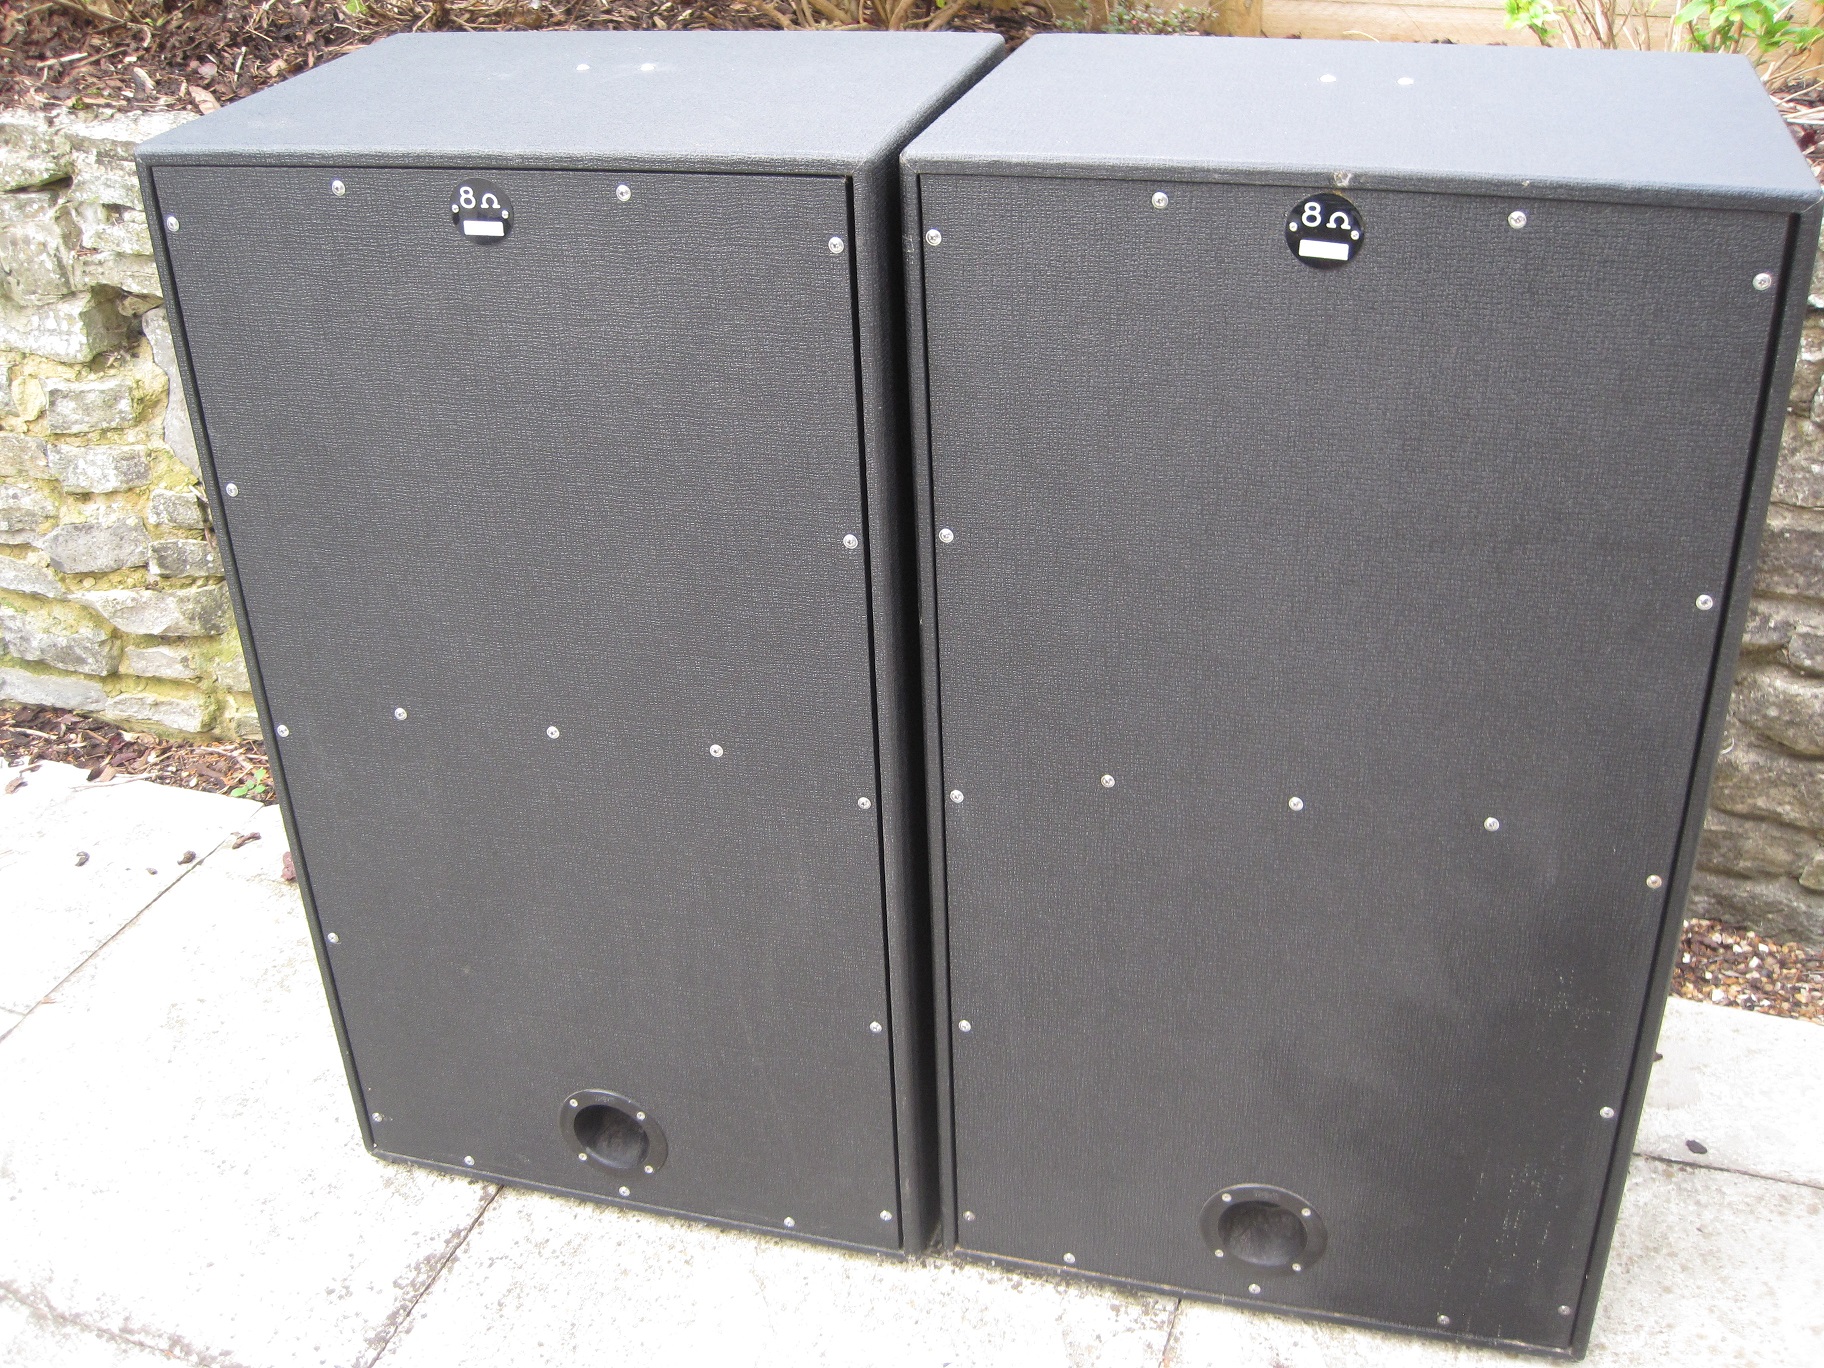
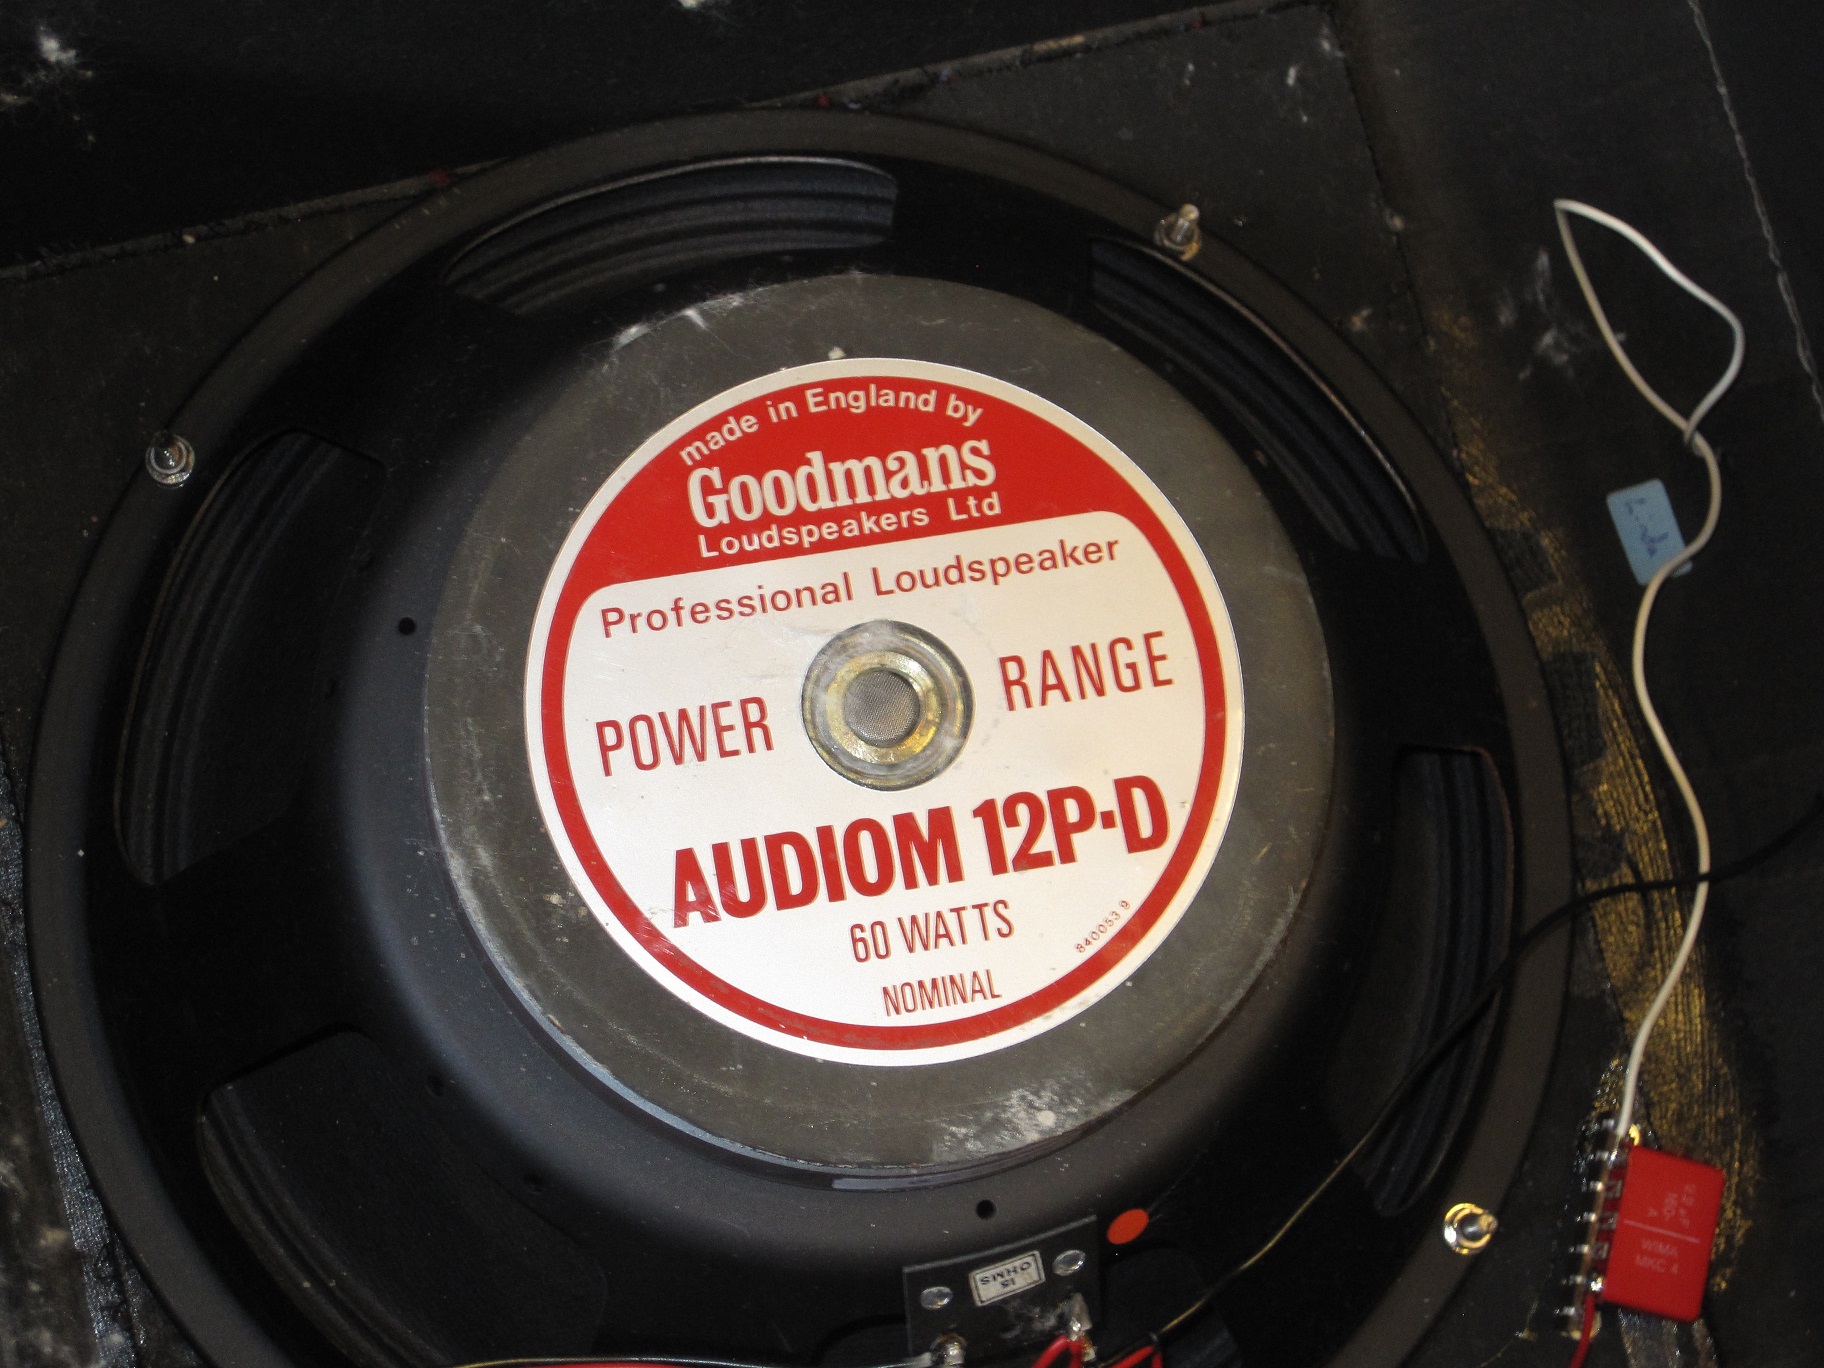
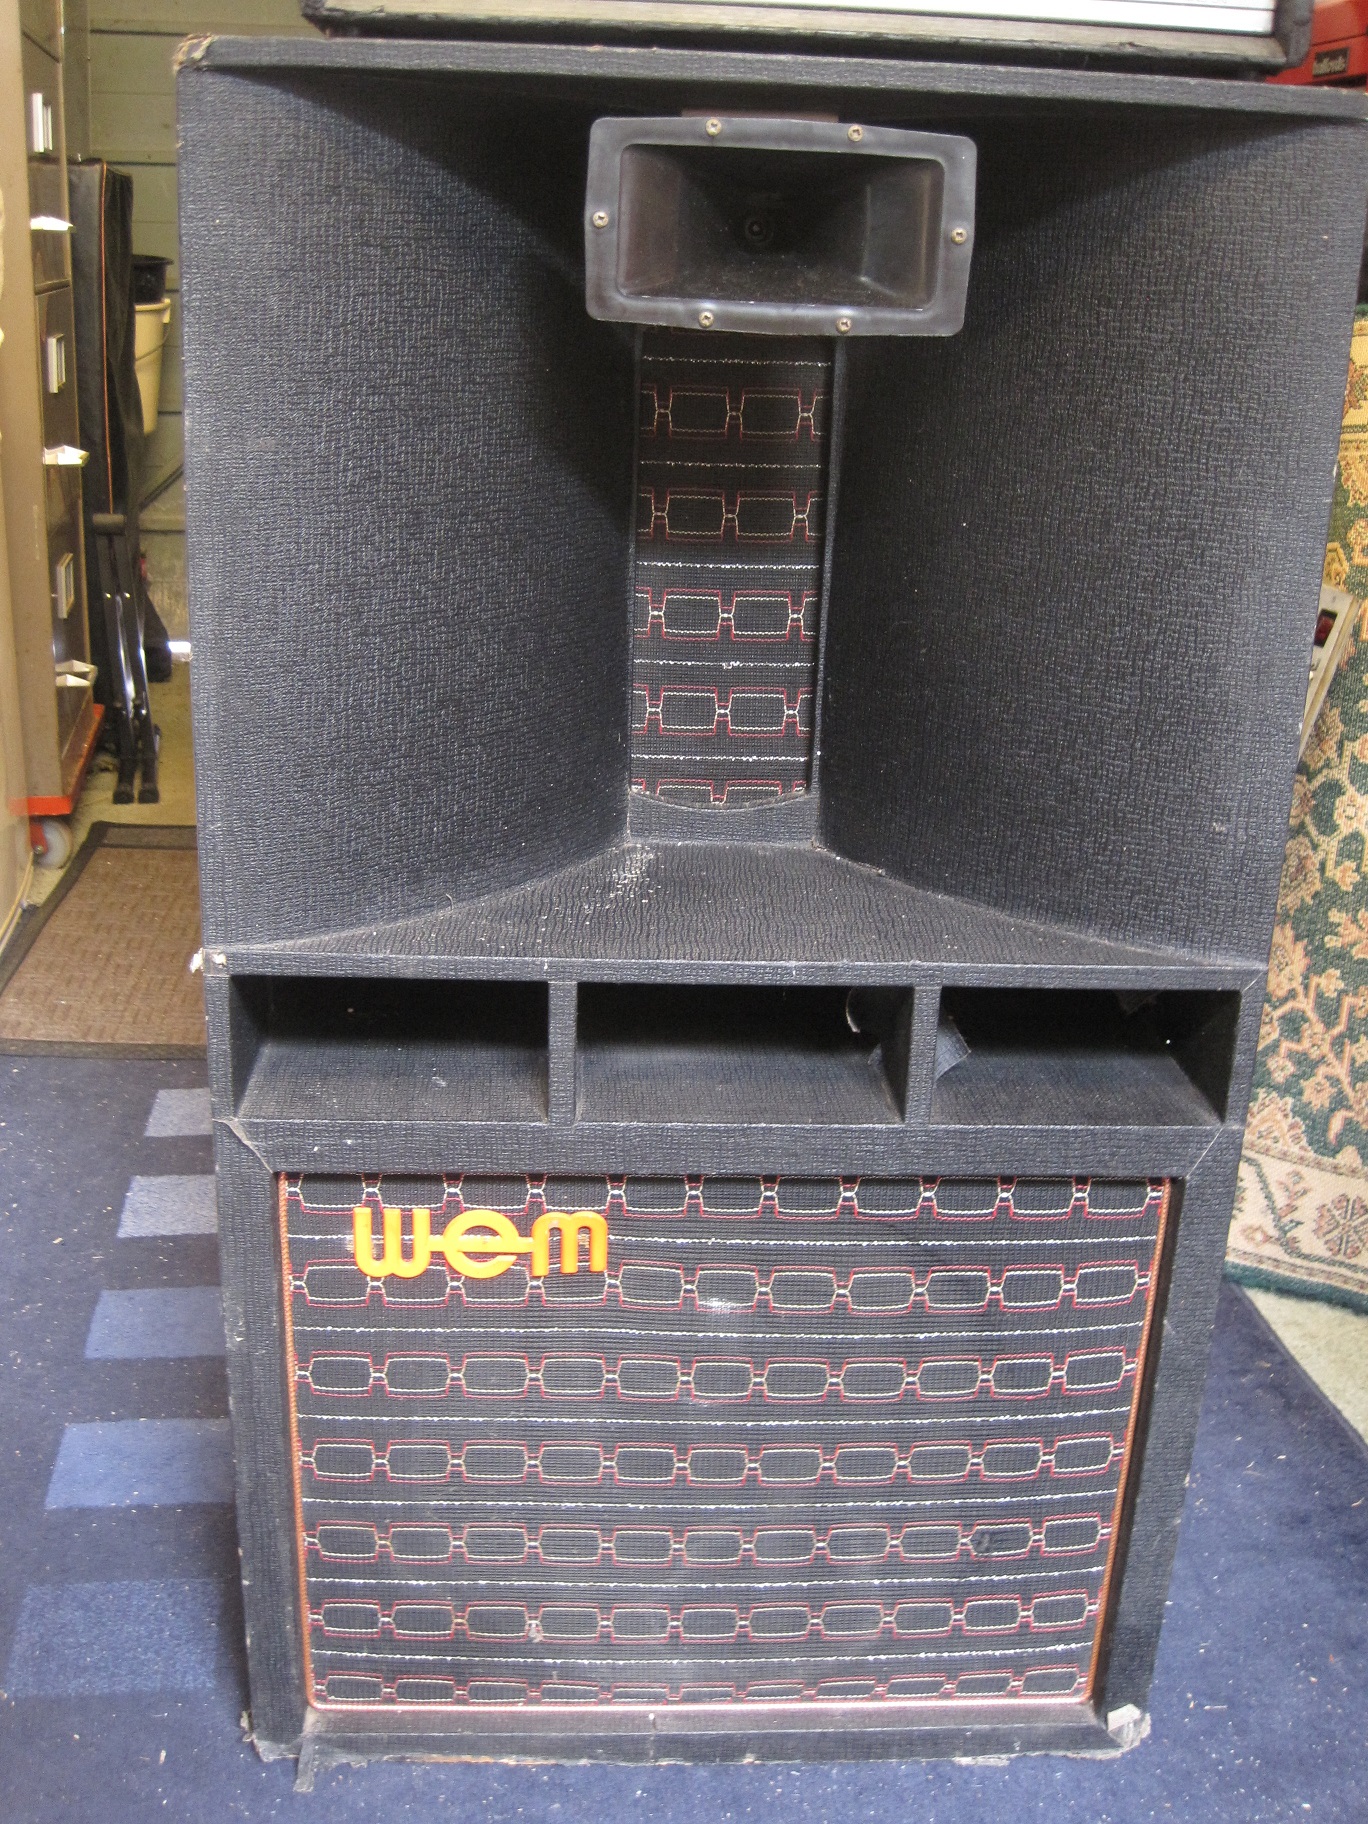
The first set of pictures show a pair of Intruder Reflex Bins which I acquired in October 2018. They were, and still are, in immaculate condition, including their original covers. The Intruder Bins were made in 100 watt and 50 watt versions. This pair are the 100 watt versions with each cab containing a Celestion G15/100 15″ driver rated at 100 watts and a Goodmans Audiom 12PD driver rated at 60 watts. The cabs are topped off with a single Celestion T1360 horn. Further down the page are some pictures of a 50 watt version of the cab which is no longer in my collection.
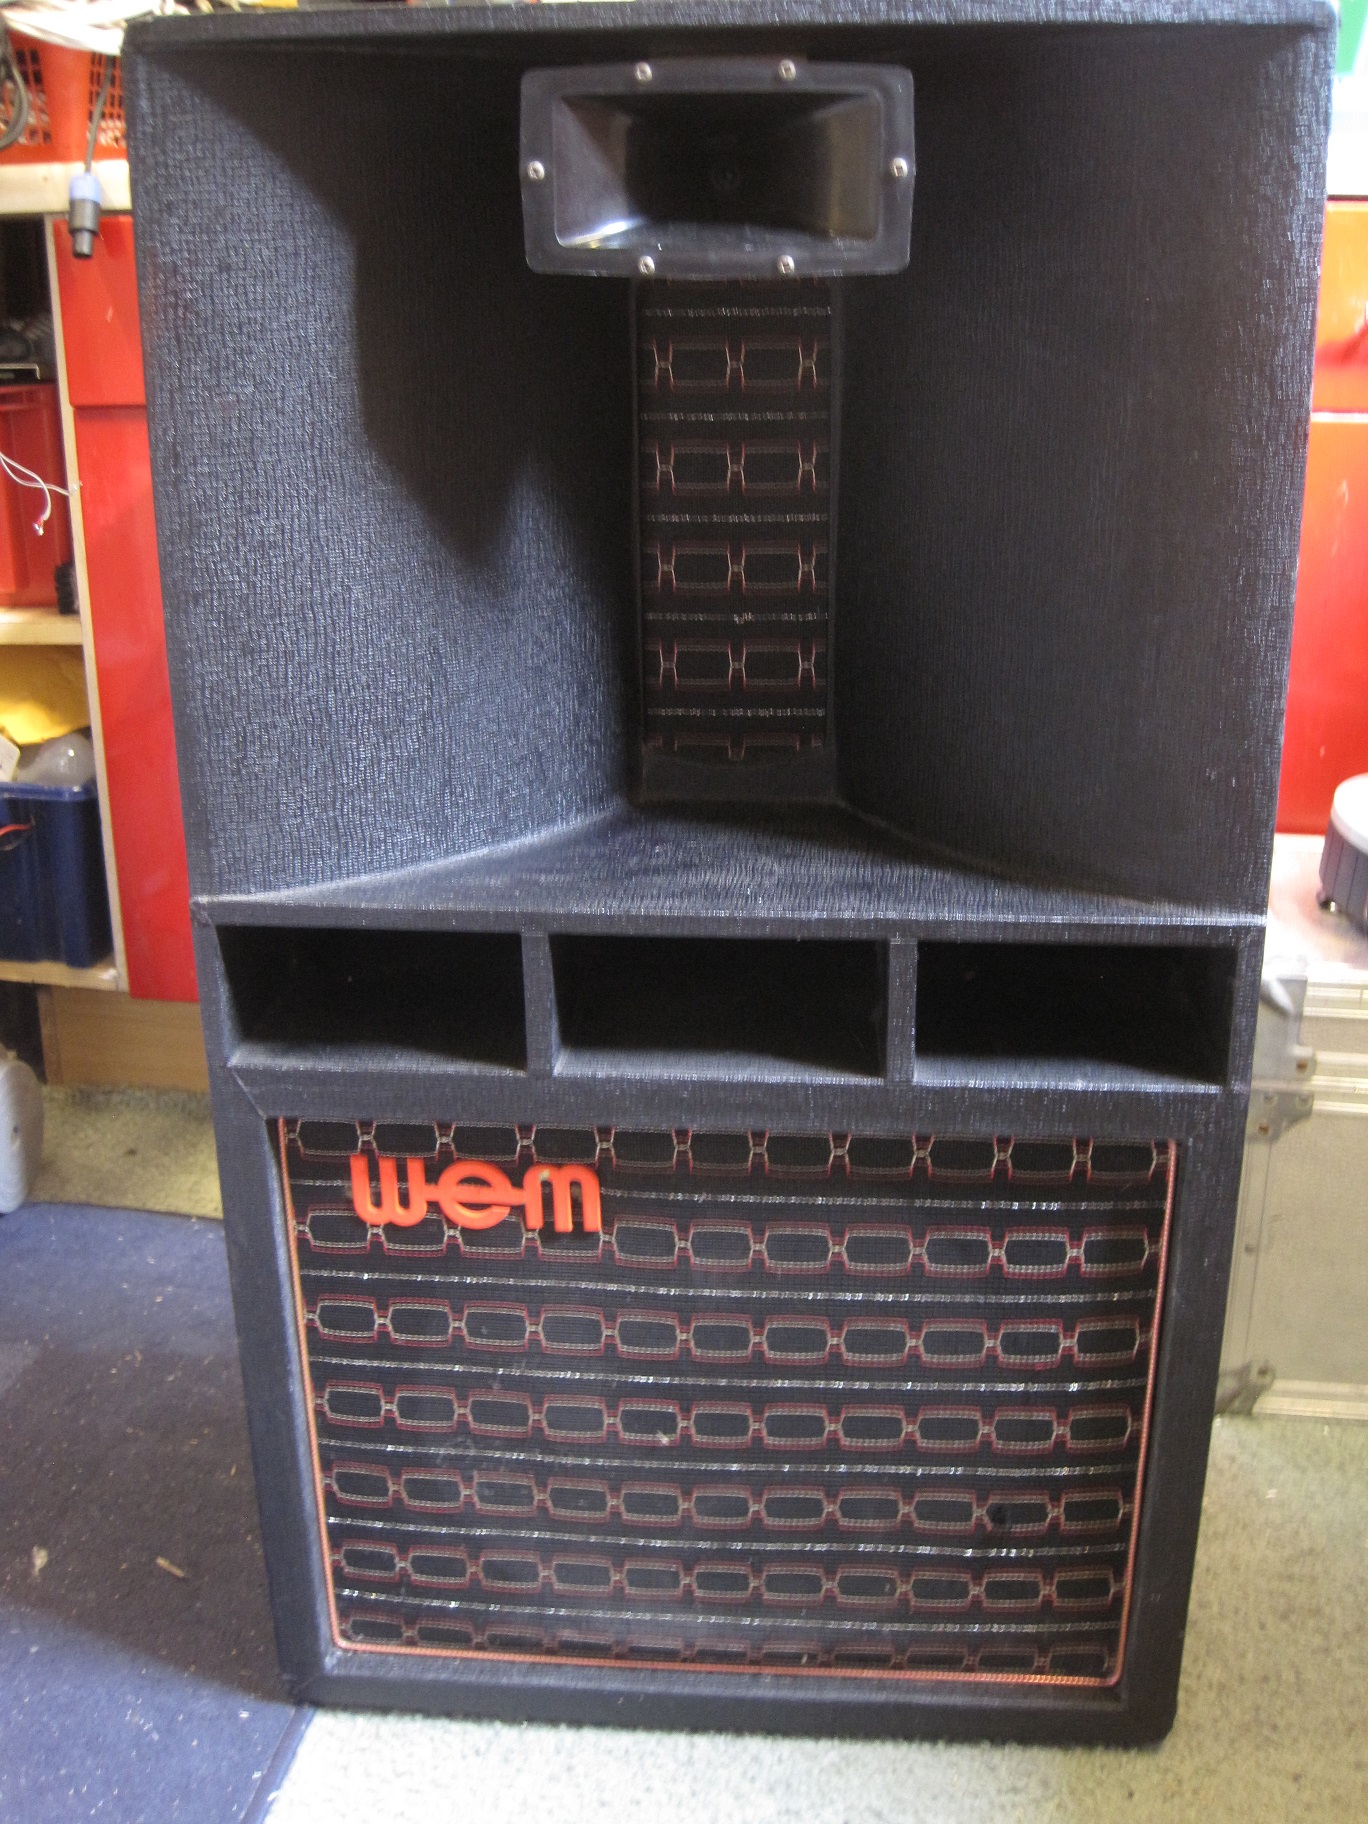
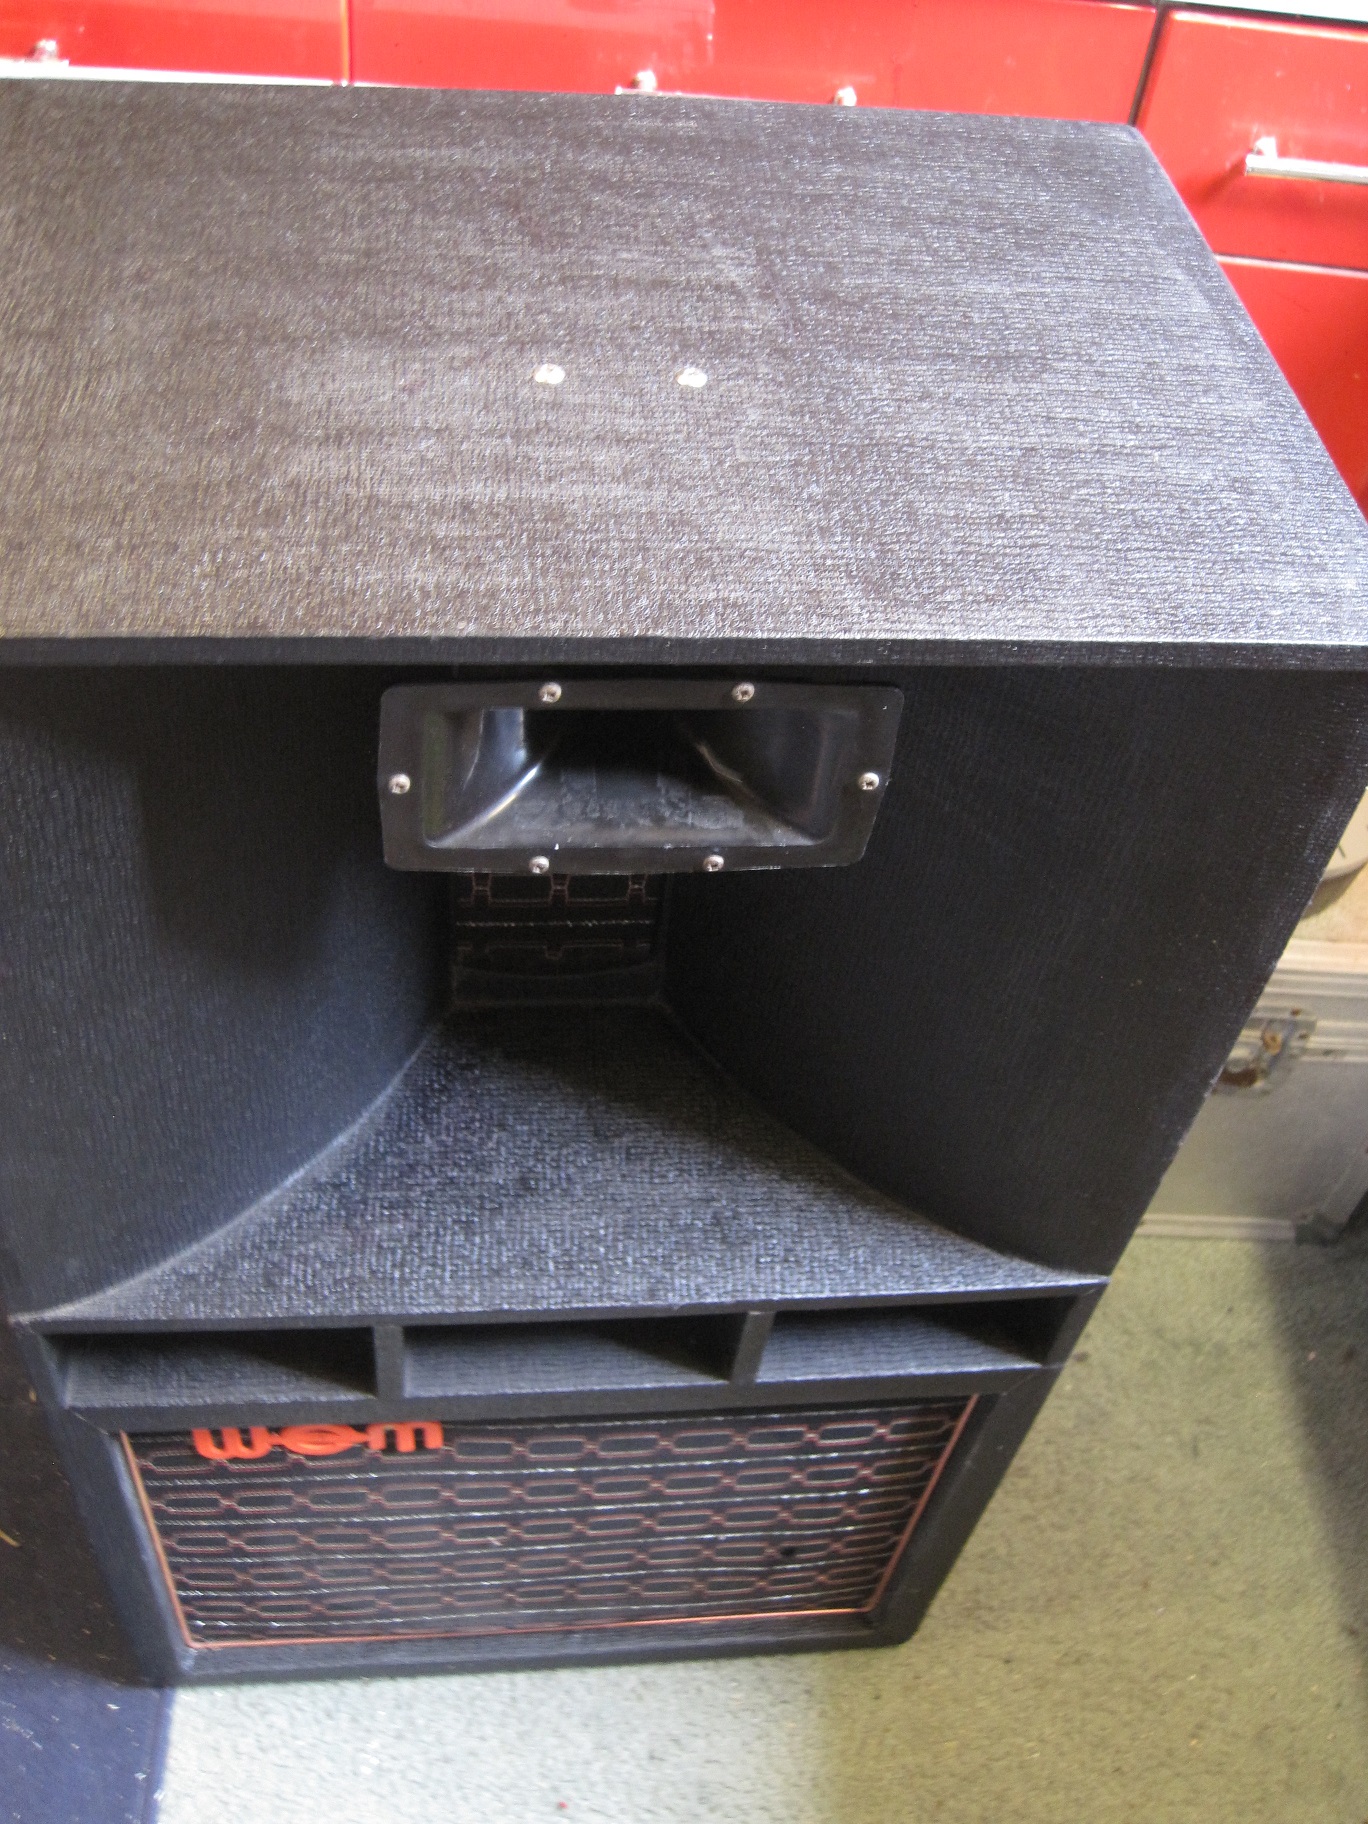
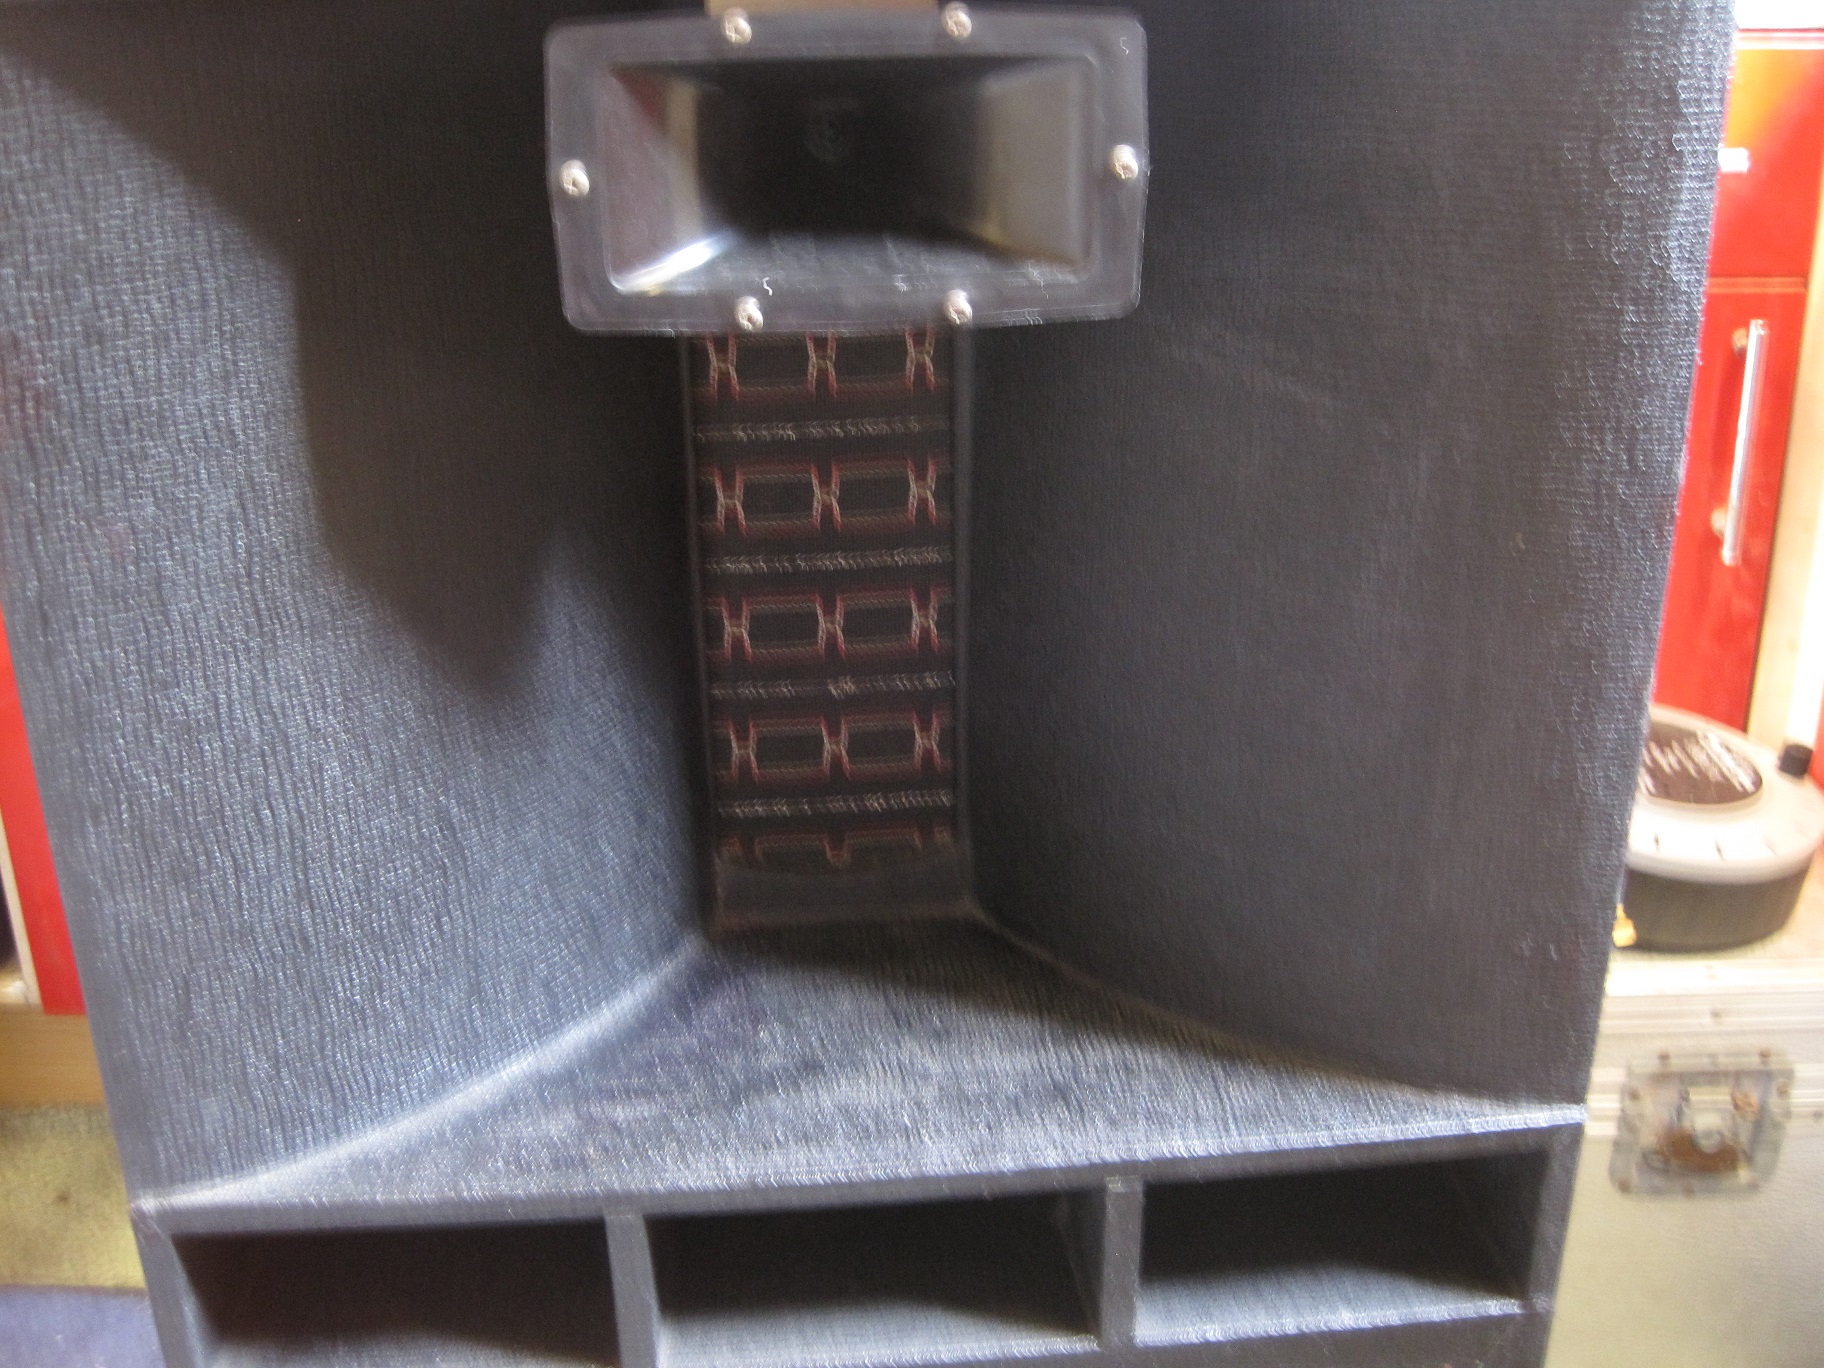
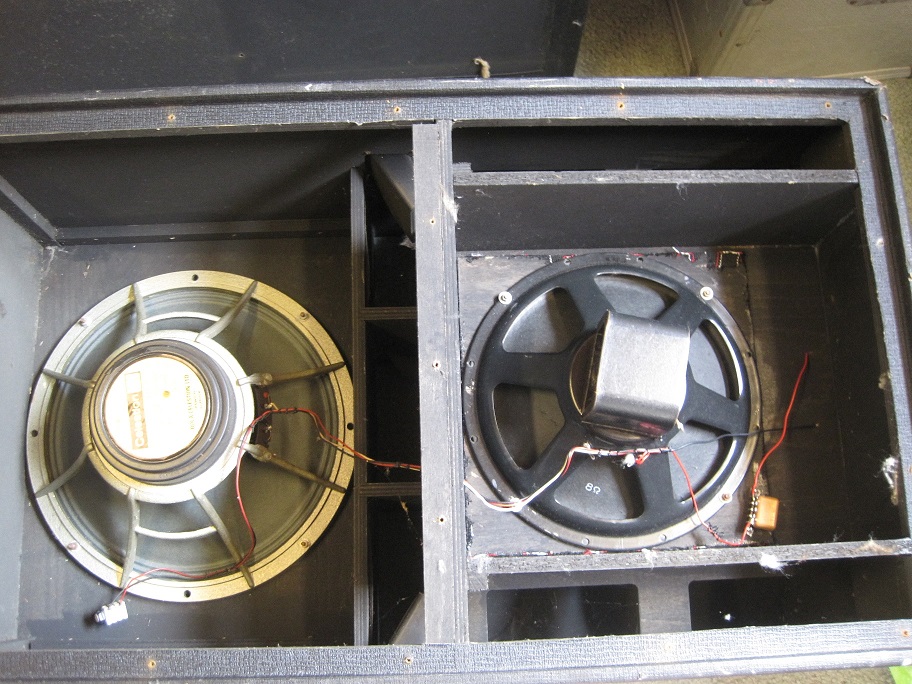
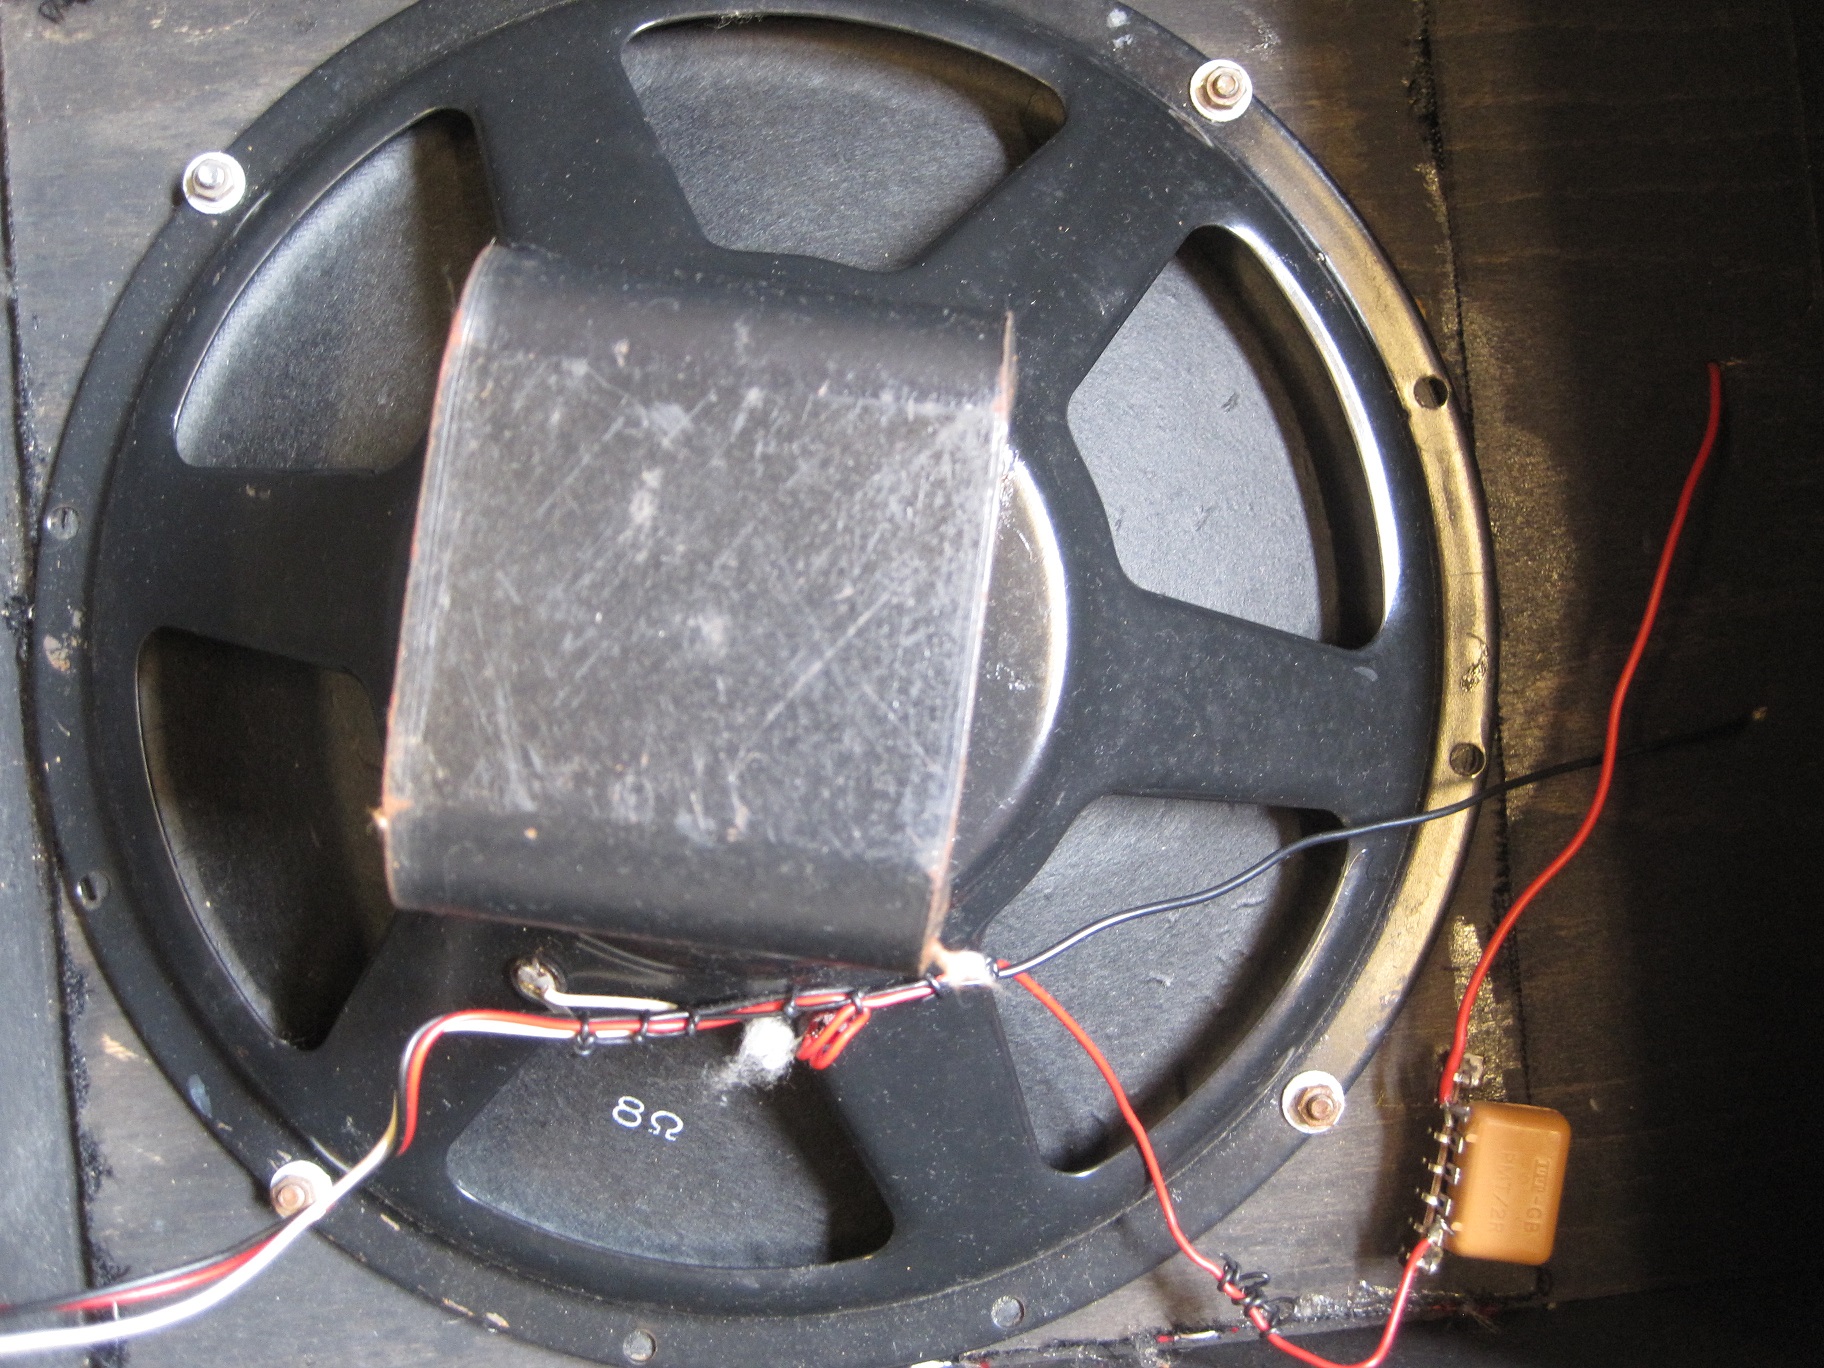
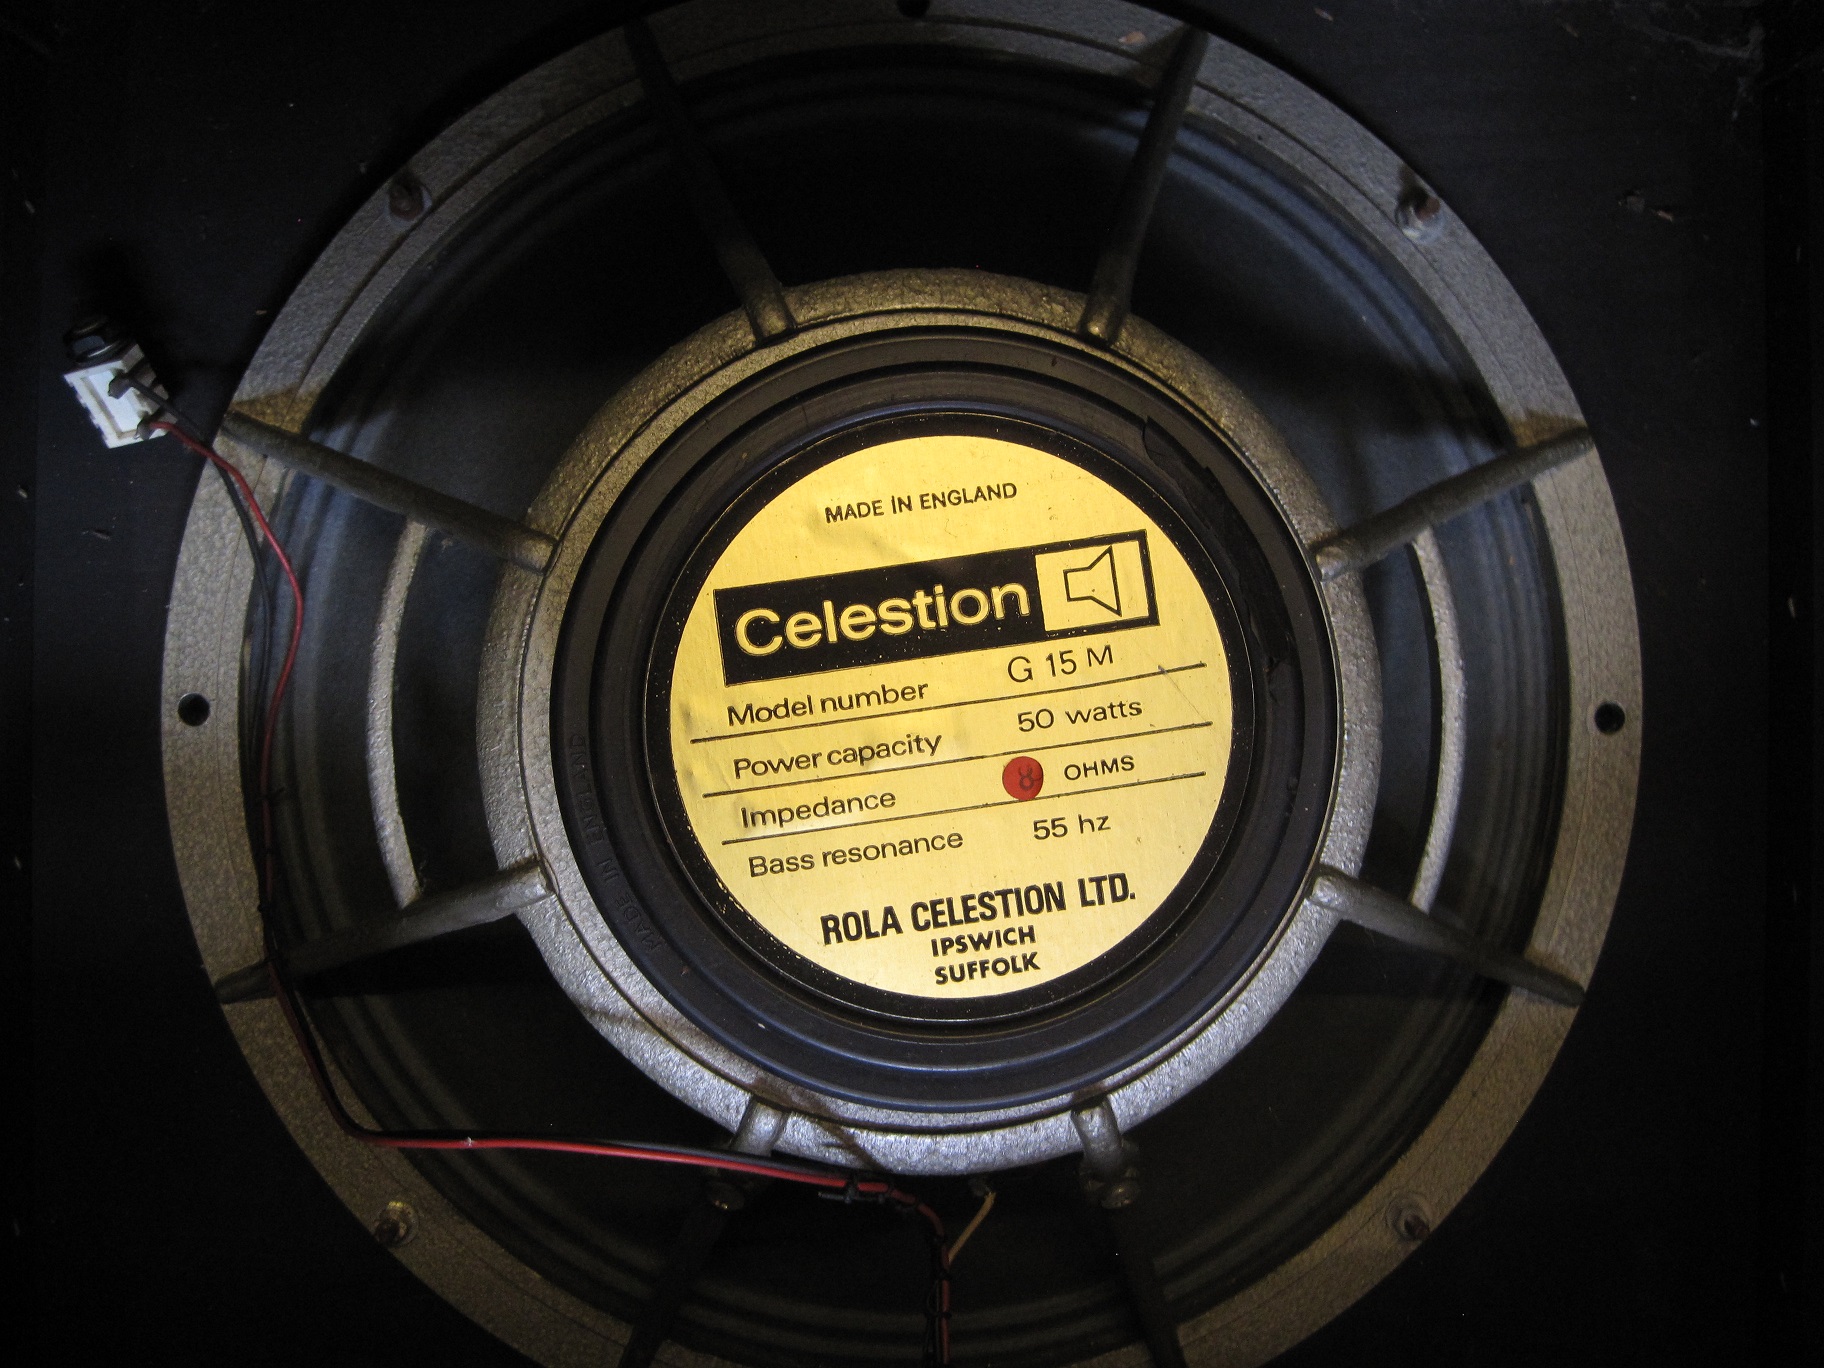
The following pictures show a 50 watt Intruder cab which I acquired in August 2016 but it is no longer in my collection. These cabs were primarily intended for PA and so were normally sold in pairs. Each cab was rated at 50 watts so a pair would handle 100 watts, such as that produced by the WEM PA100. The bottom section of the cab contains a Celestion 15″ G15M driver and this section of the cab is designed with ports at the top for directing the sound – hence the “reflex” part of the name. The top section of the cab is separated from the bottom section and contains a Peerless 12″ mid-range twin coned driver with flares at the front of the section for directing the sound. Attached to the top of the cab via 2 bolts is a single Celestion T1360 horn/tweeter. These cabs appear in the Bell Musical Instruments catalogue for 1977 and also in the 1978 Sound Like WEM brochure. However, I can find no reference to them prior to 1977. This dates these cabs from around 1977 to the early 1980s.
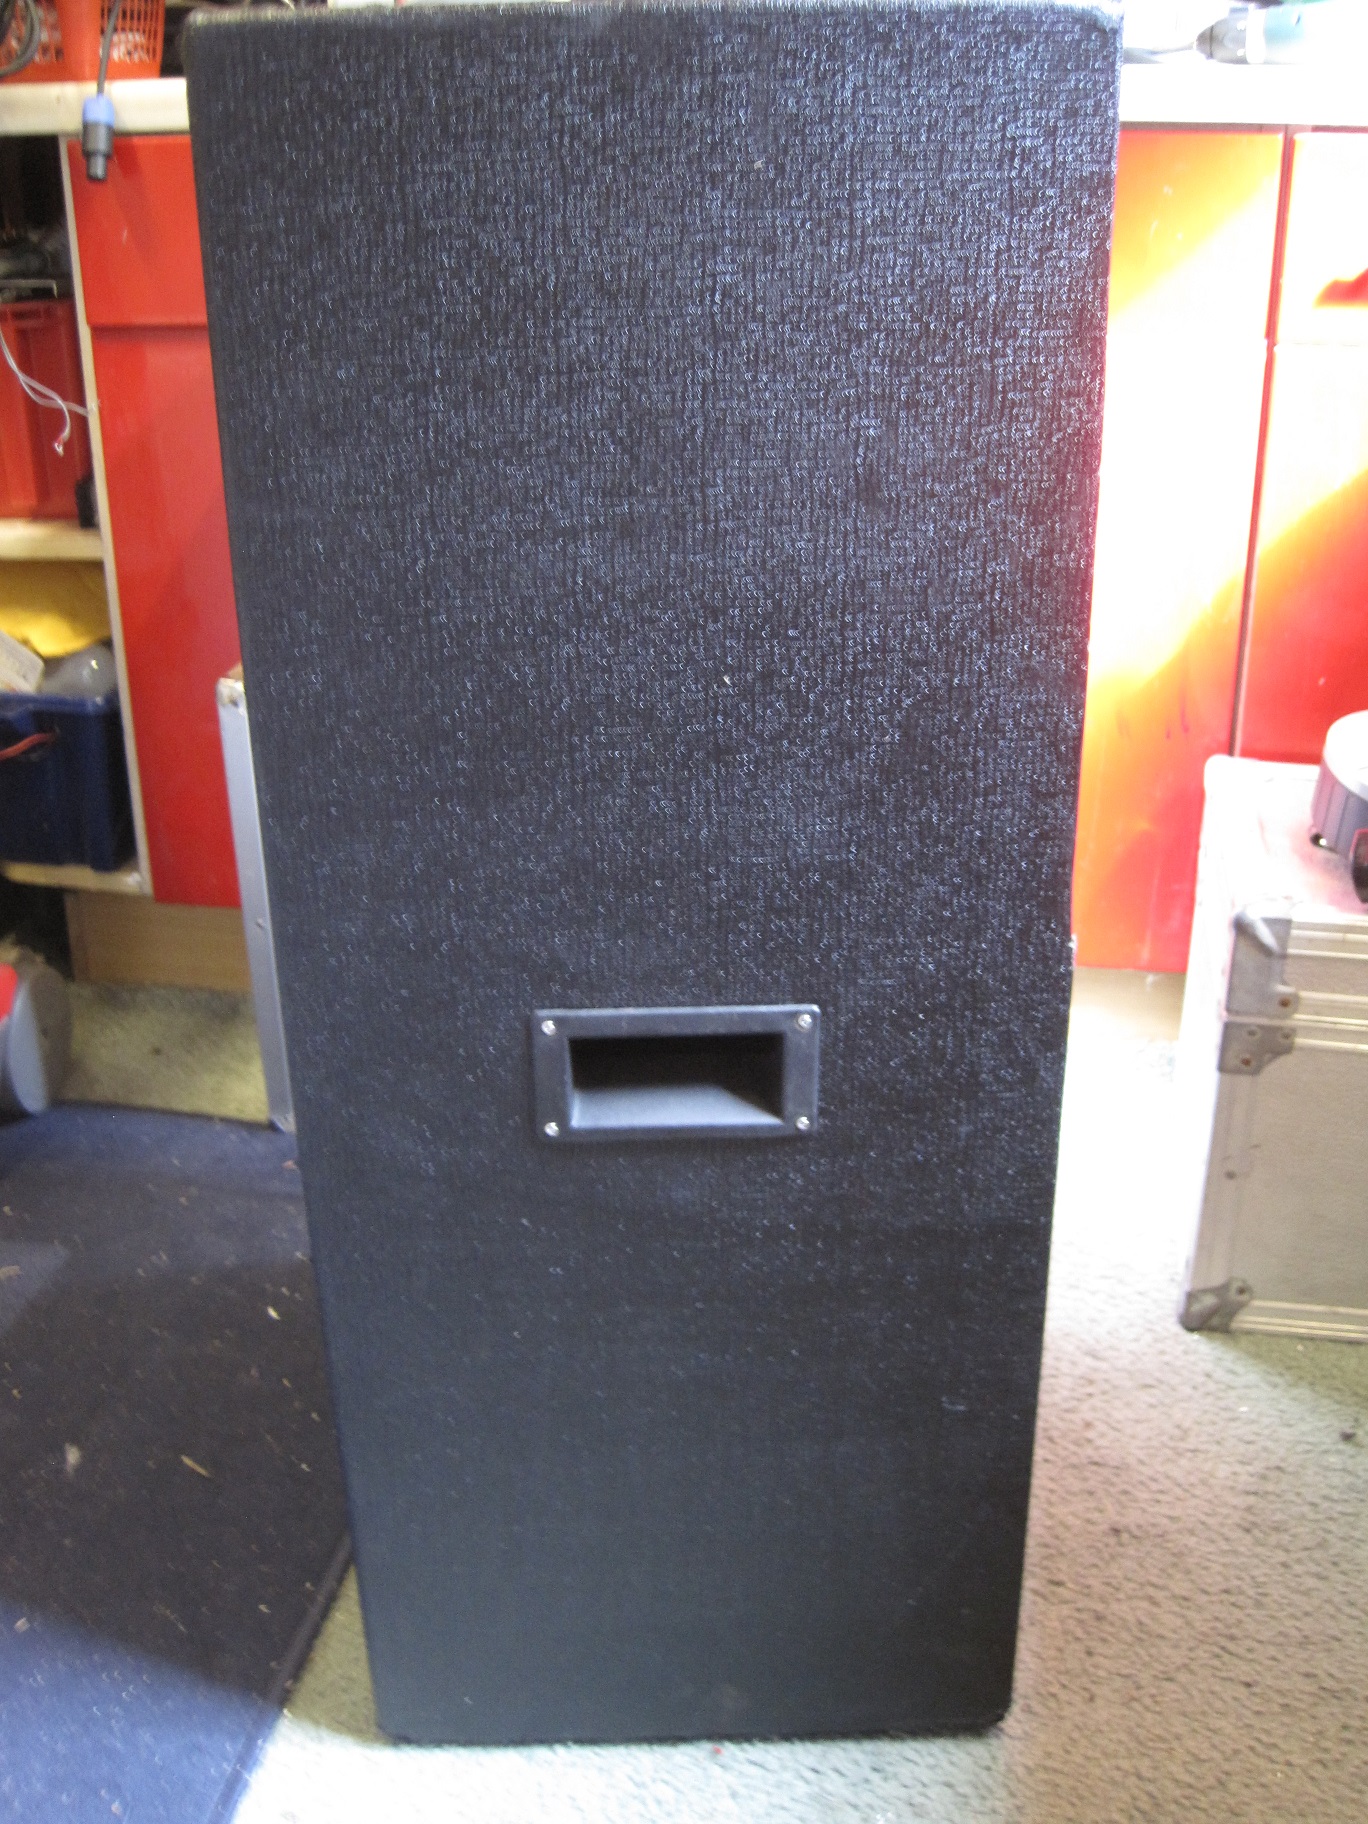
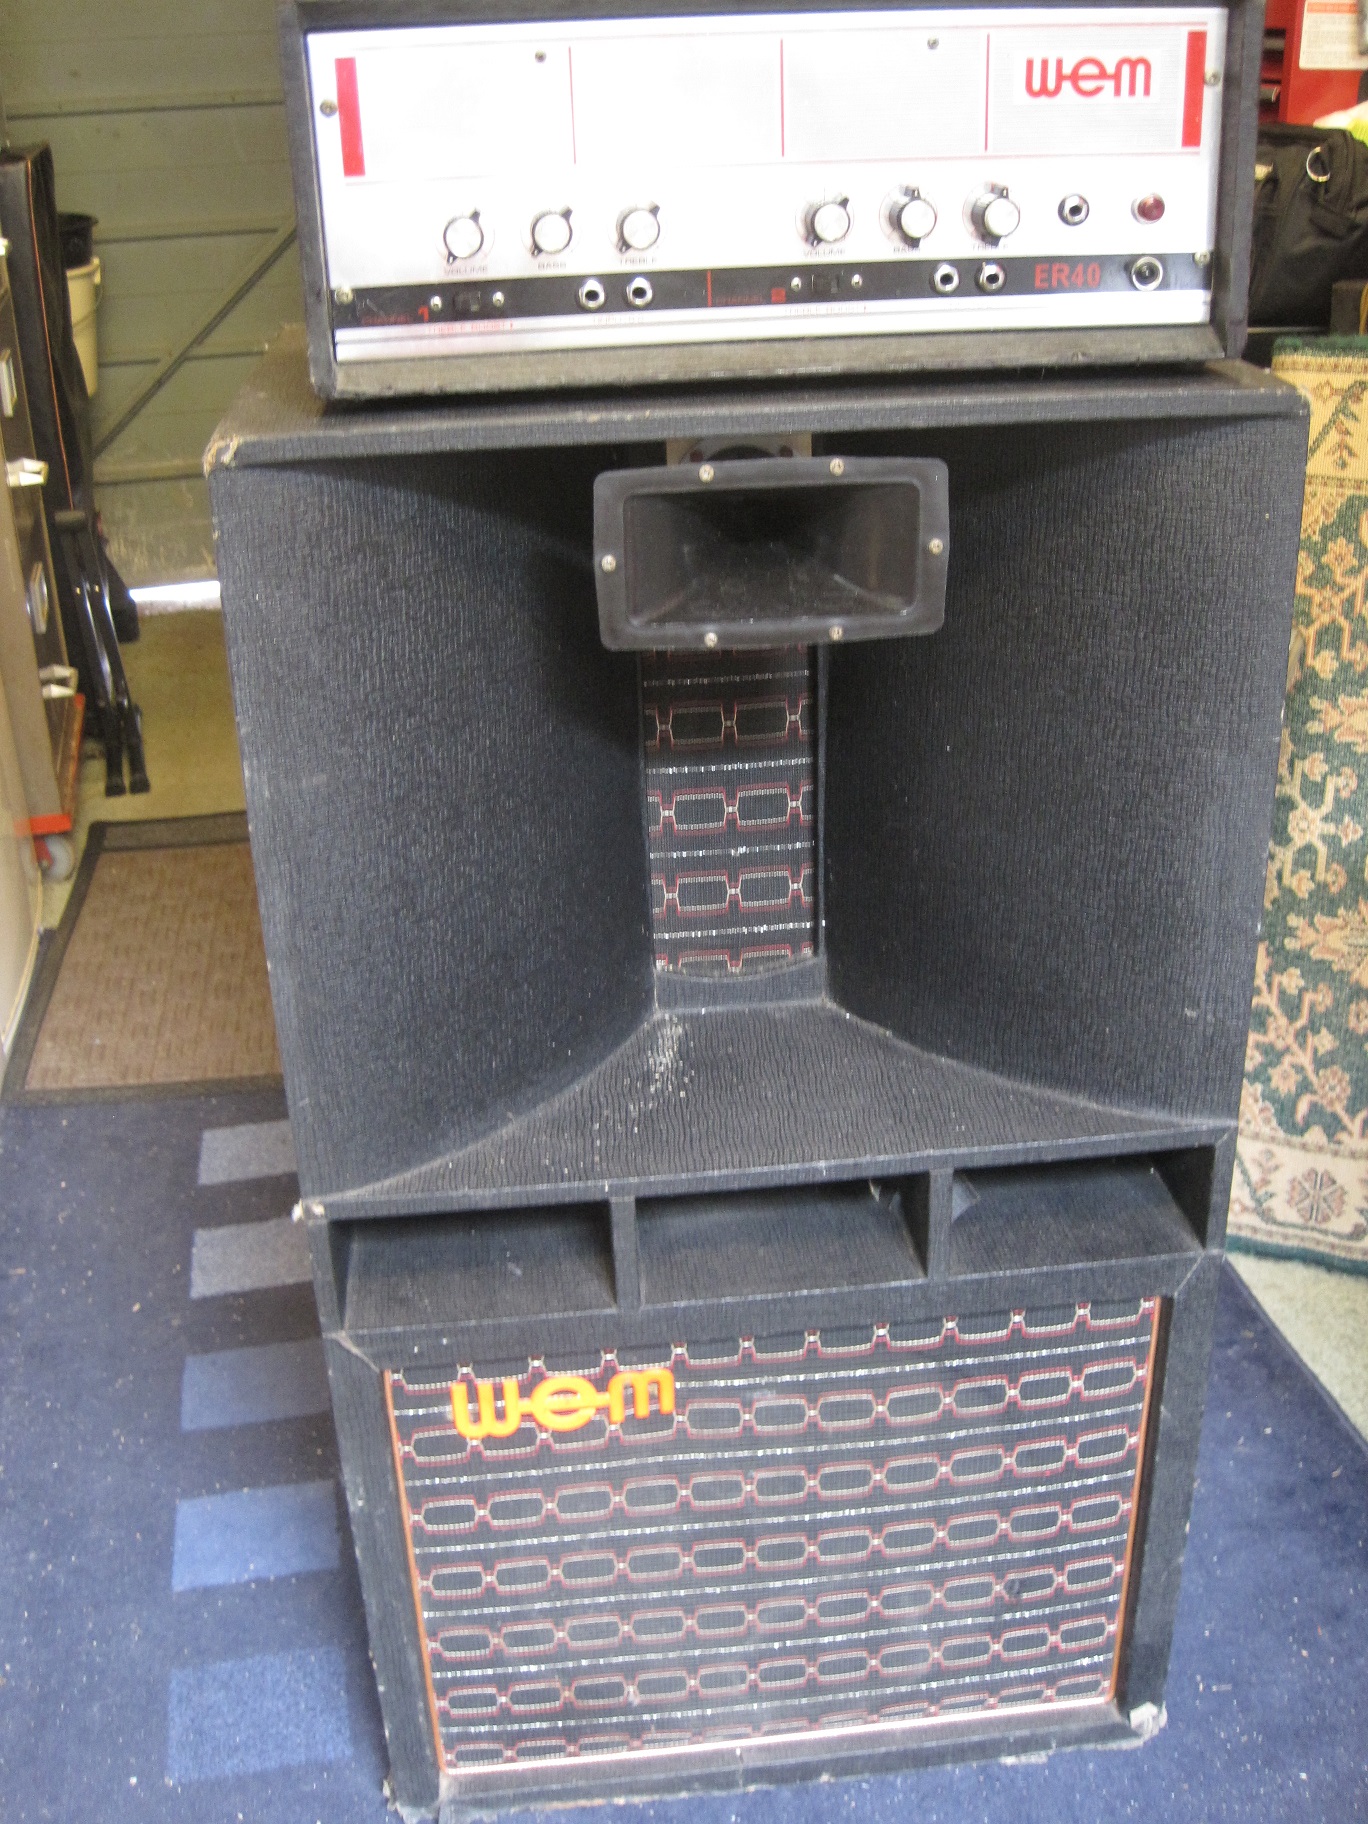
The first pictures of the cab show it exactly as it came to me. It was in reasonable condition but needed significant restoration to the base of the cab. One of the pics shows the cab with an ER40 amp sitting on top which, for those of you familiar with WEM amps, will give you a good idea of the size of this cab. There are additional pics and text further down this section which describe what was done to the cab and which show how it looks now.

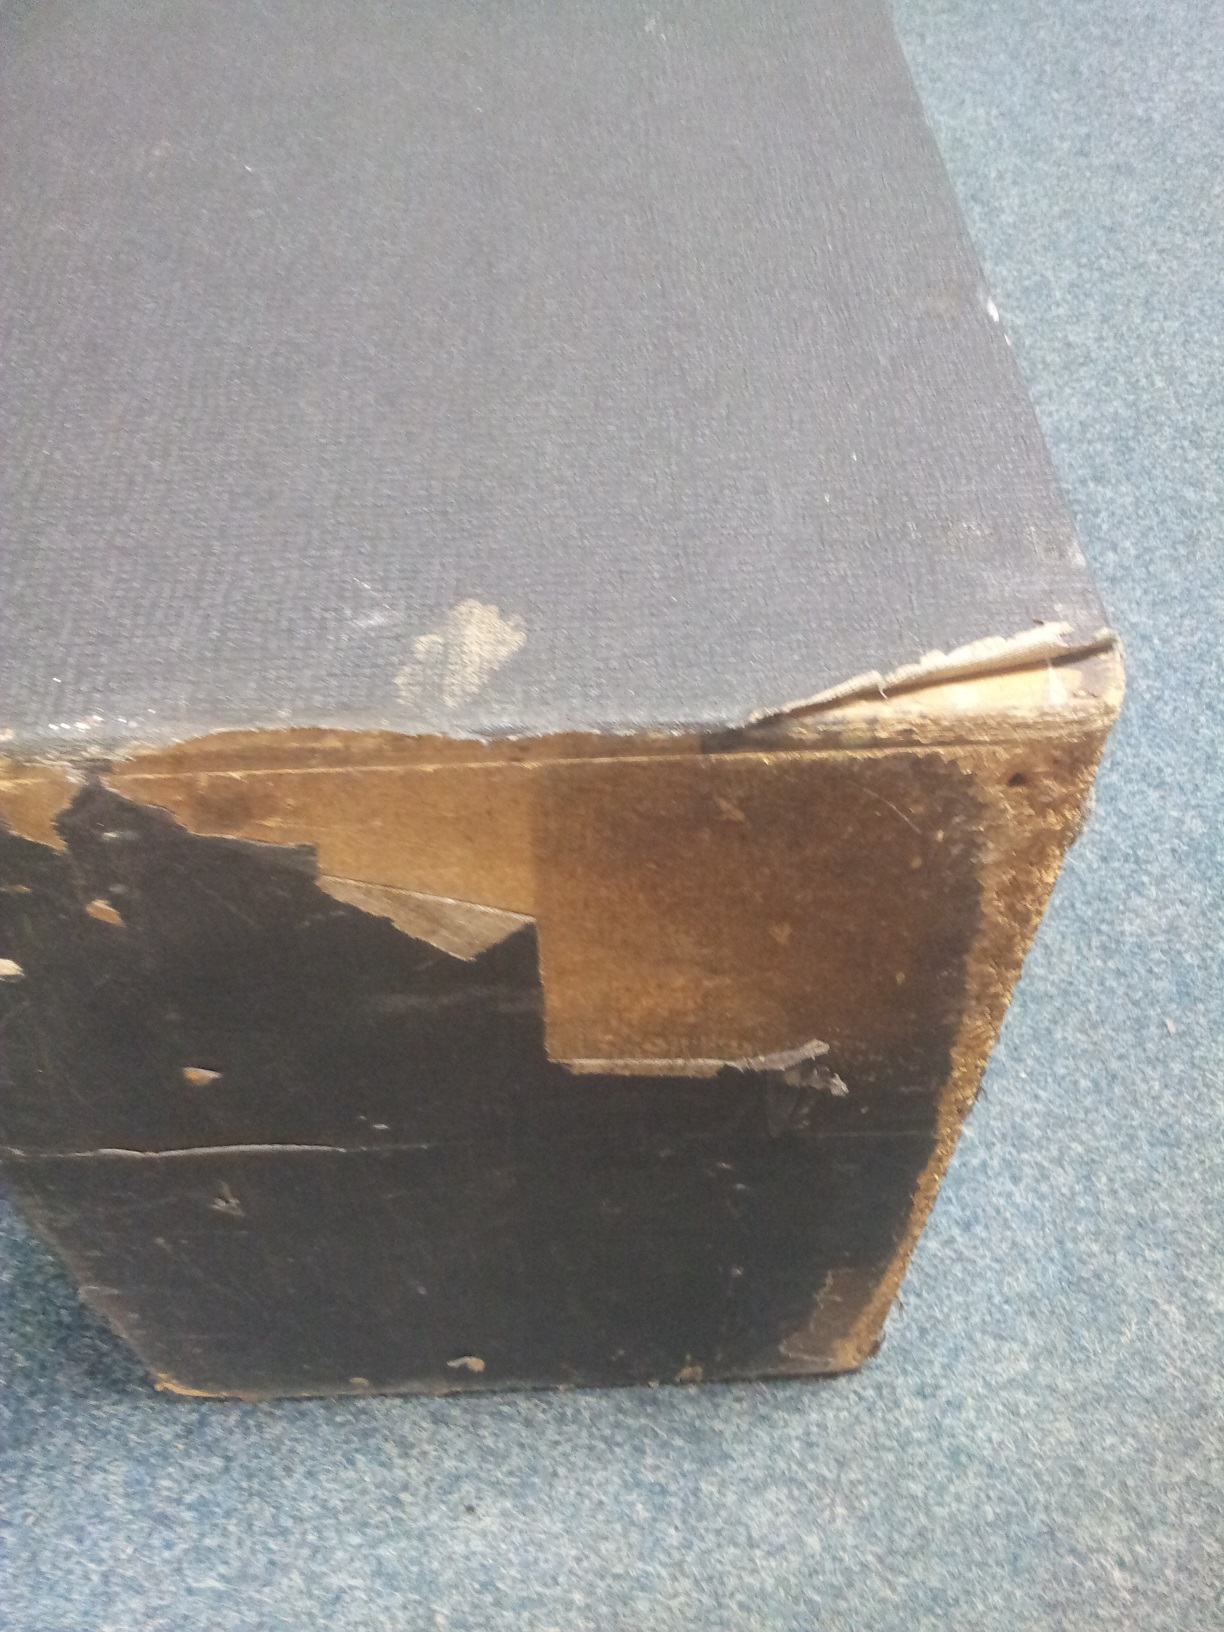
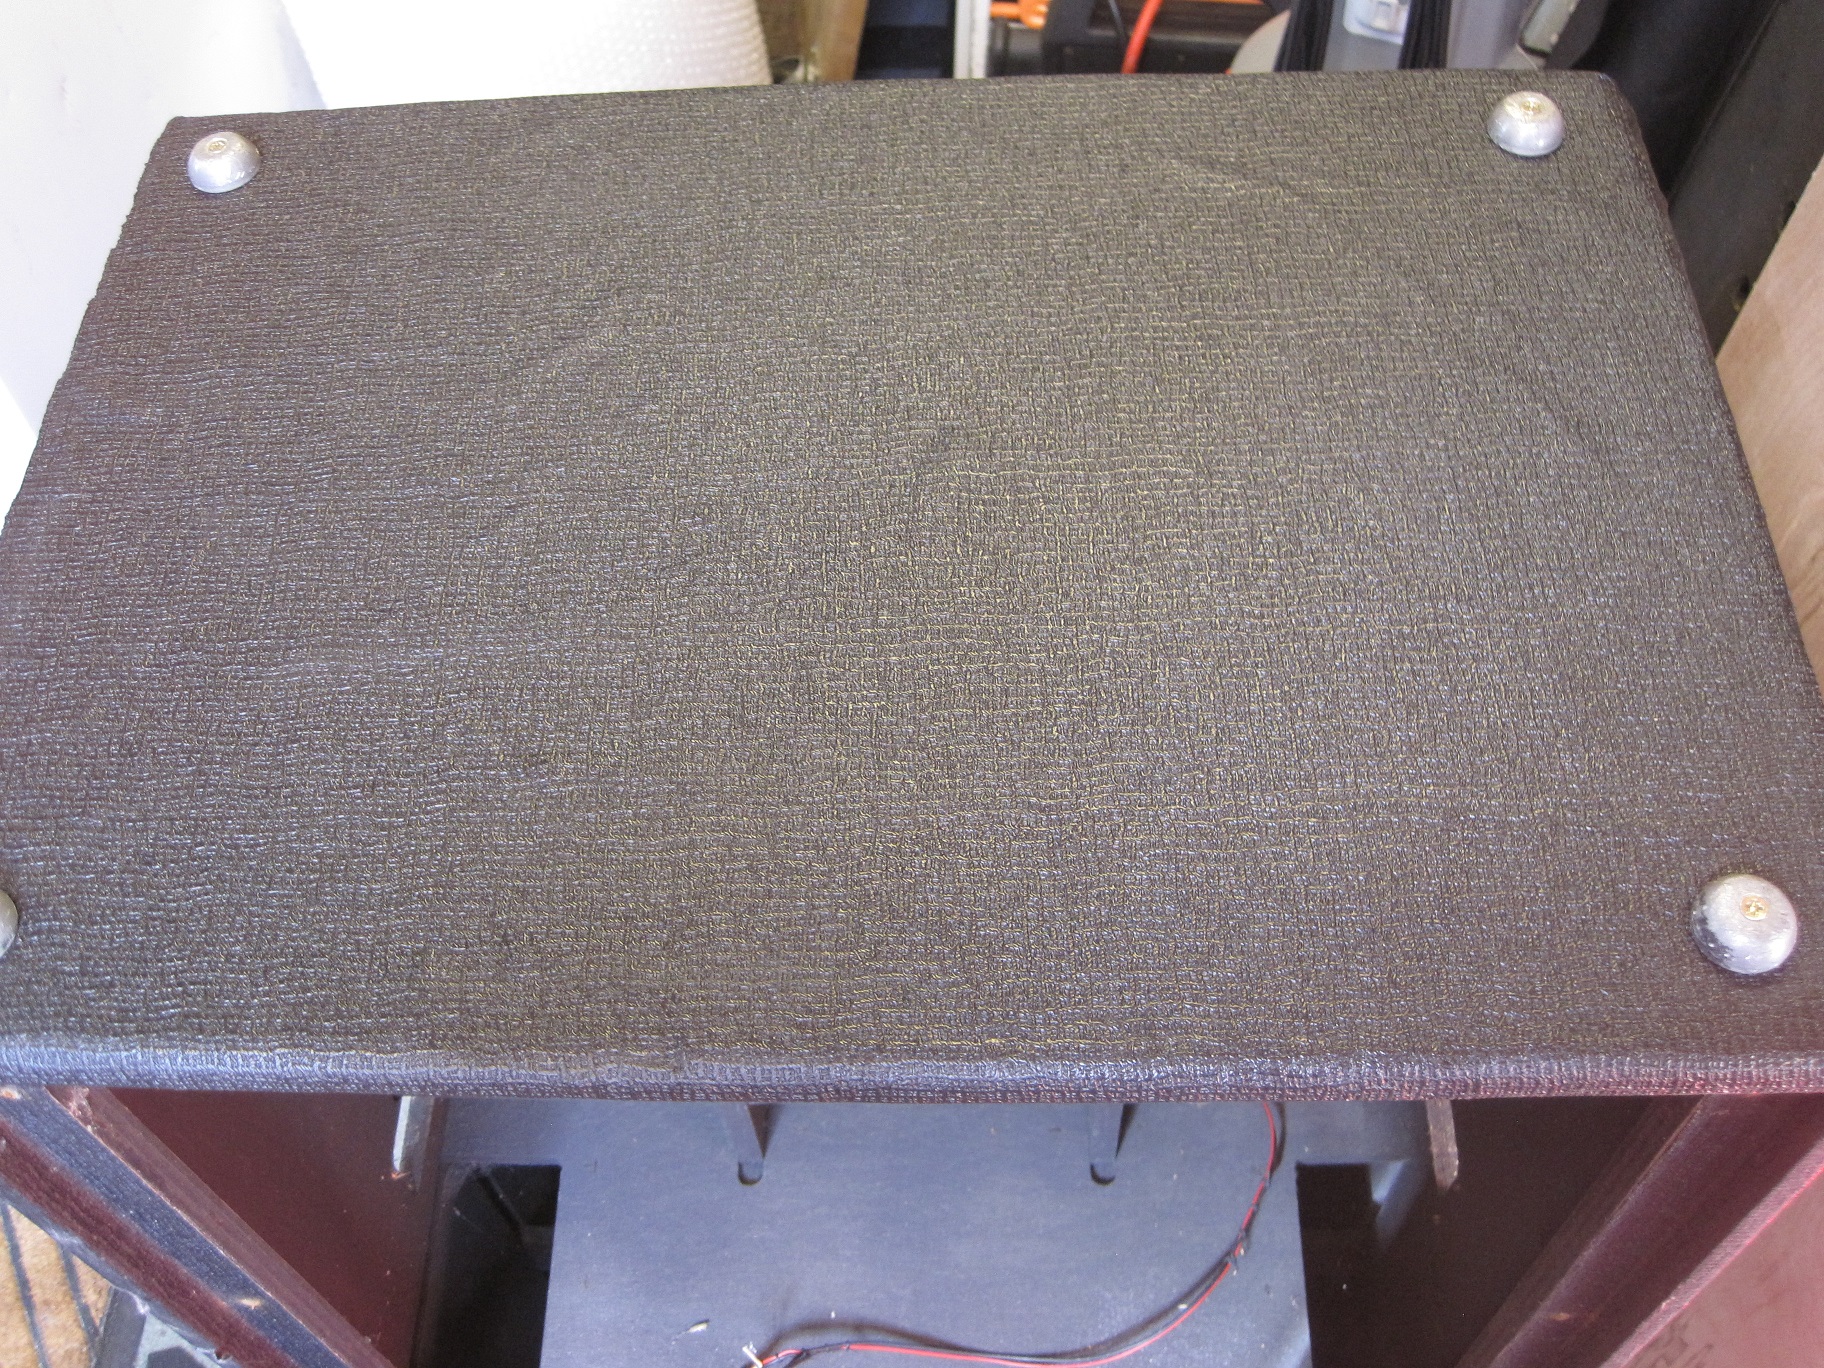
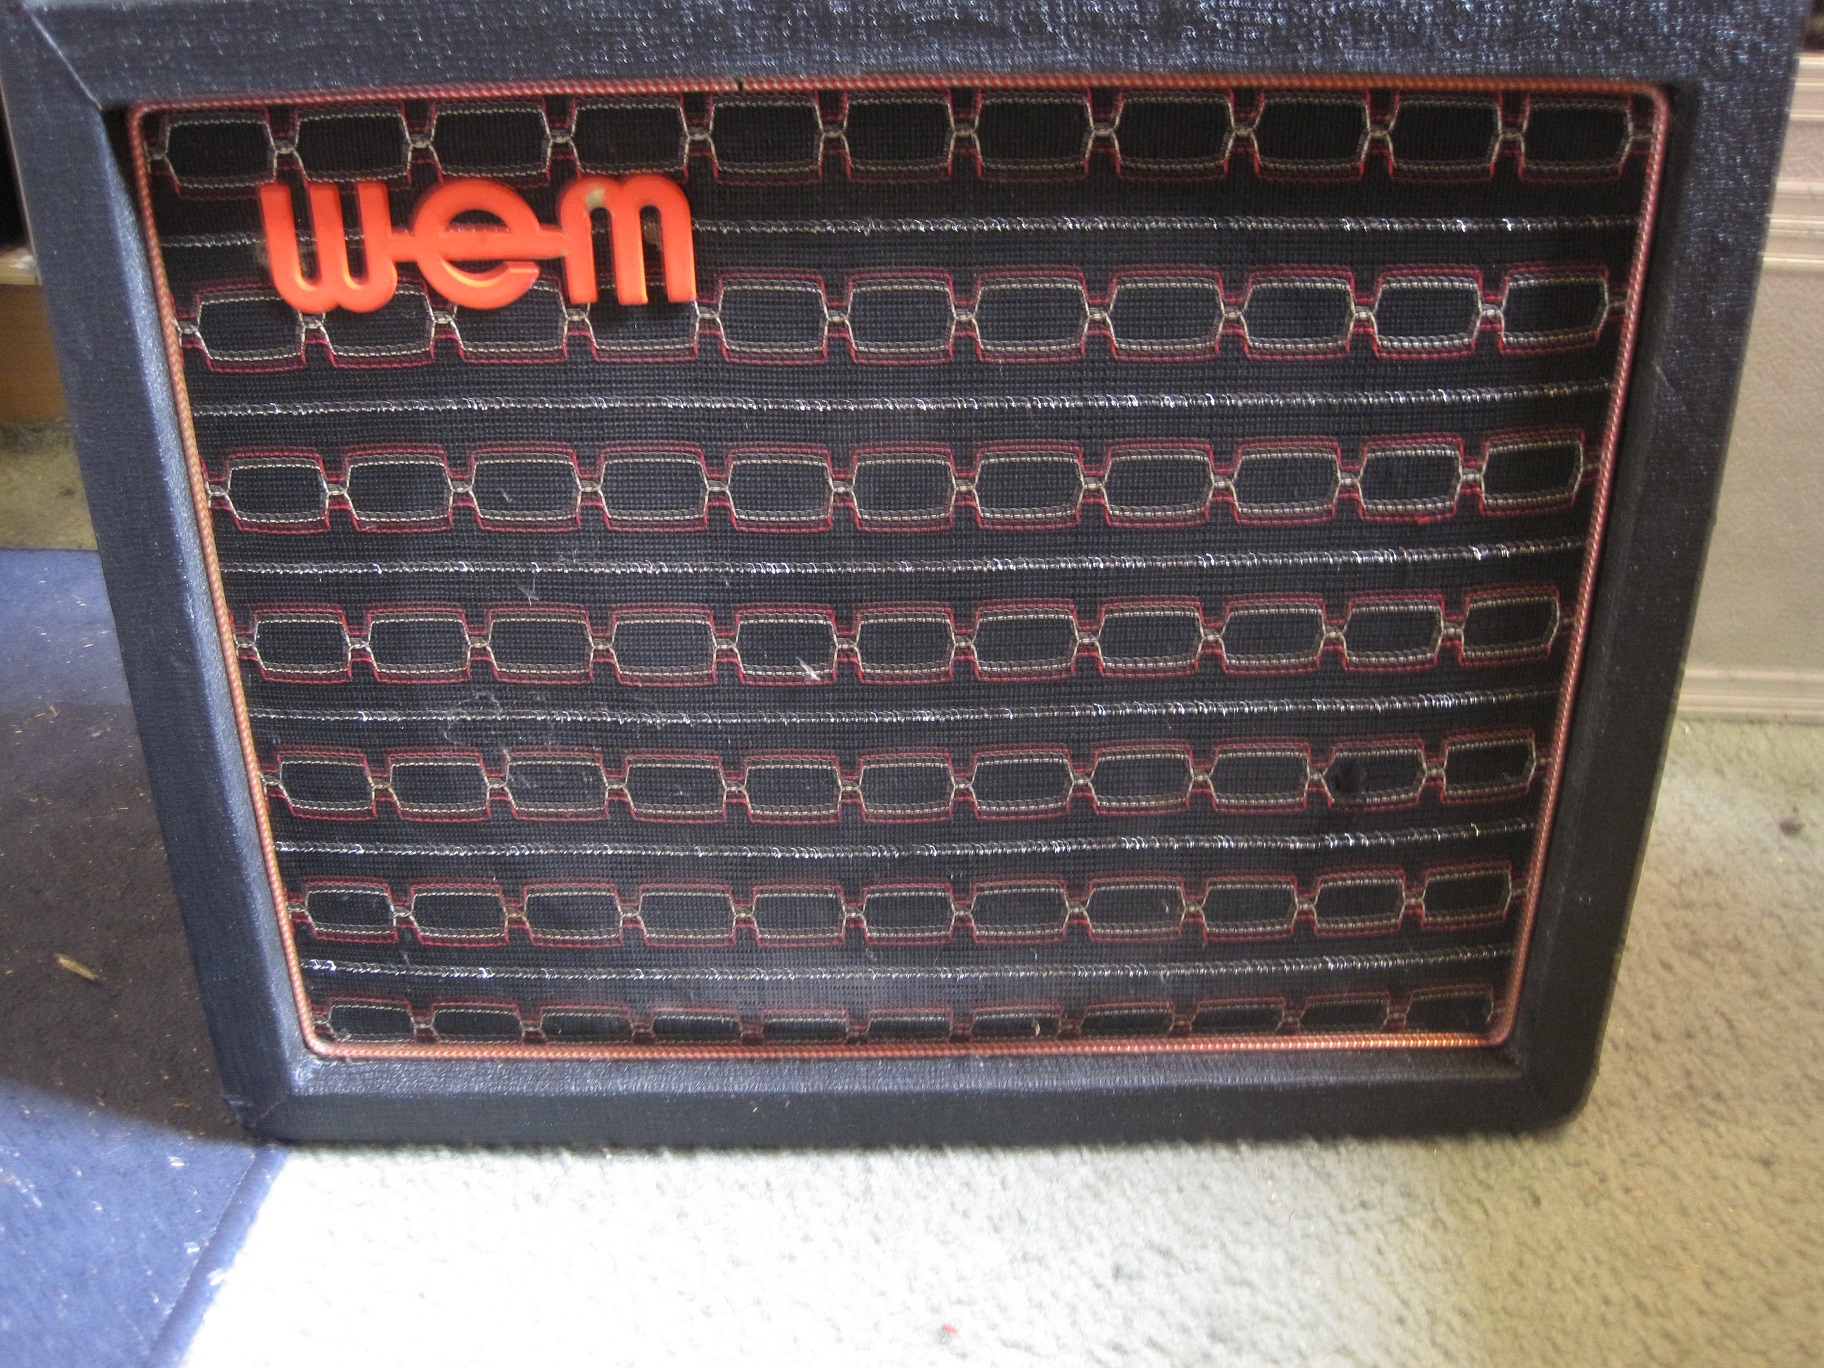
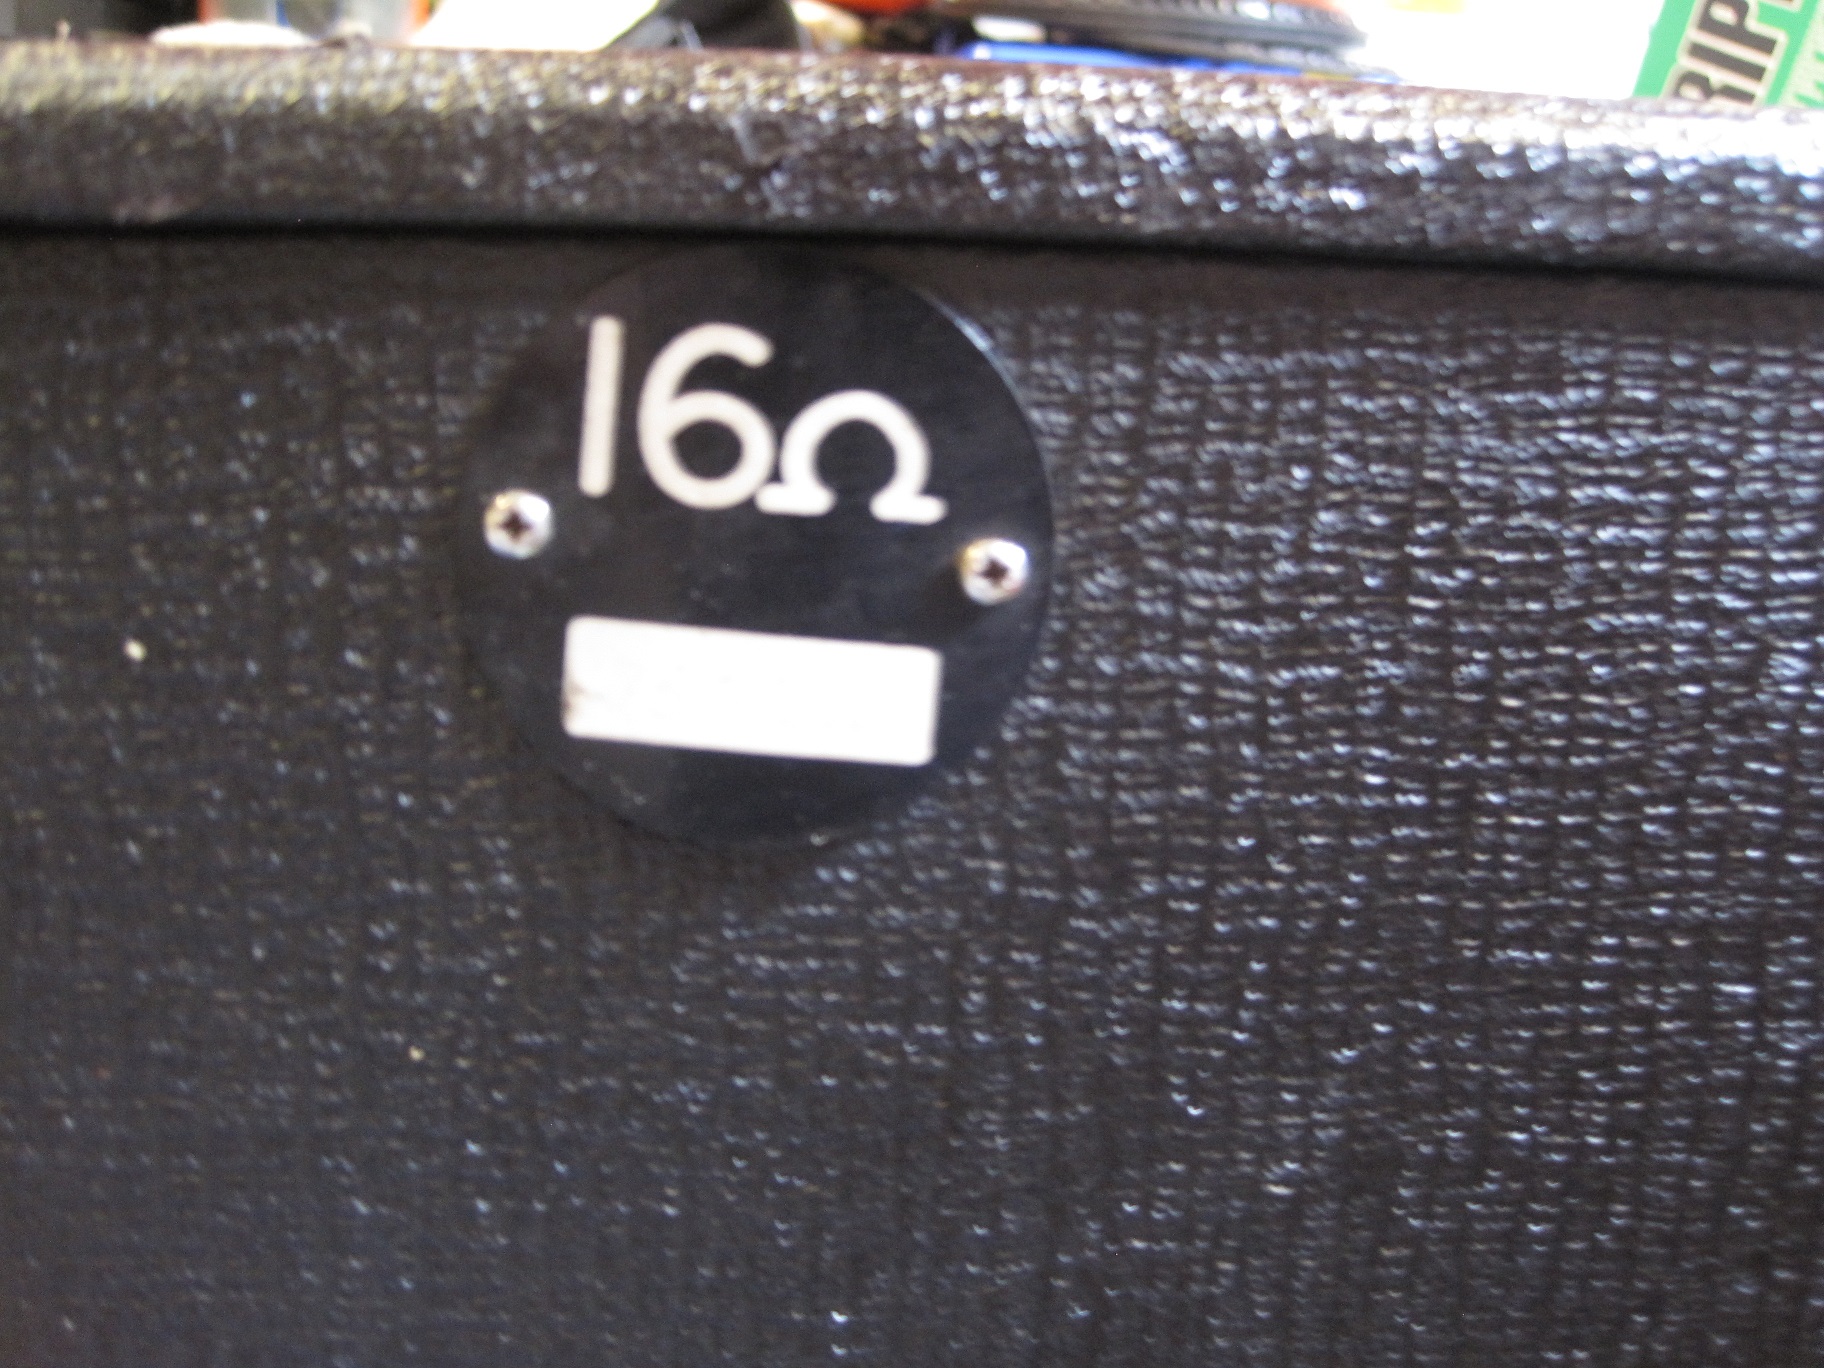
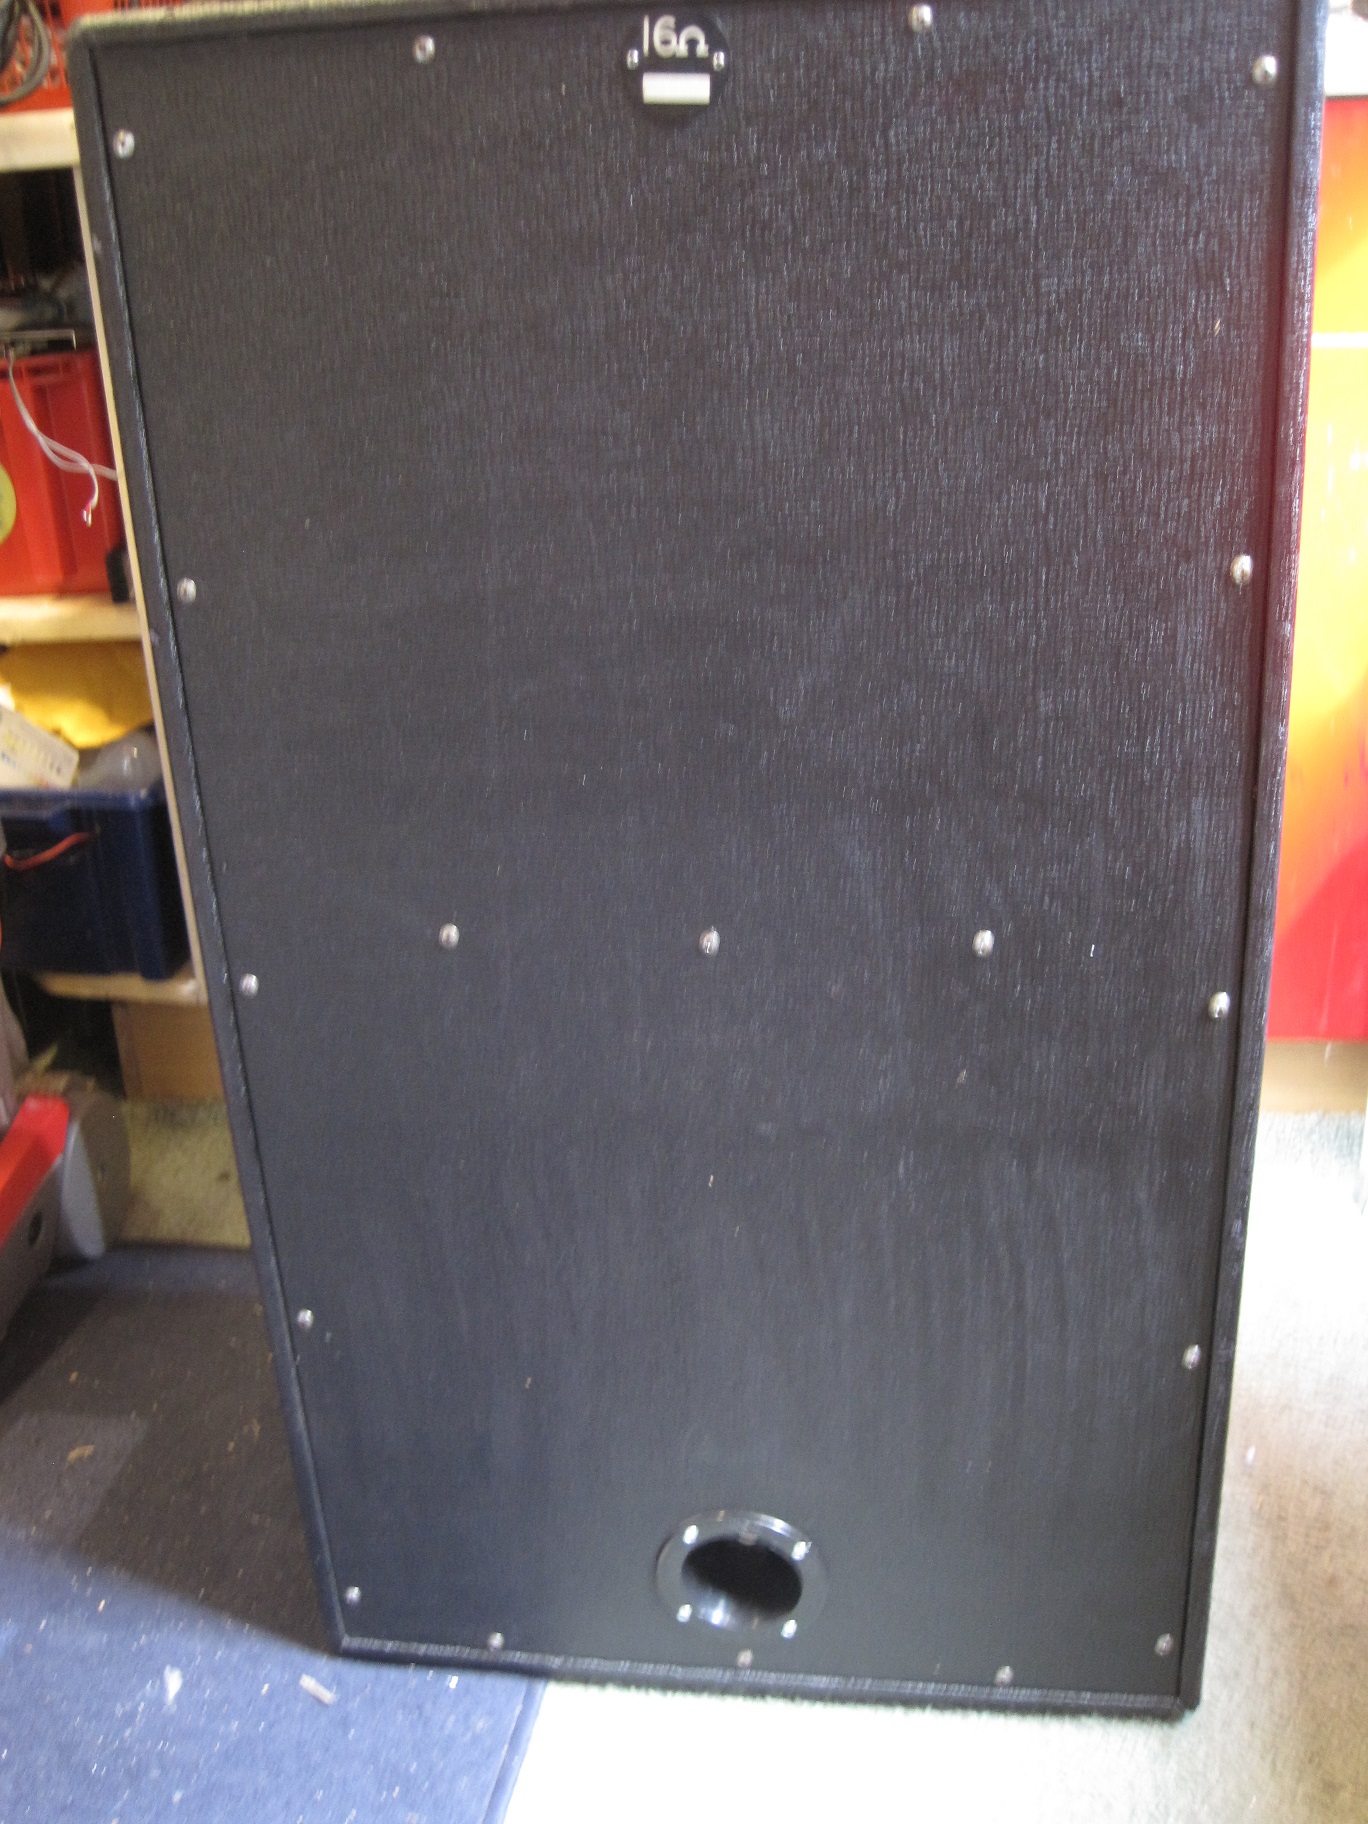
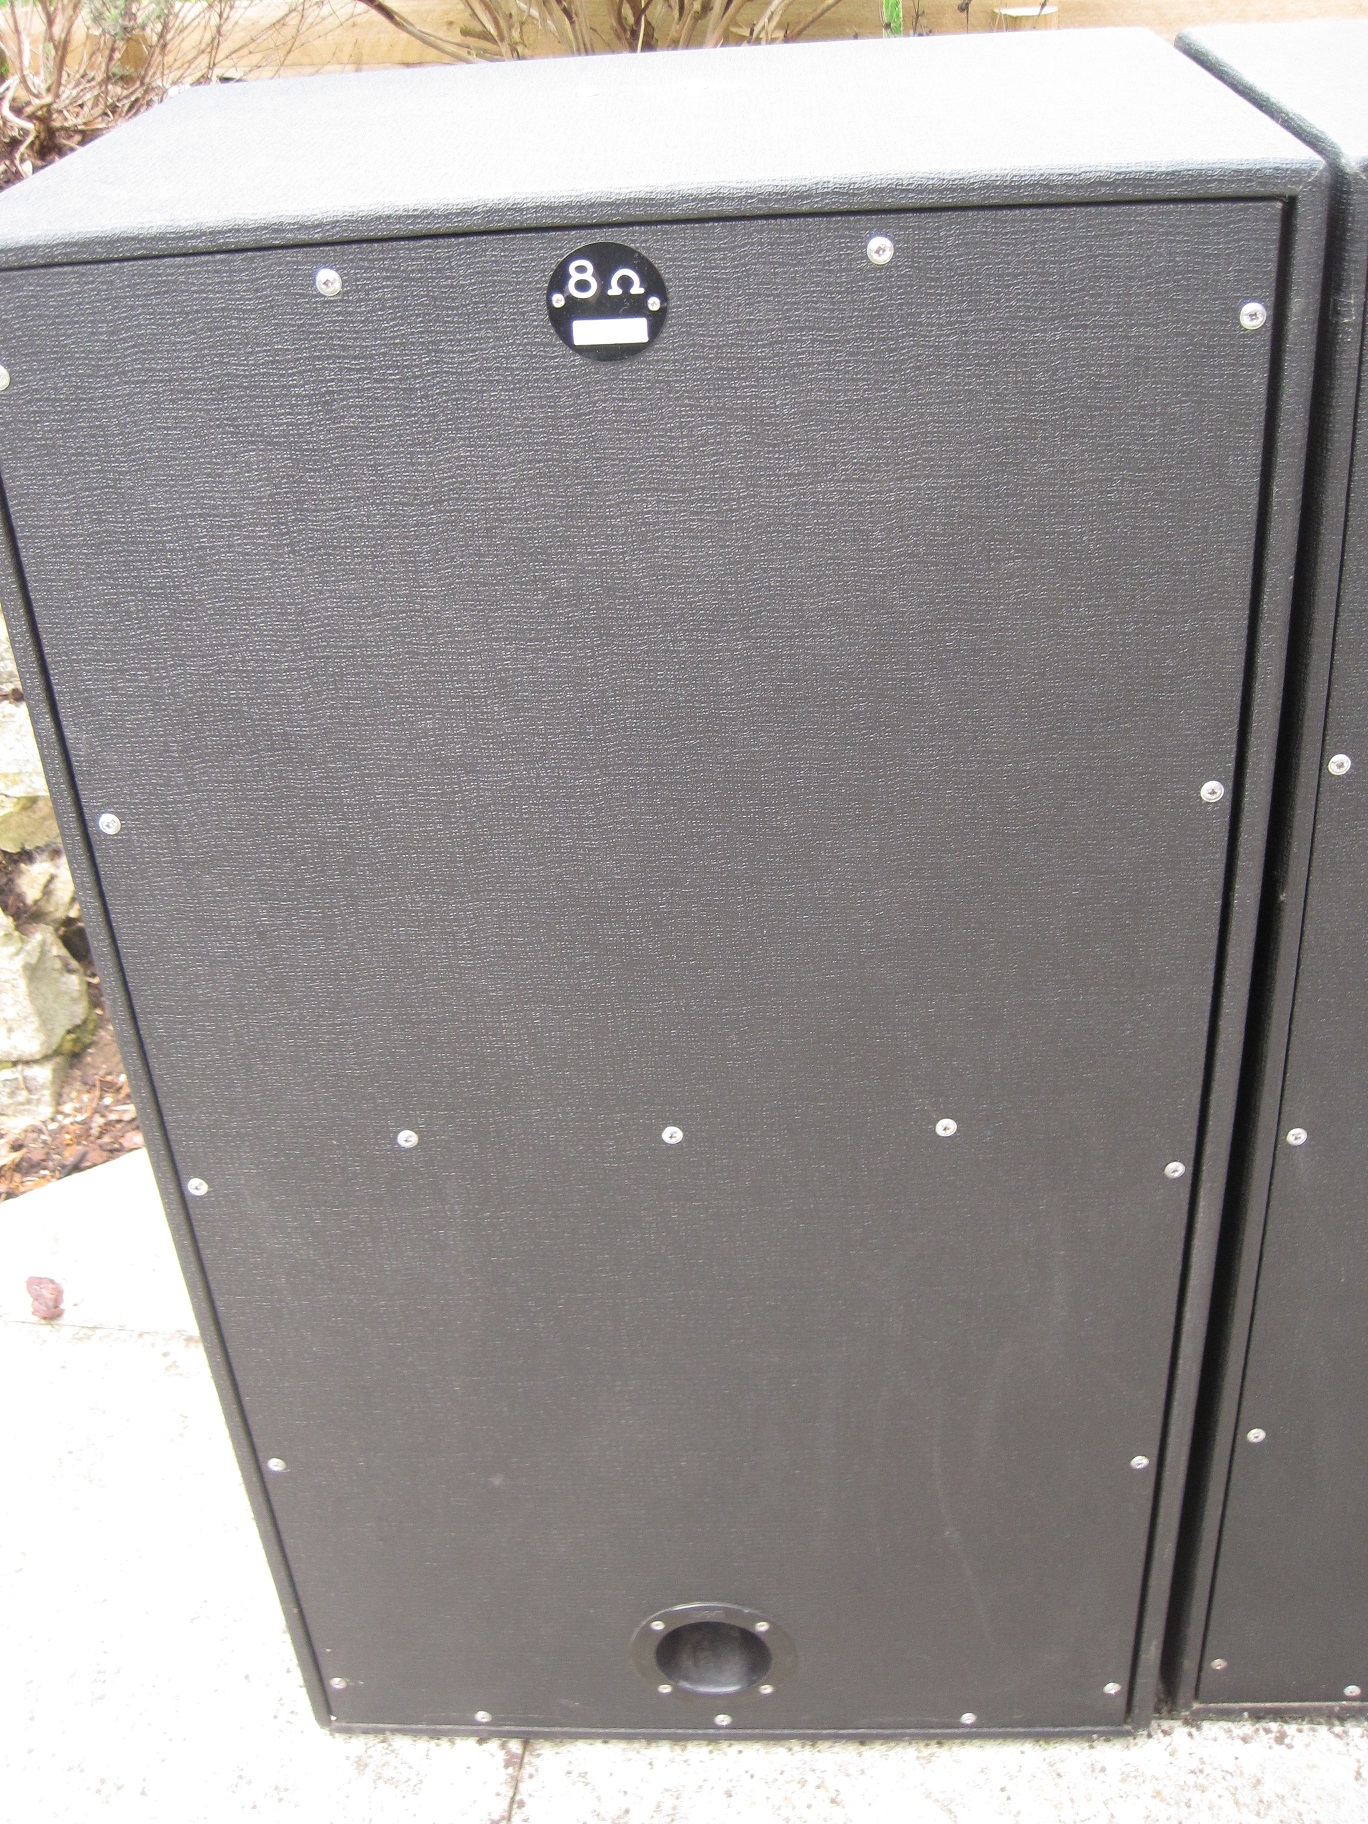
I’ve now completed the refurbishment of this cab. The bottom of the cab needed most work as a lot of the original tolex was missing and the front edge of the woodwork was badly worn. I removed what was left of the tolex and filled the front edge with filler and then rubbed it down so that it was back to the shape it should have been. I then applied a new piece of black basket-weave tolex which was wrapped over the front and rear edges so that there was no join. Joins on the bottom side edges were unavoidable so I made these as neat as possible and they are only visible on close inspection. I also fitted a set of WEM feet which were salvaged from another WEM cab. The first 2 of the following pics show the base panel as it is now and hopefully you can see the comparison with the previous picture. I could have removed the lower front grill cloth to clean and repair it but, on this cab, the grill is attached to a secondary frame which is pinned and glued to the main baffle board and it could only have been removed with a hammer, chisel and brute force. I’ve removed this frame on other cabs which were in worse condition but it is almost inevitable that the frame would be damaged and need replacing so I took the decision that the condition of the grill cloth did not justify the time, effort and risk involved in removing the frame. So I left it well alone. I replaced the plastic handles with a matching pair of handles that I had spare. I could also have removed and painted the red WEM logo. The logo is held in place by studs on the back of the metal log and some glue. Again, this is something I’ve done on other cabs but it has the risk of causing more damage to the logo so, again, I decided to leave well alone. So all that was left was to repair any small tears in the tolex and then clean and polish the tolex. I can’t say it looks as good as new because it doesn’t. But it does look a lot better and cleaner than it did. The serial no. for this cab is hand-written on the impedance label at the back. I’ve tried to show this in one of the pics but the writing is badly faded and so doesn’t show up in the pic..