Conversion of a 1×15″ cab to a 2×12″ cab with refurbishment.
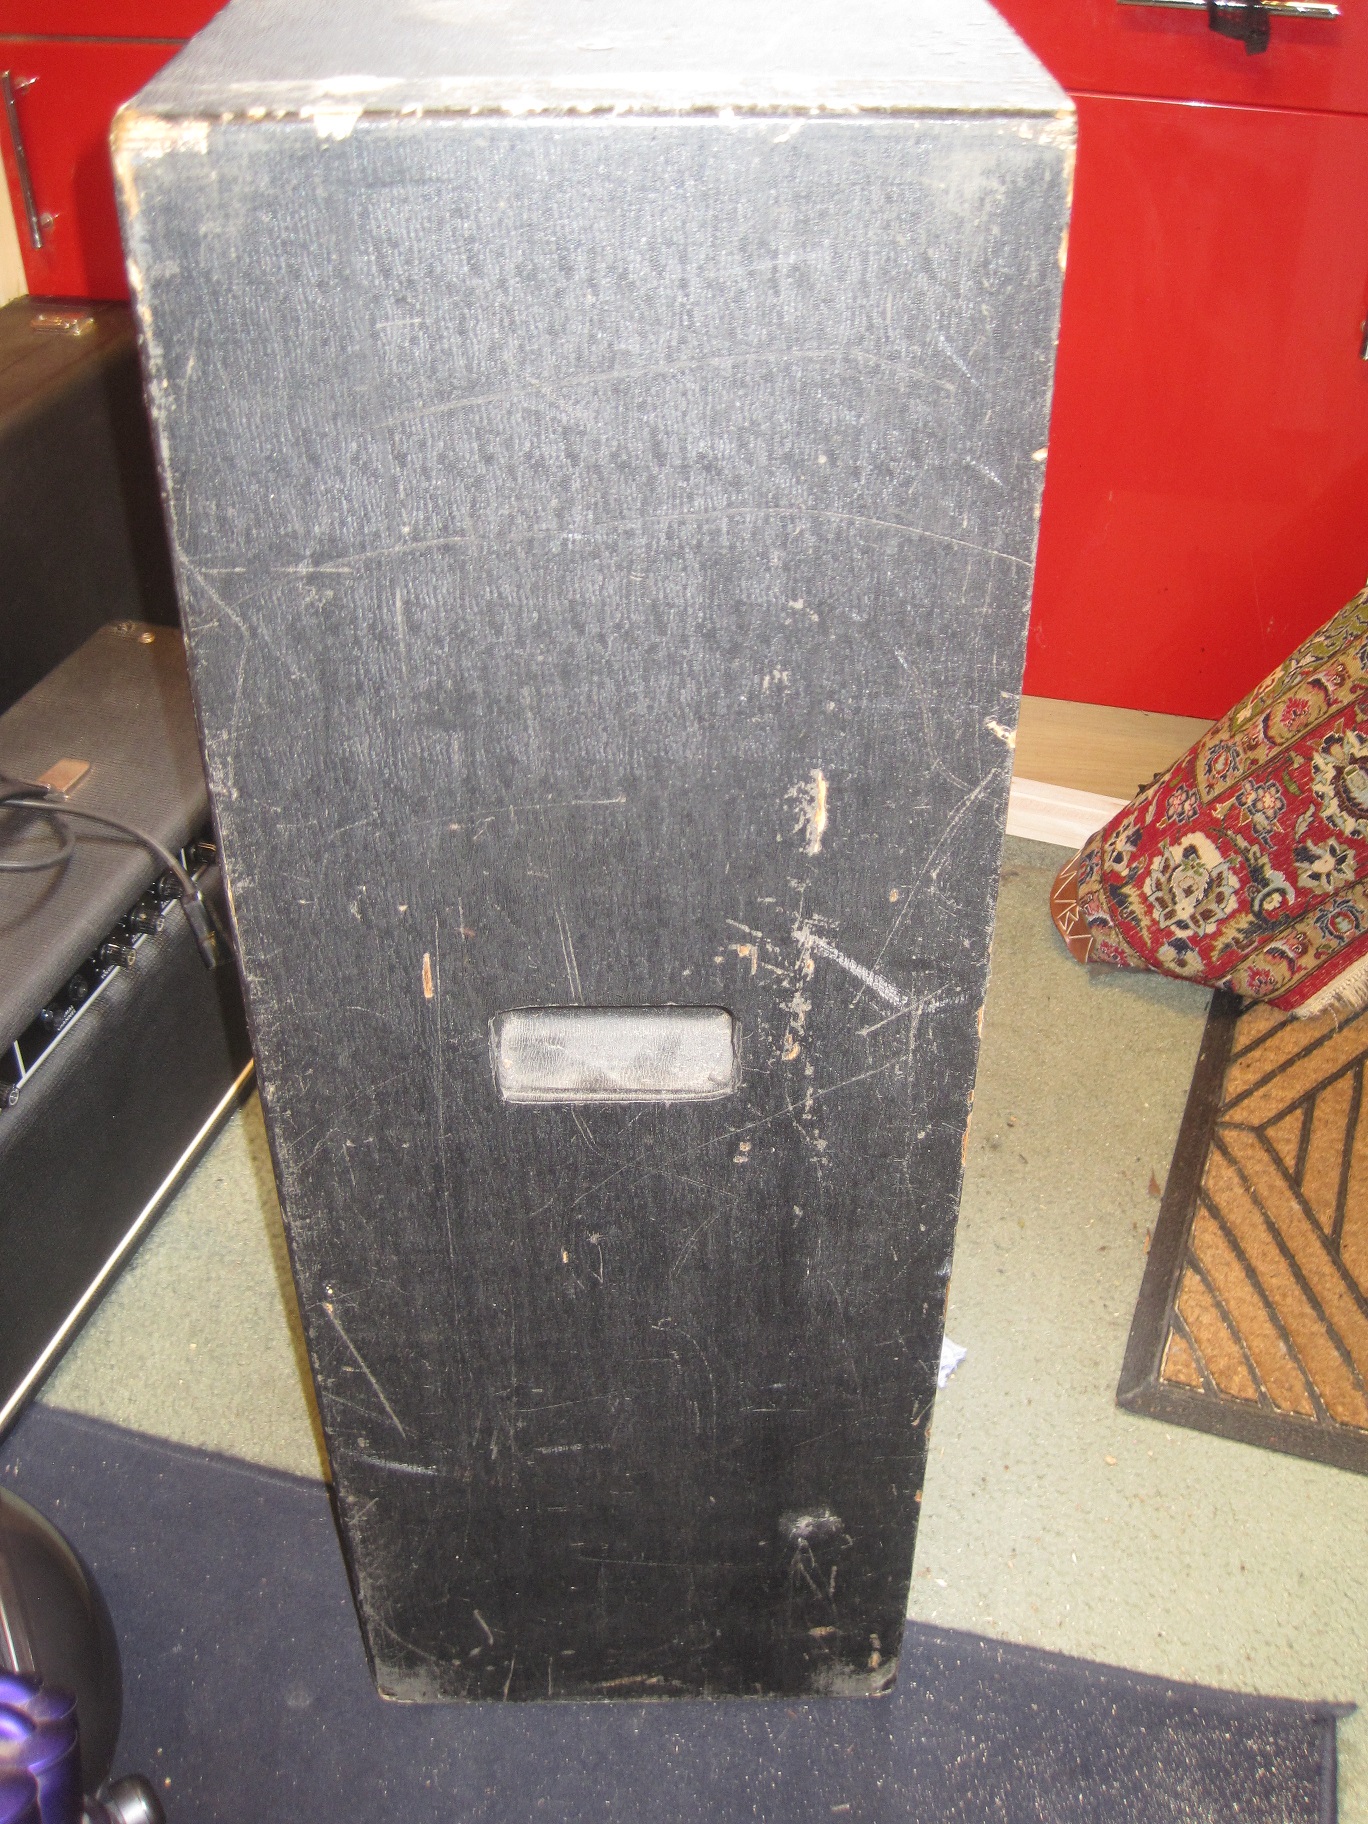
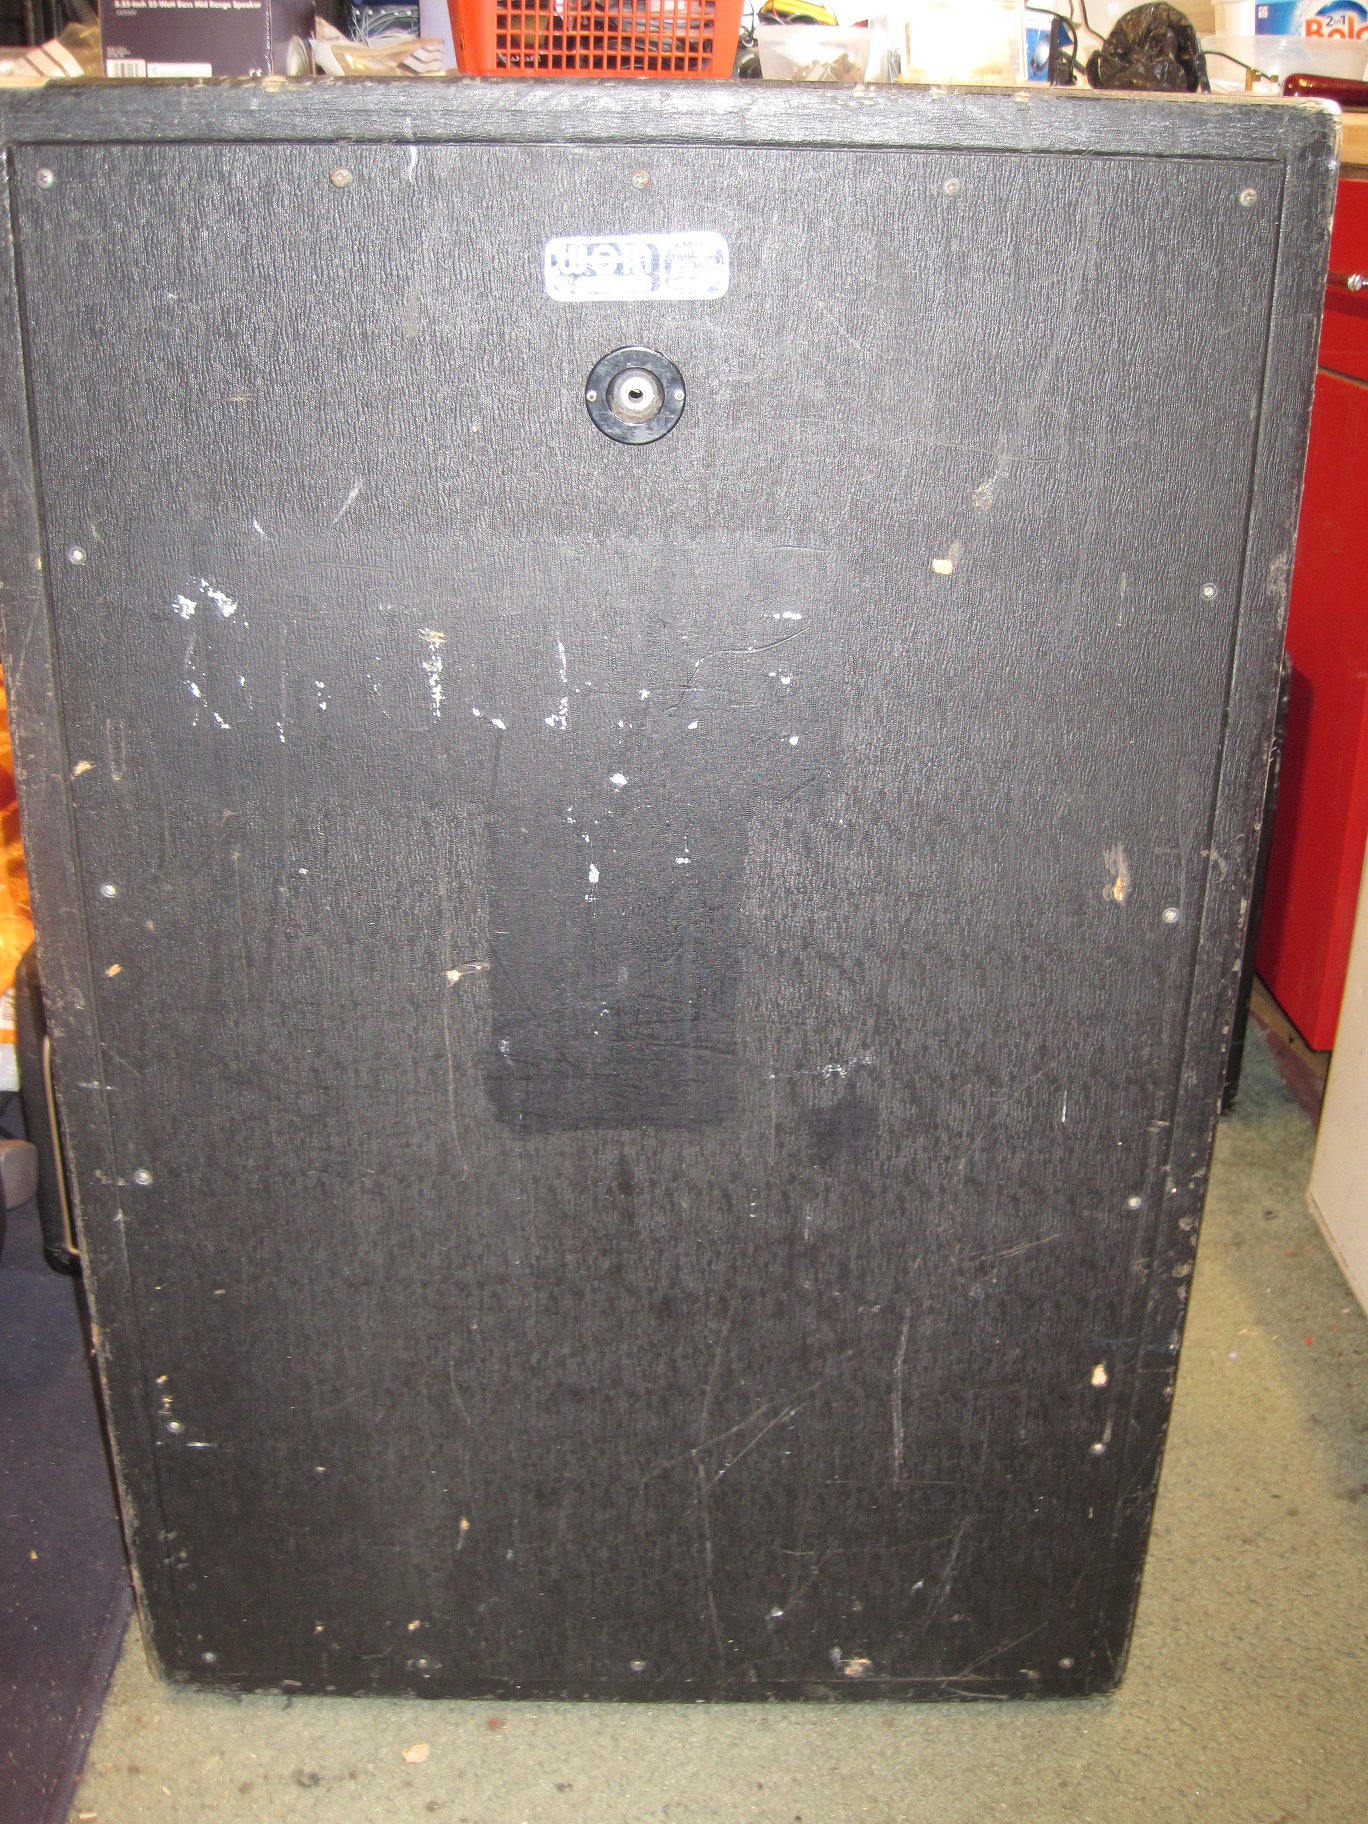
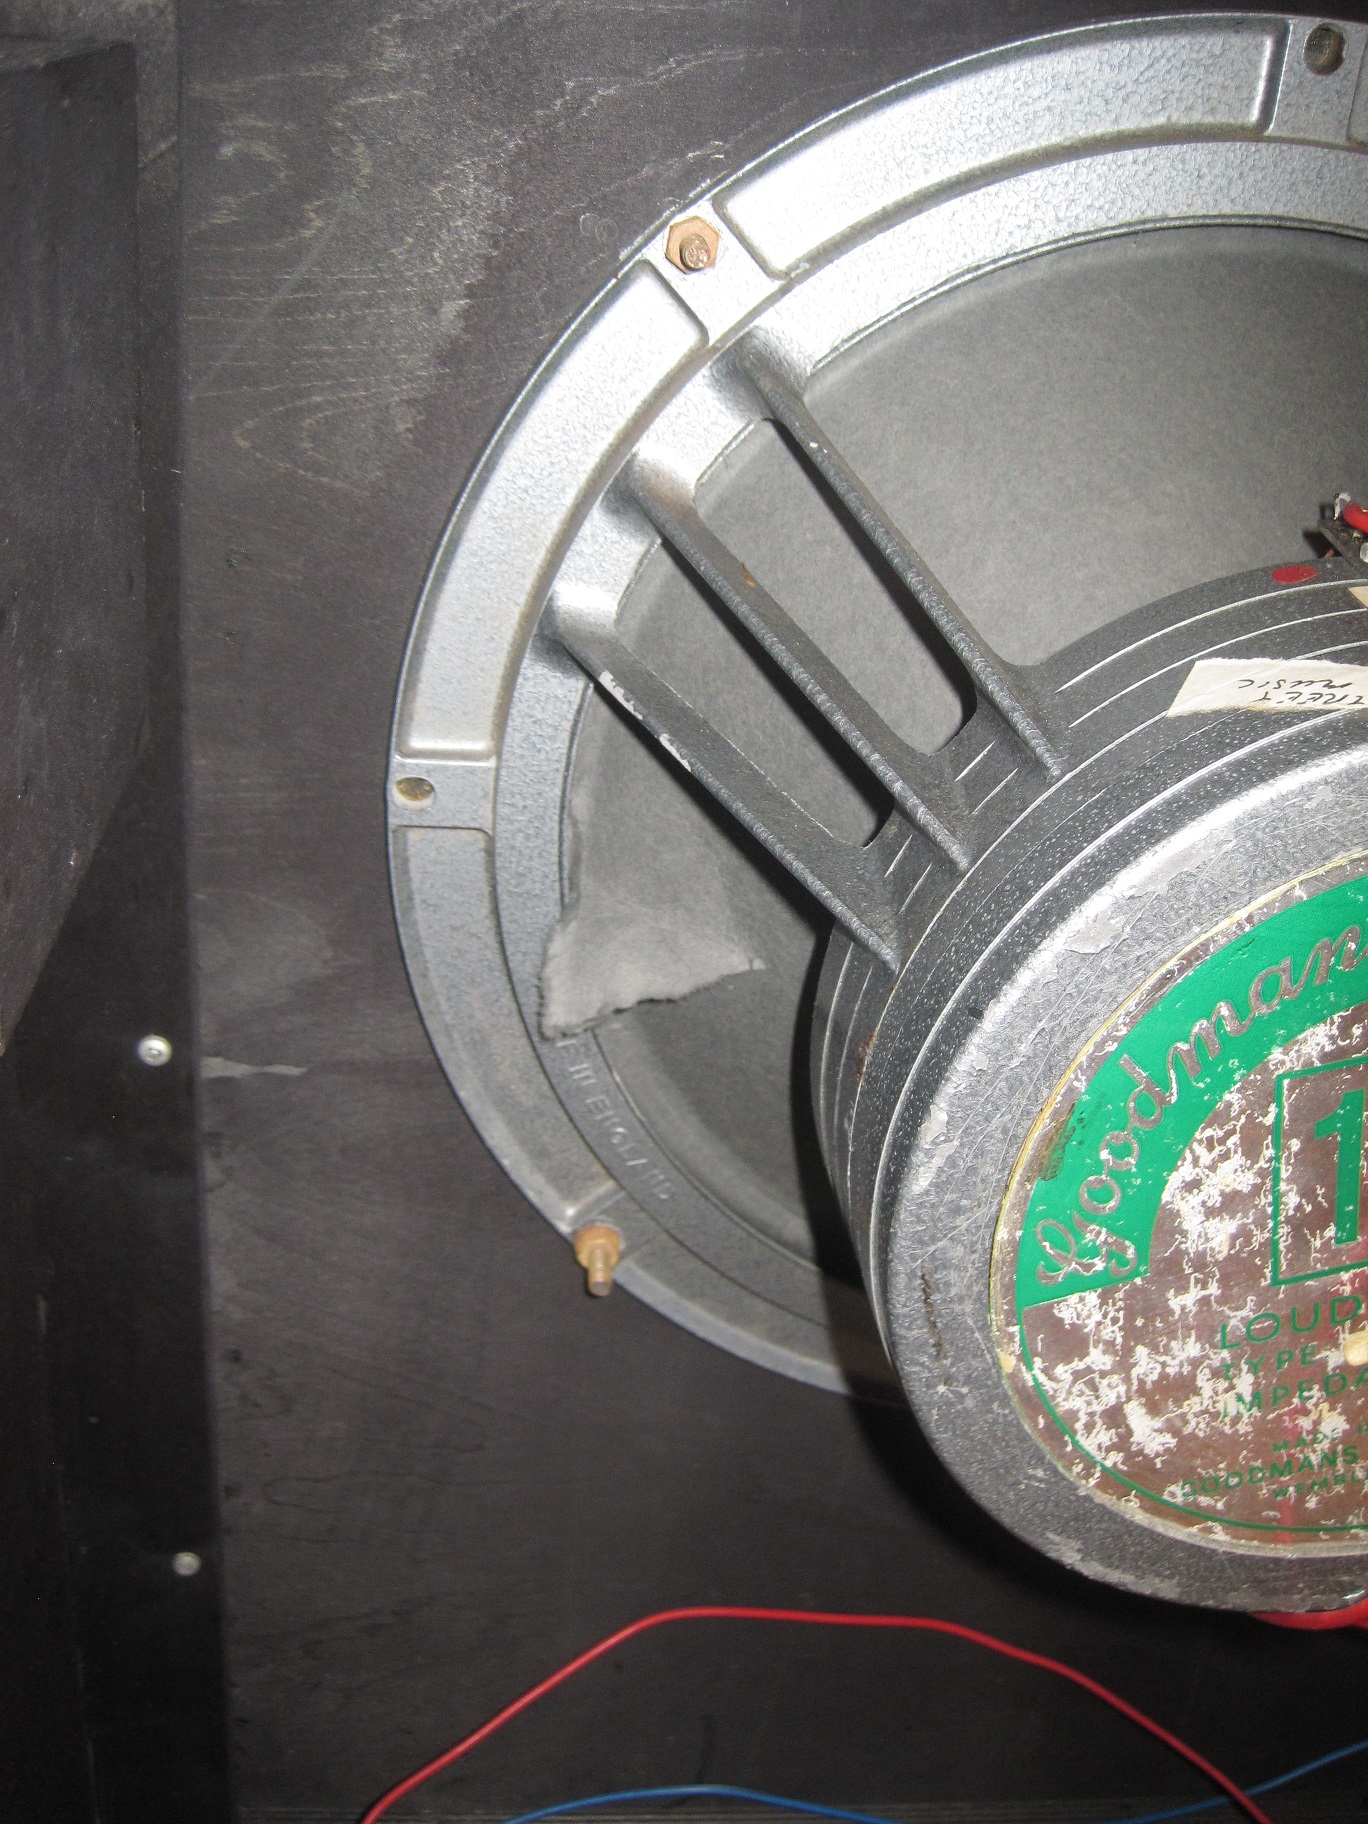
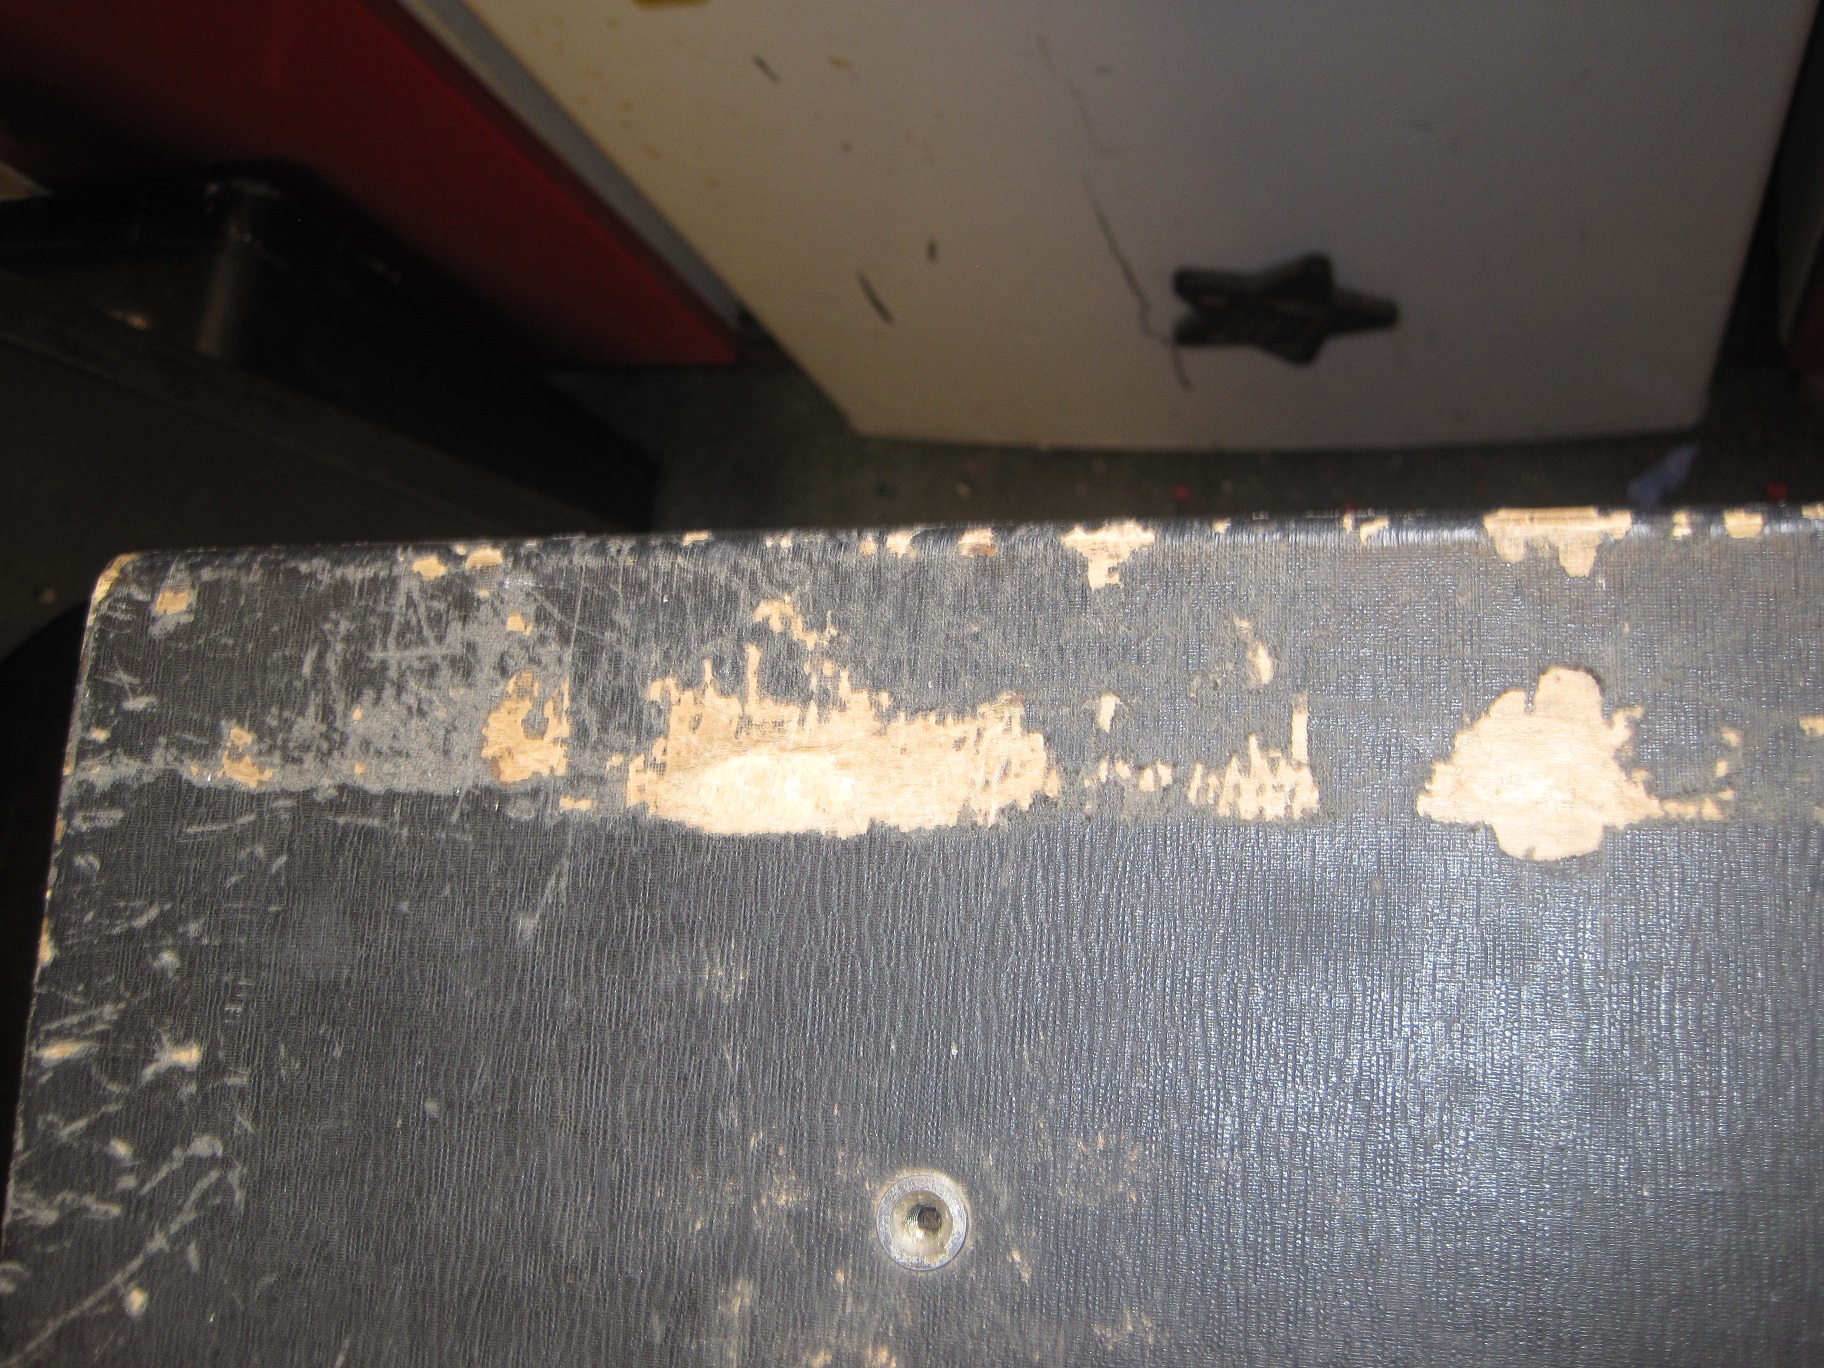
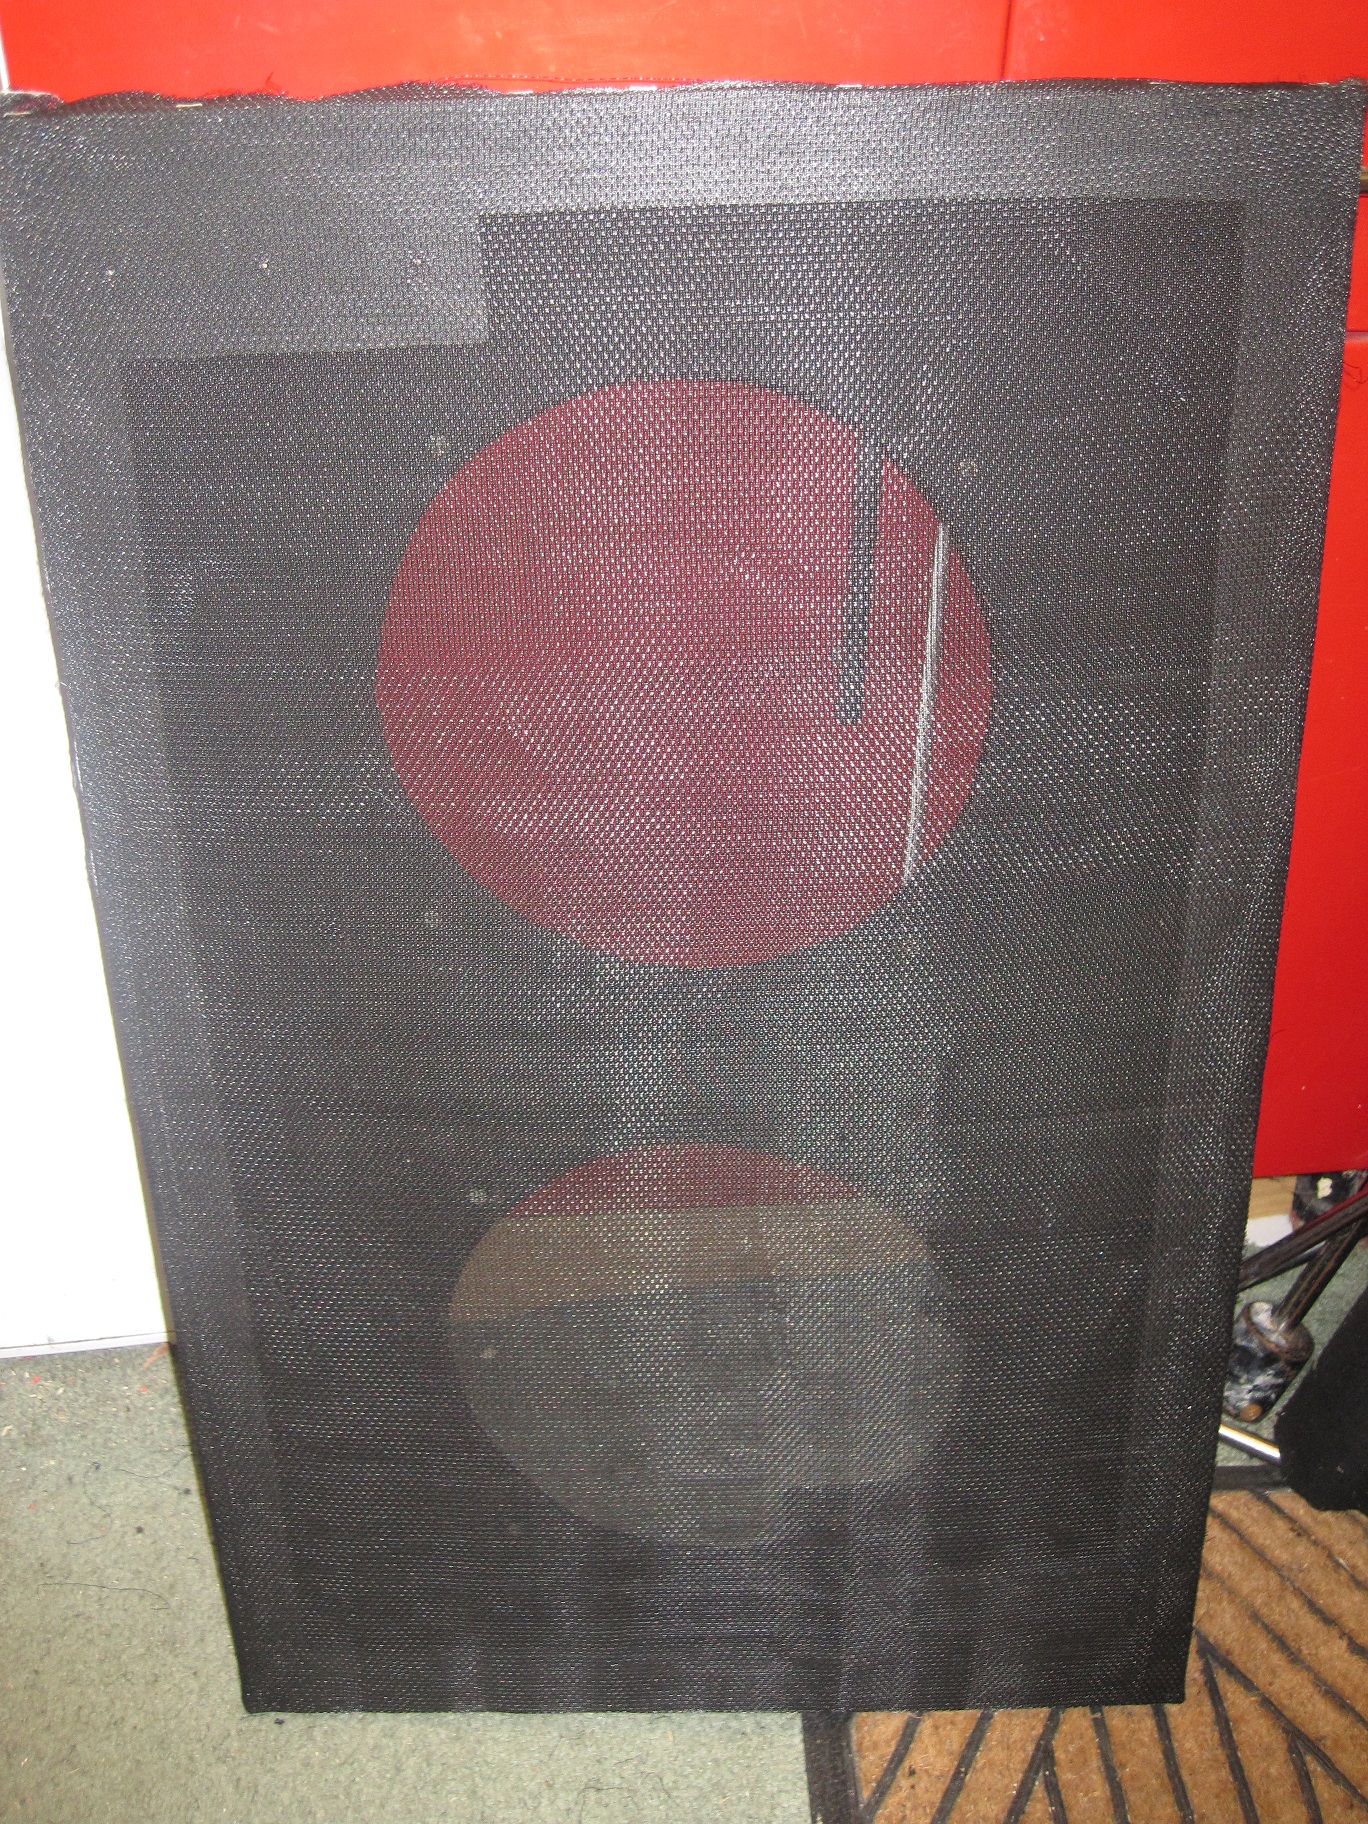
The first few pictures show the cab as it was when I received it. It contained a working but damaged Goodmans 15″ driver. It’s an early version of the cab (with the amp fixing holes at the top) so it has the thin black rexine which had lots of marks and areas where it was worn away. Also, the grill cloth had several holes and was saggy.
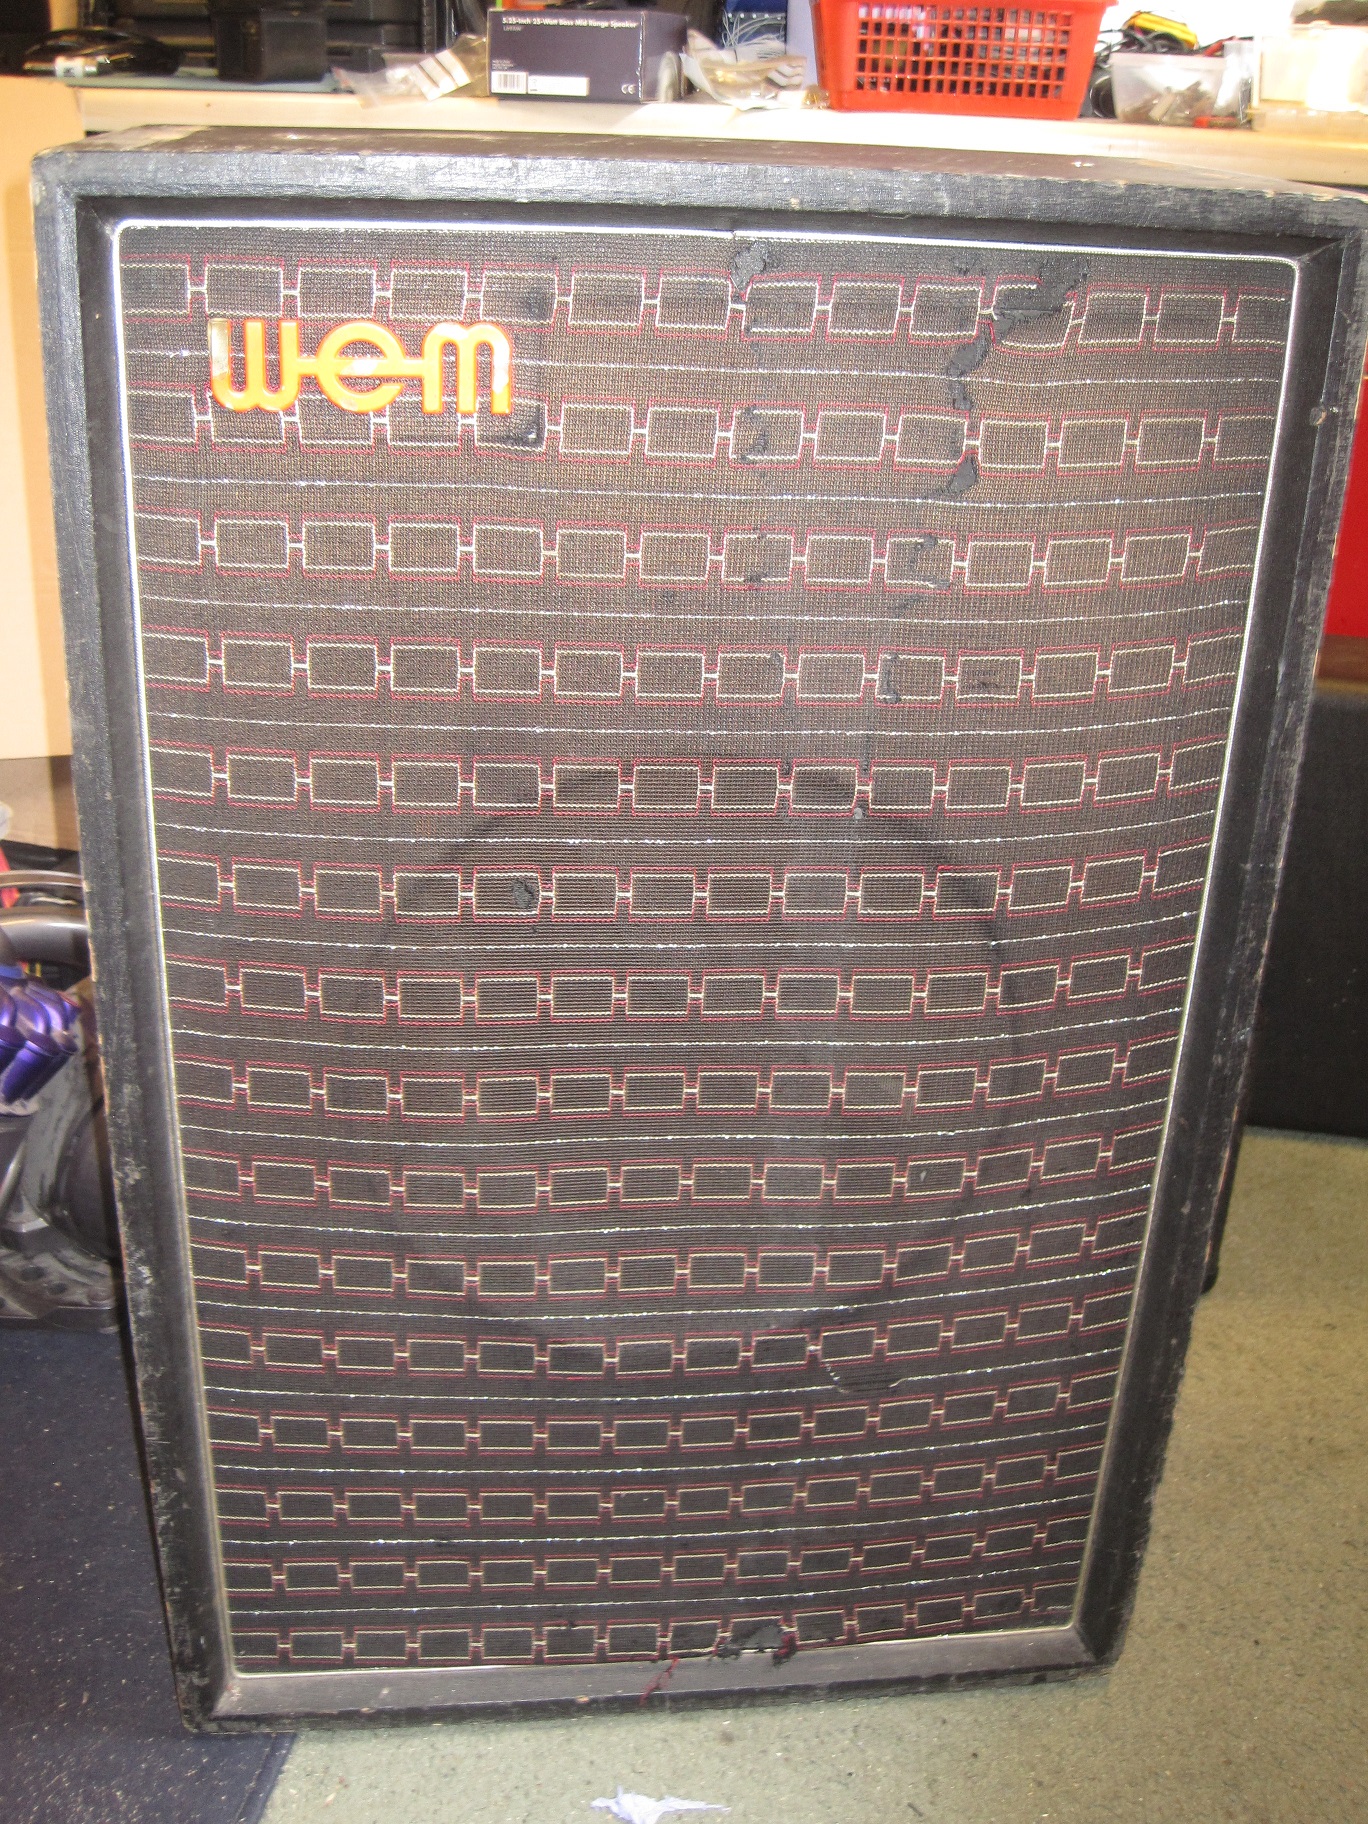


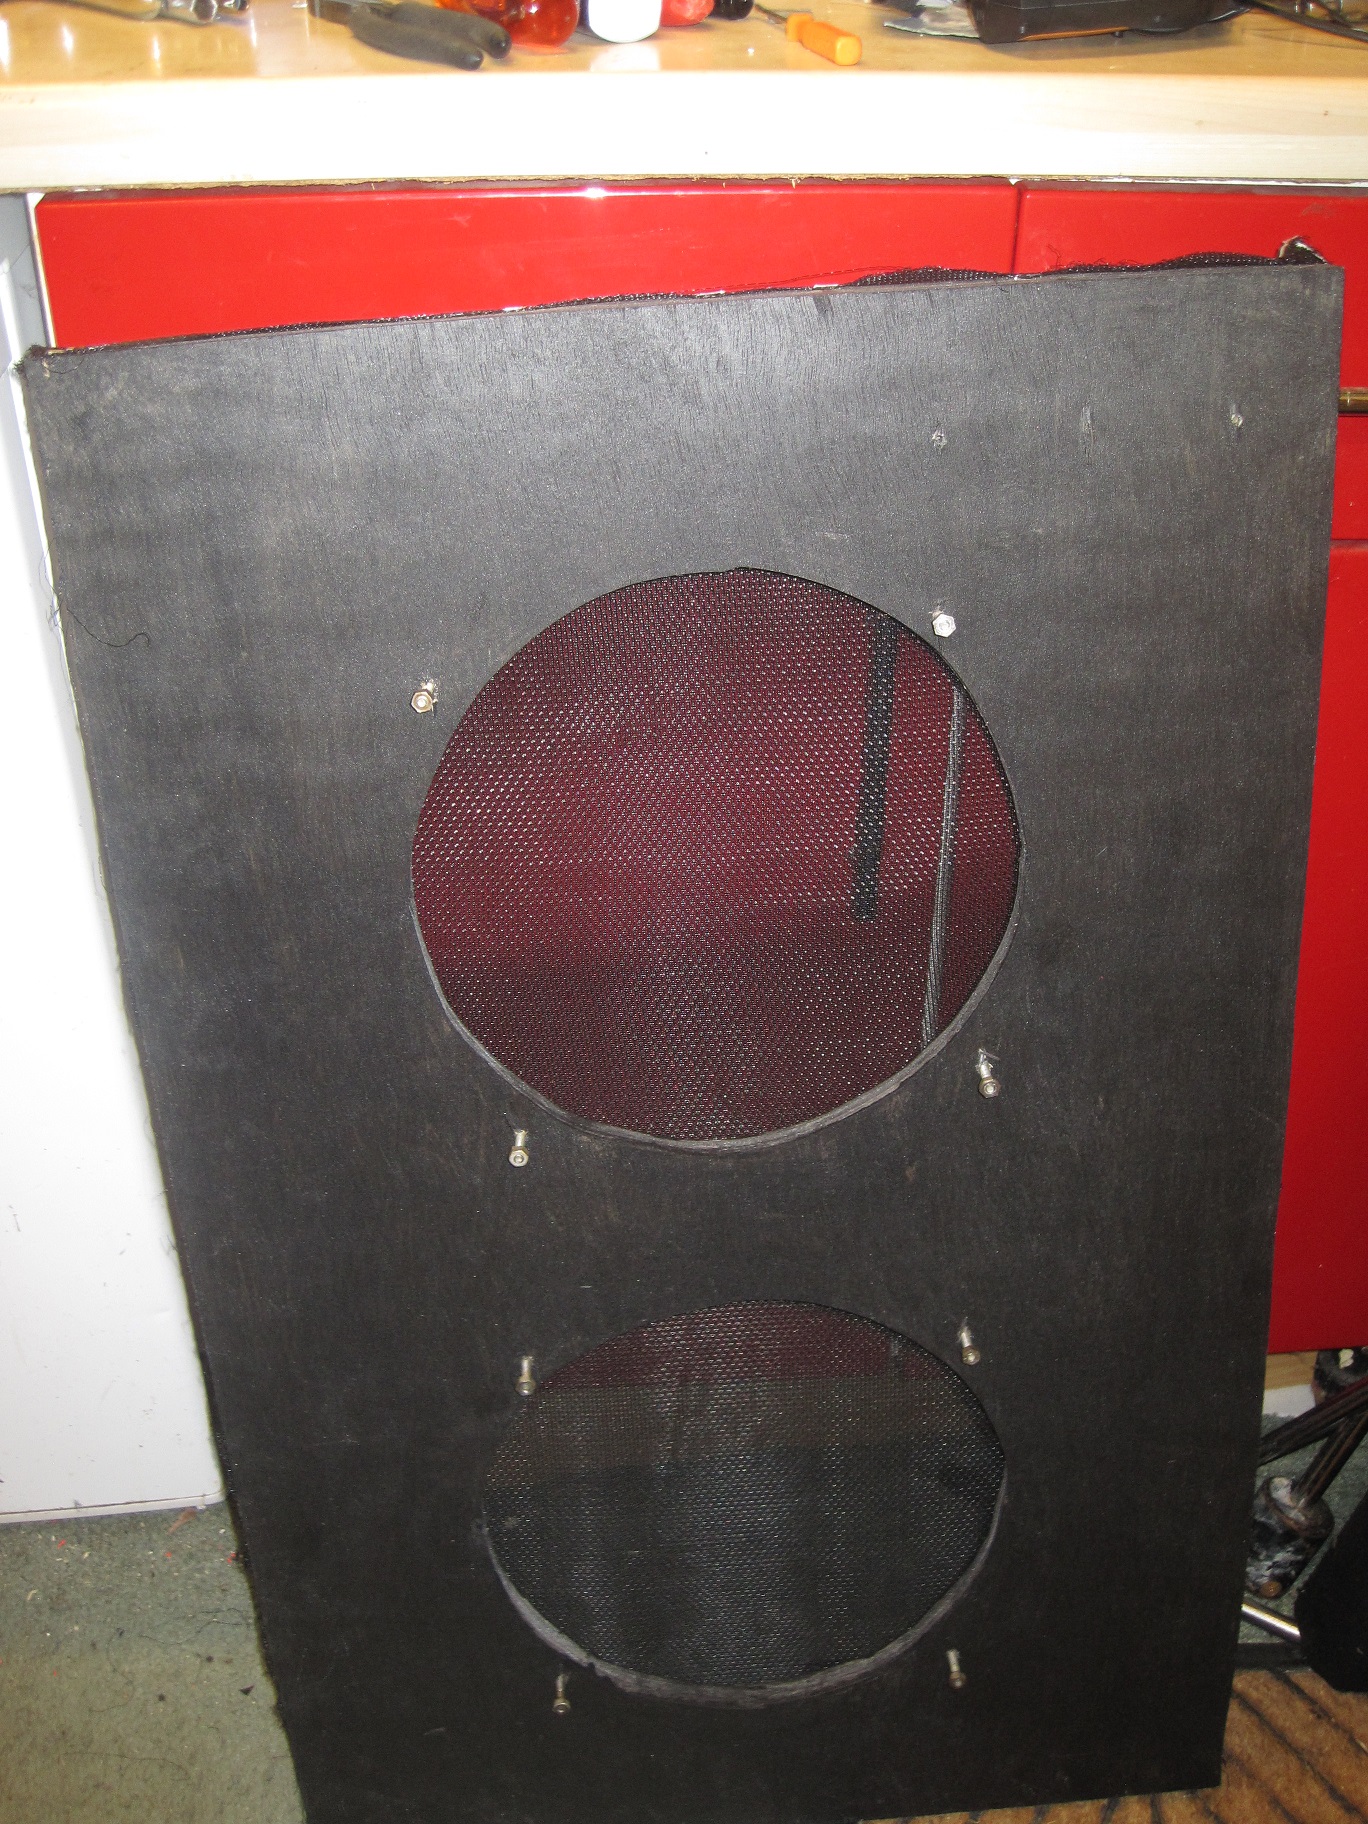
First step was to remove the front baffle. Fortunately it was just screwed in place and so was fairly easy to remove.
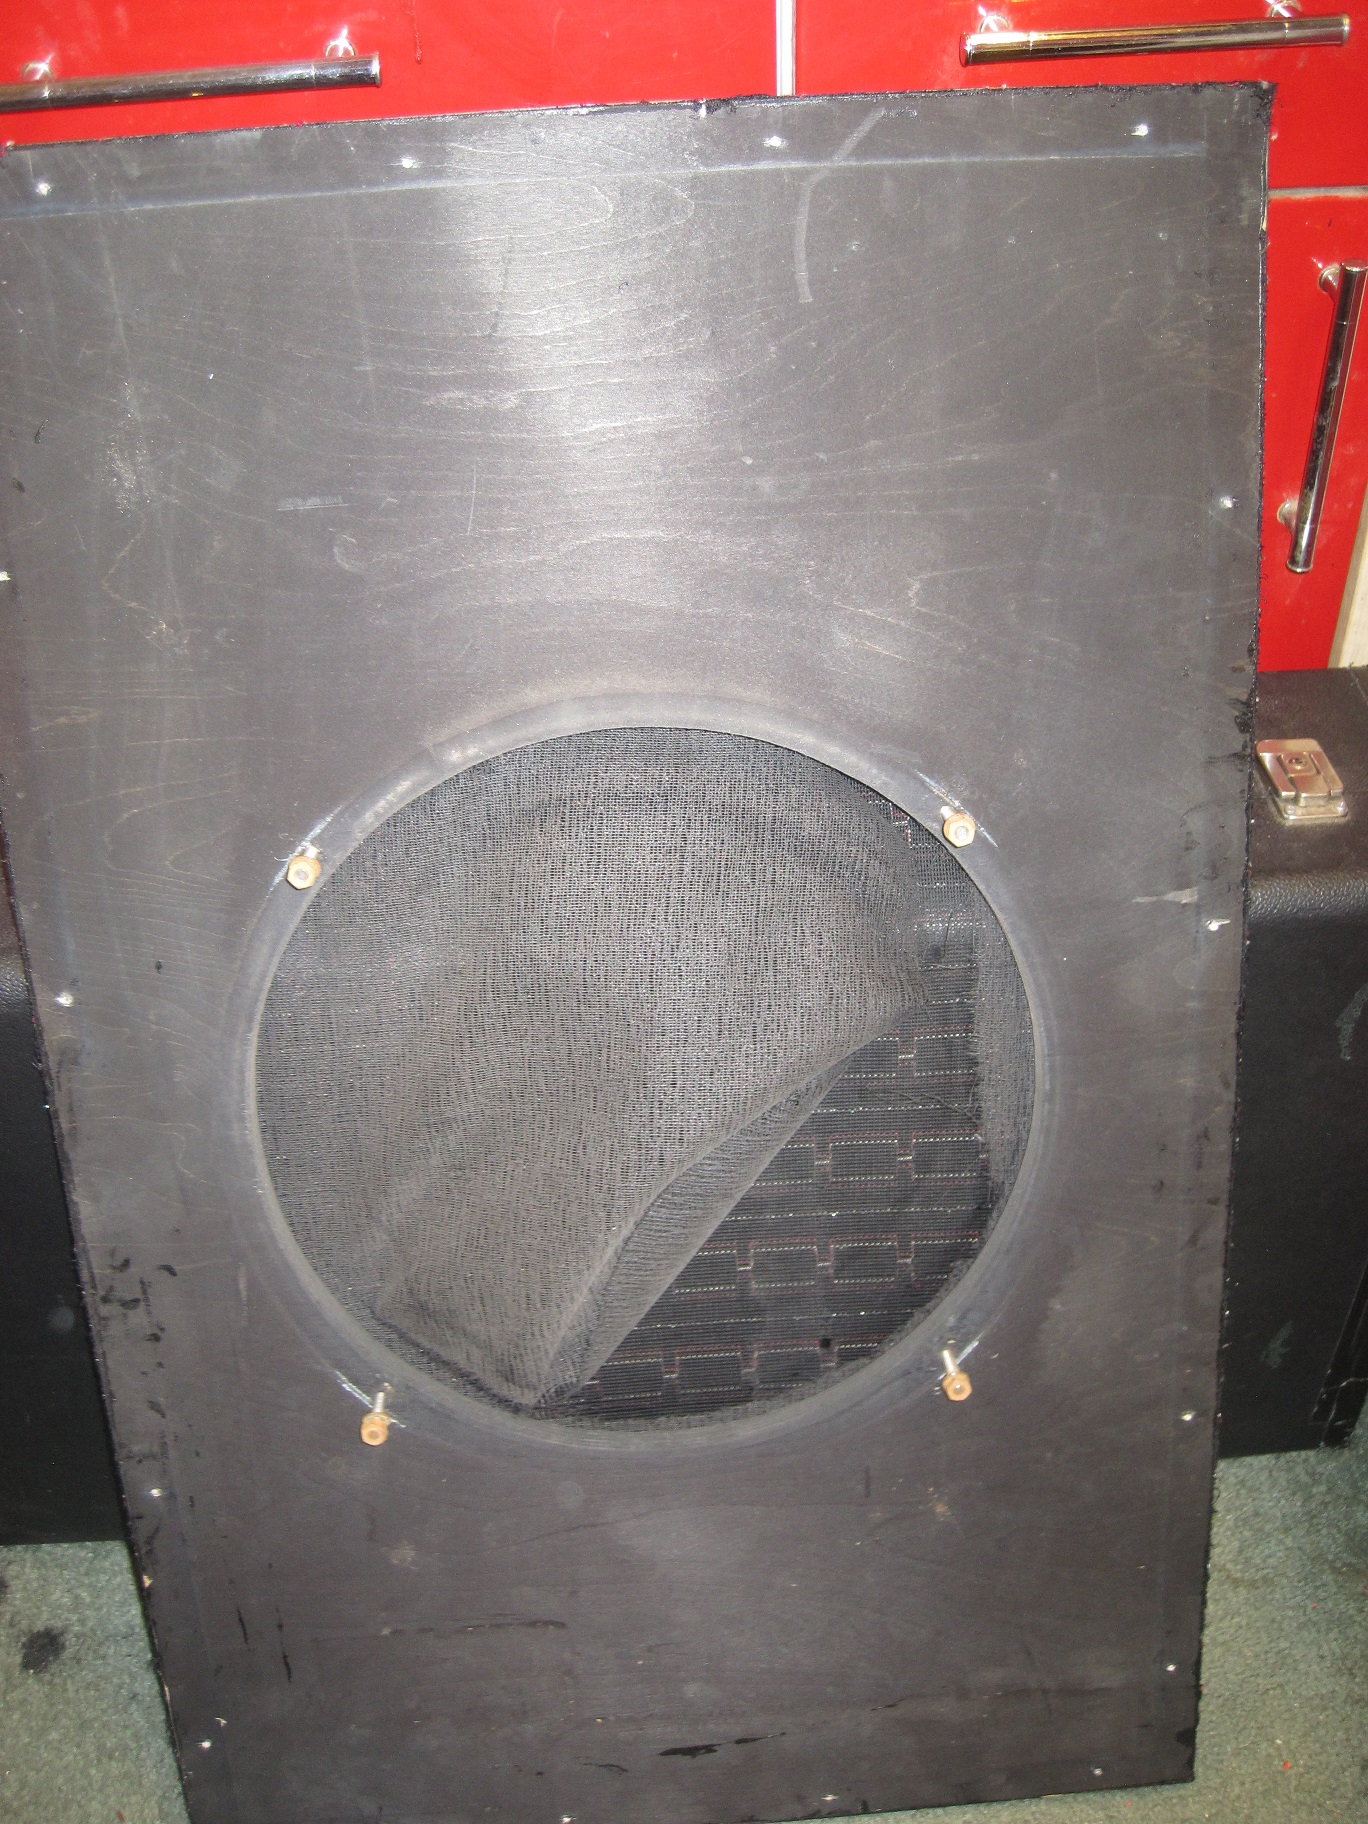
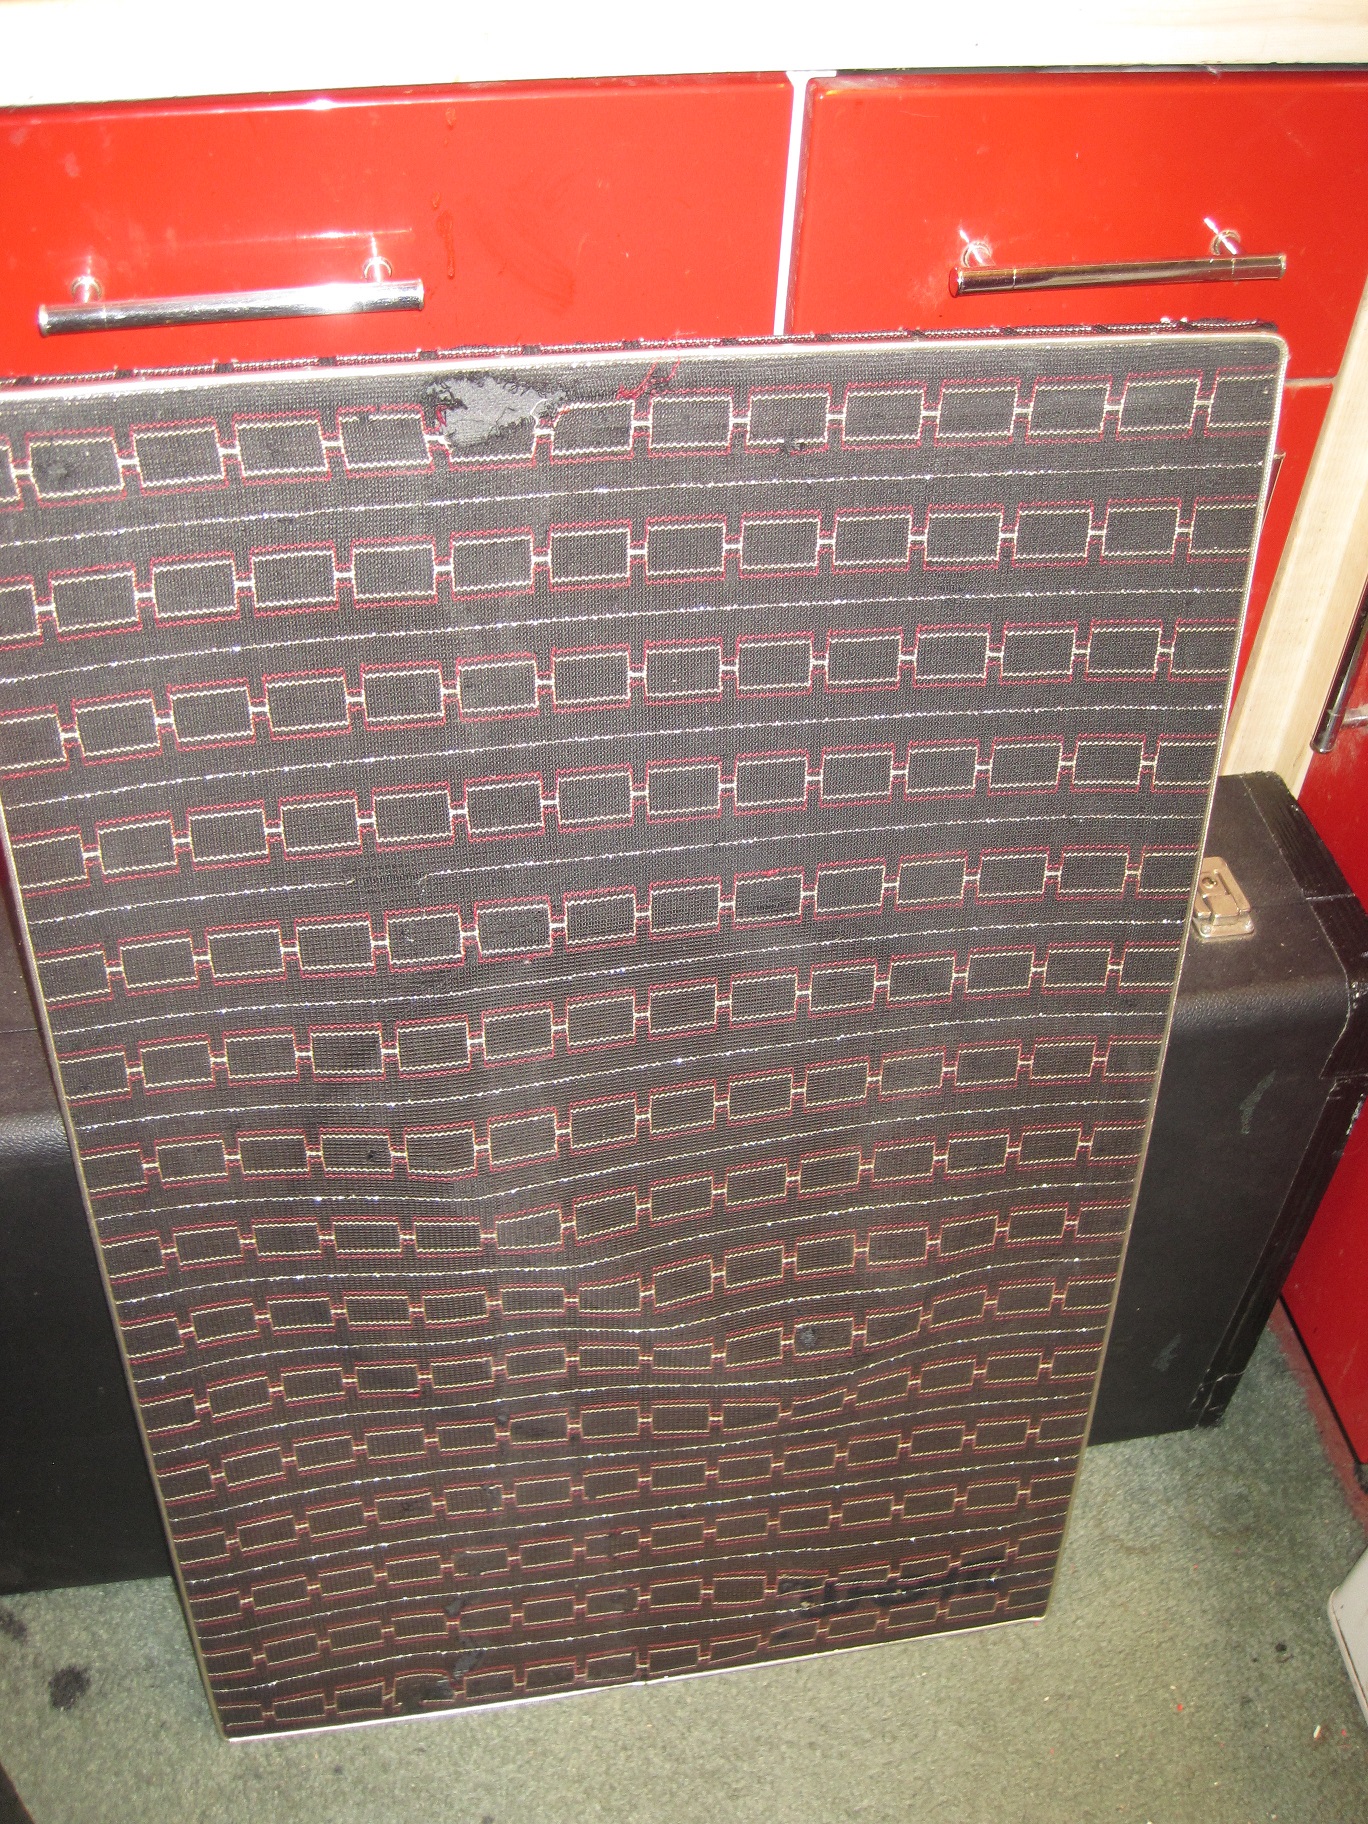

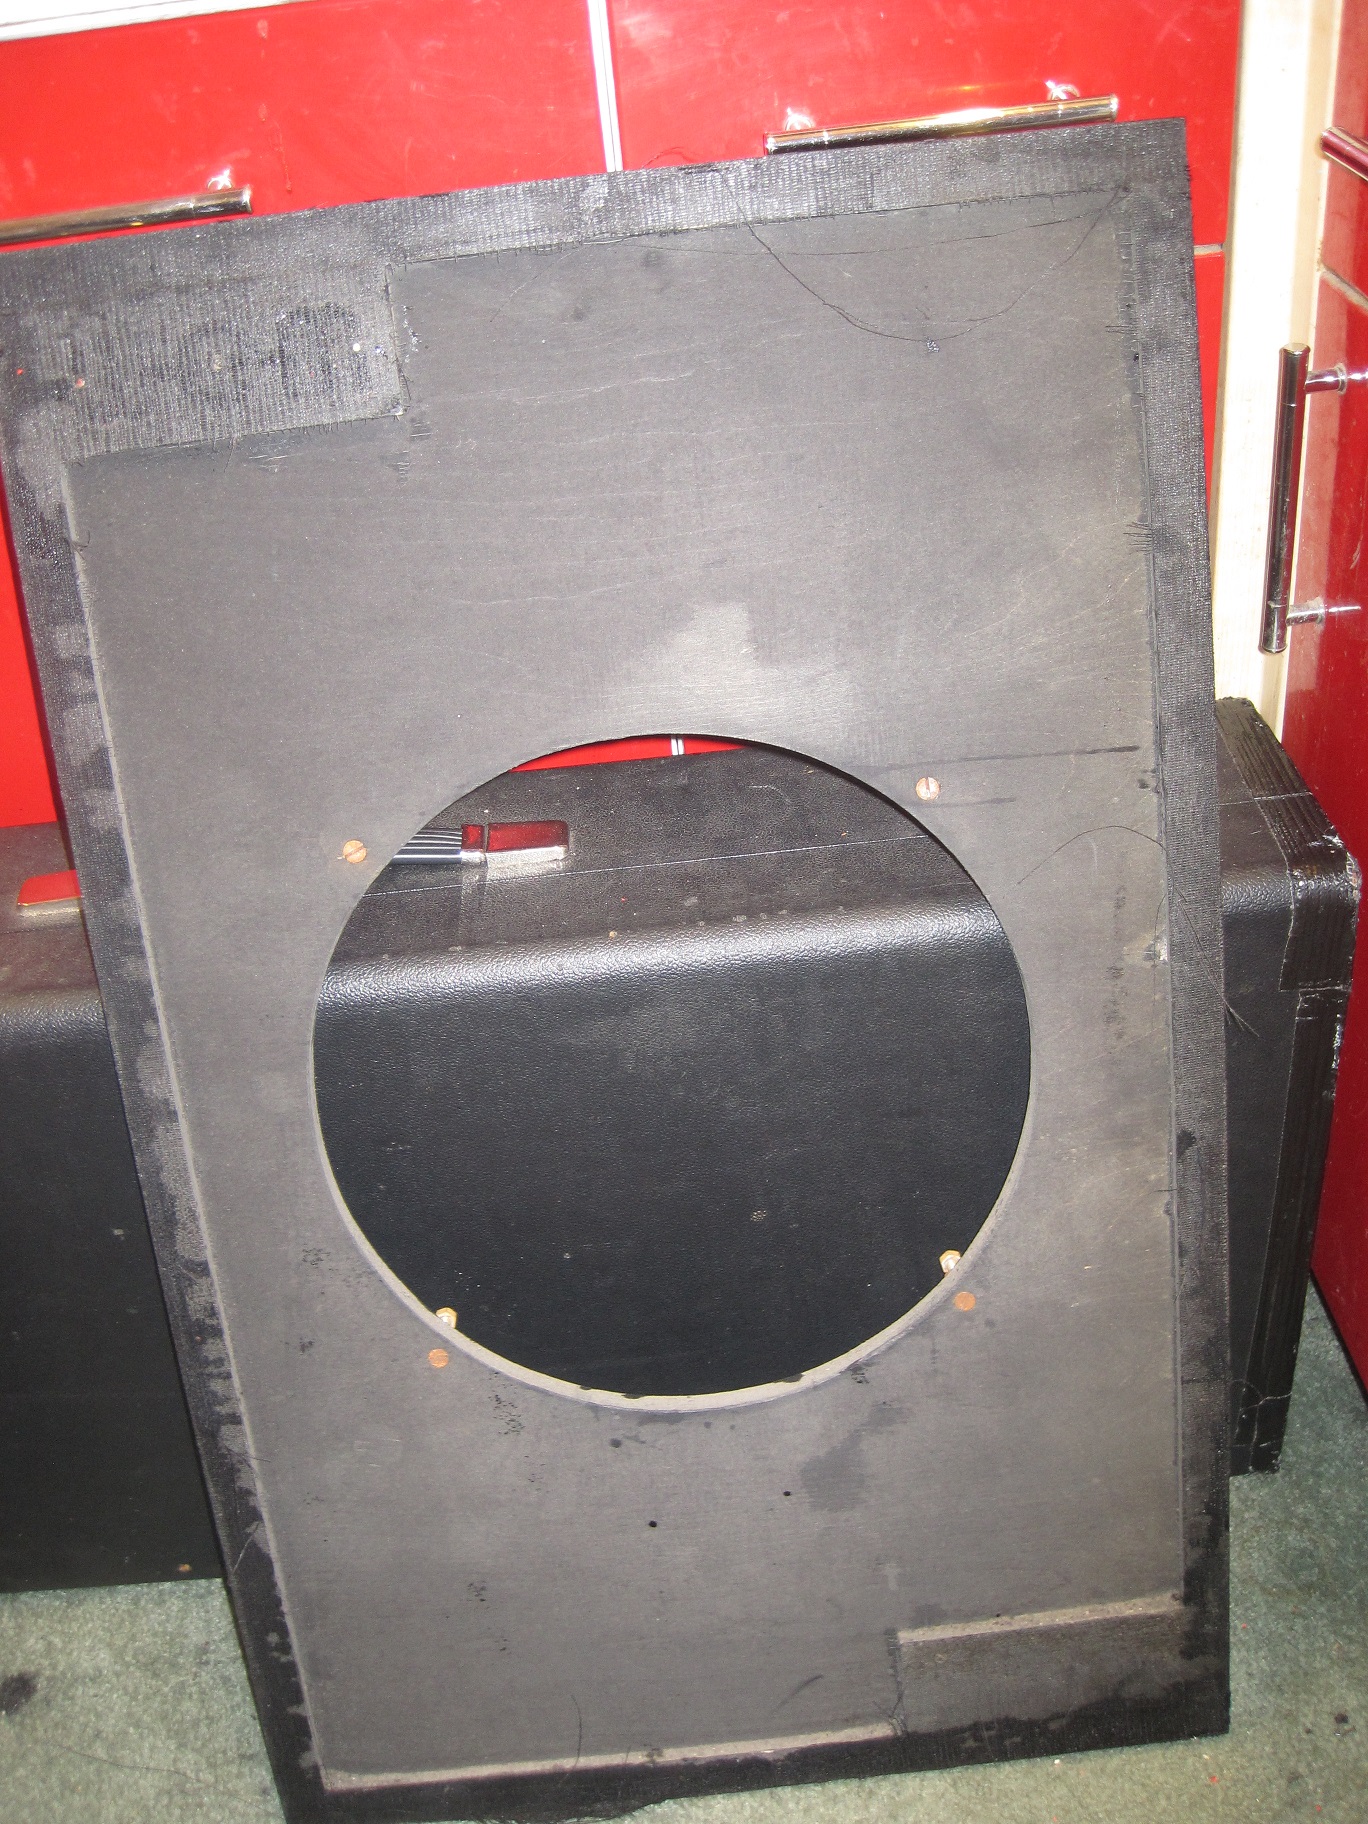
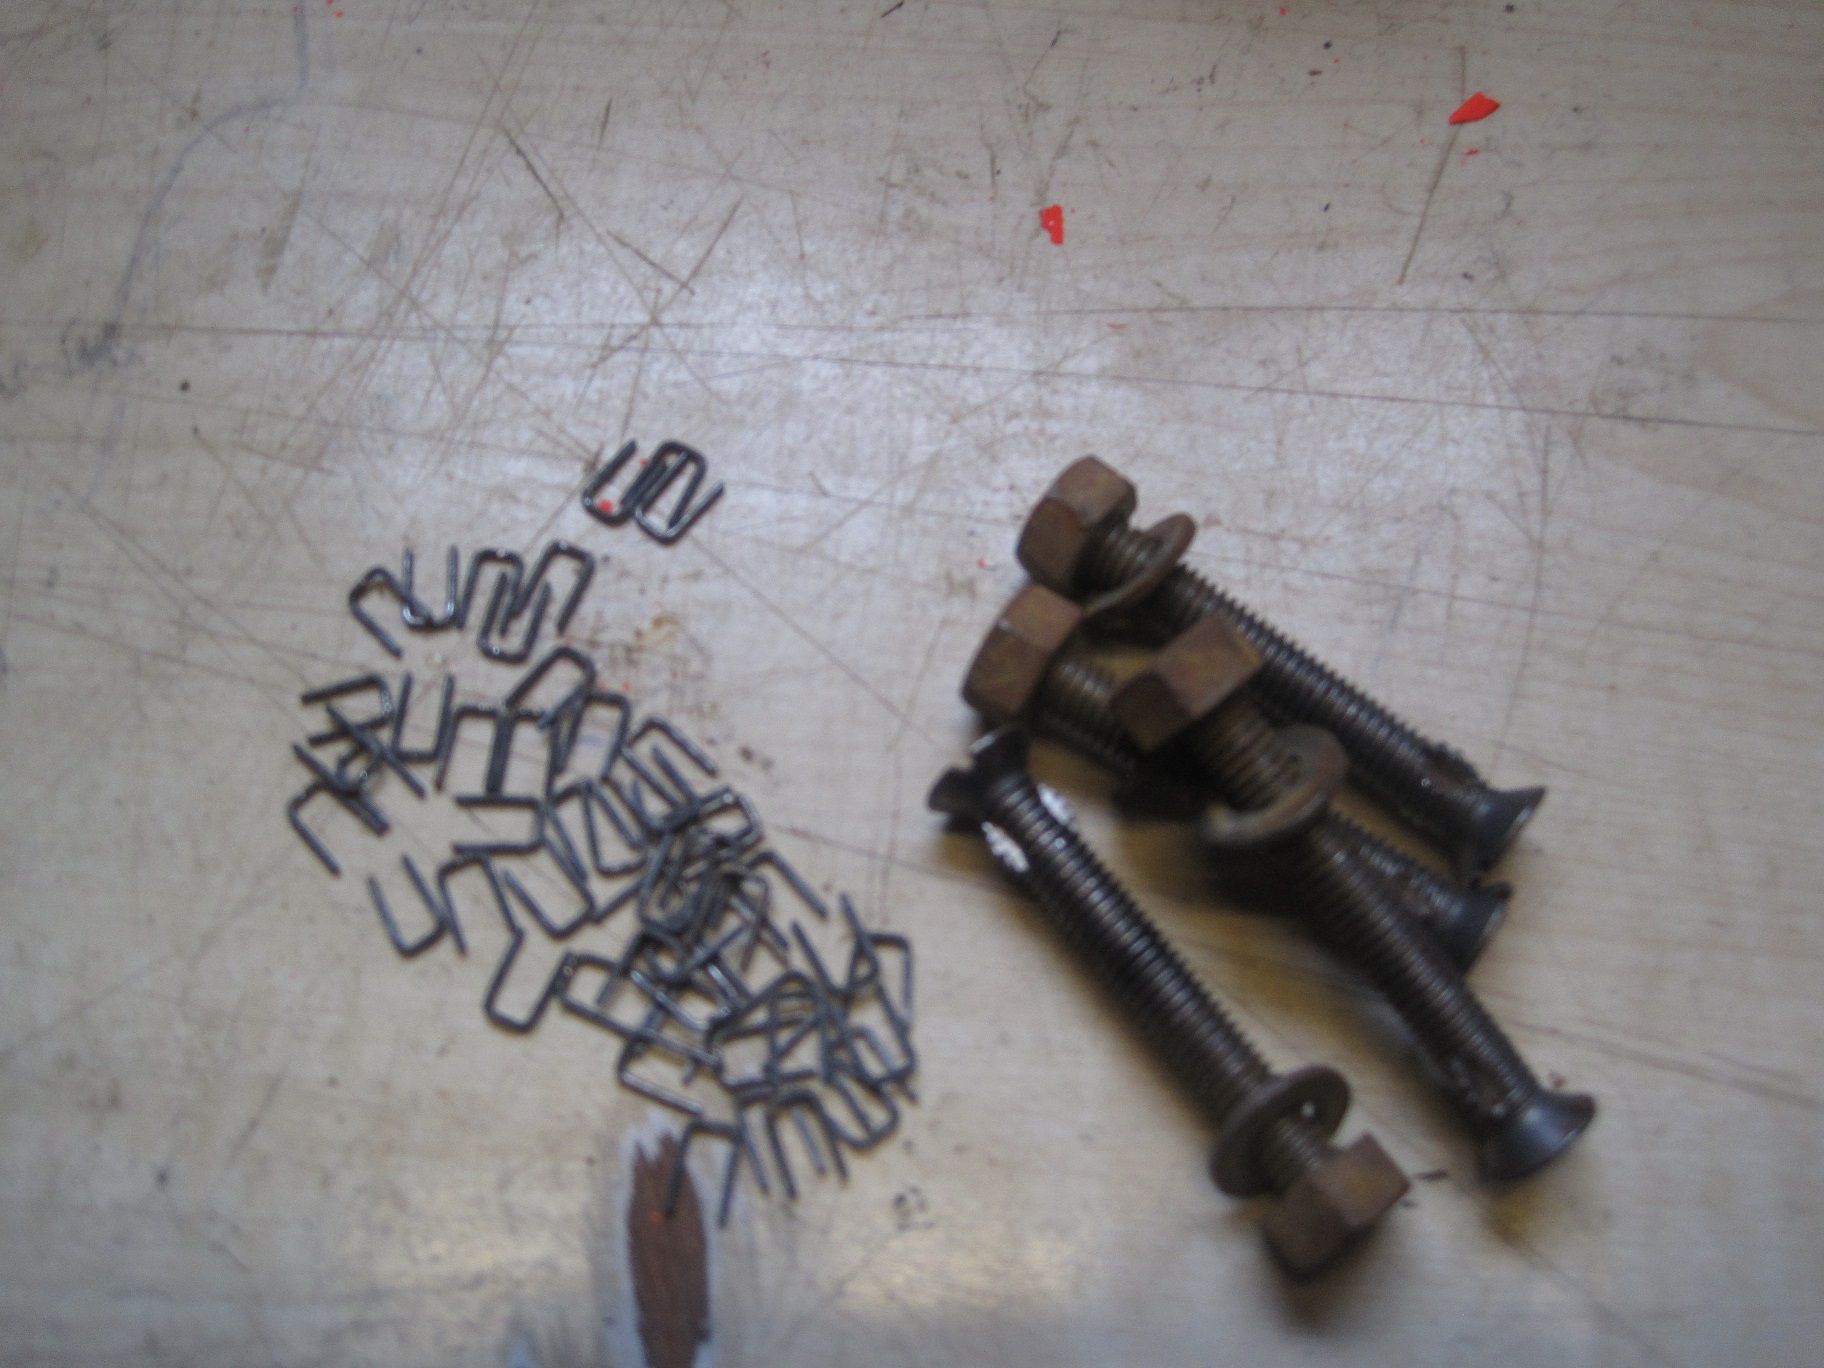
The piping and patterned grill cloth was then removed and, as usual, the second layer of plain black grill mesh was damaged beyond repair and so was removed. The patterned grill cloth was cleaned with warm soapy water and then sent off to a professional seamstress to be repaired. The driver fixing bolts were also removed and retained but the staples holding the piping and grill cloth in place were discarded. The driver fixing bolts are twin threaded, part (reverse thread) screw and bolt. These are very difficult to replace so it made sense to retain the originals.
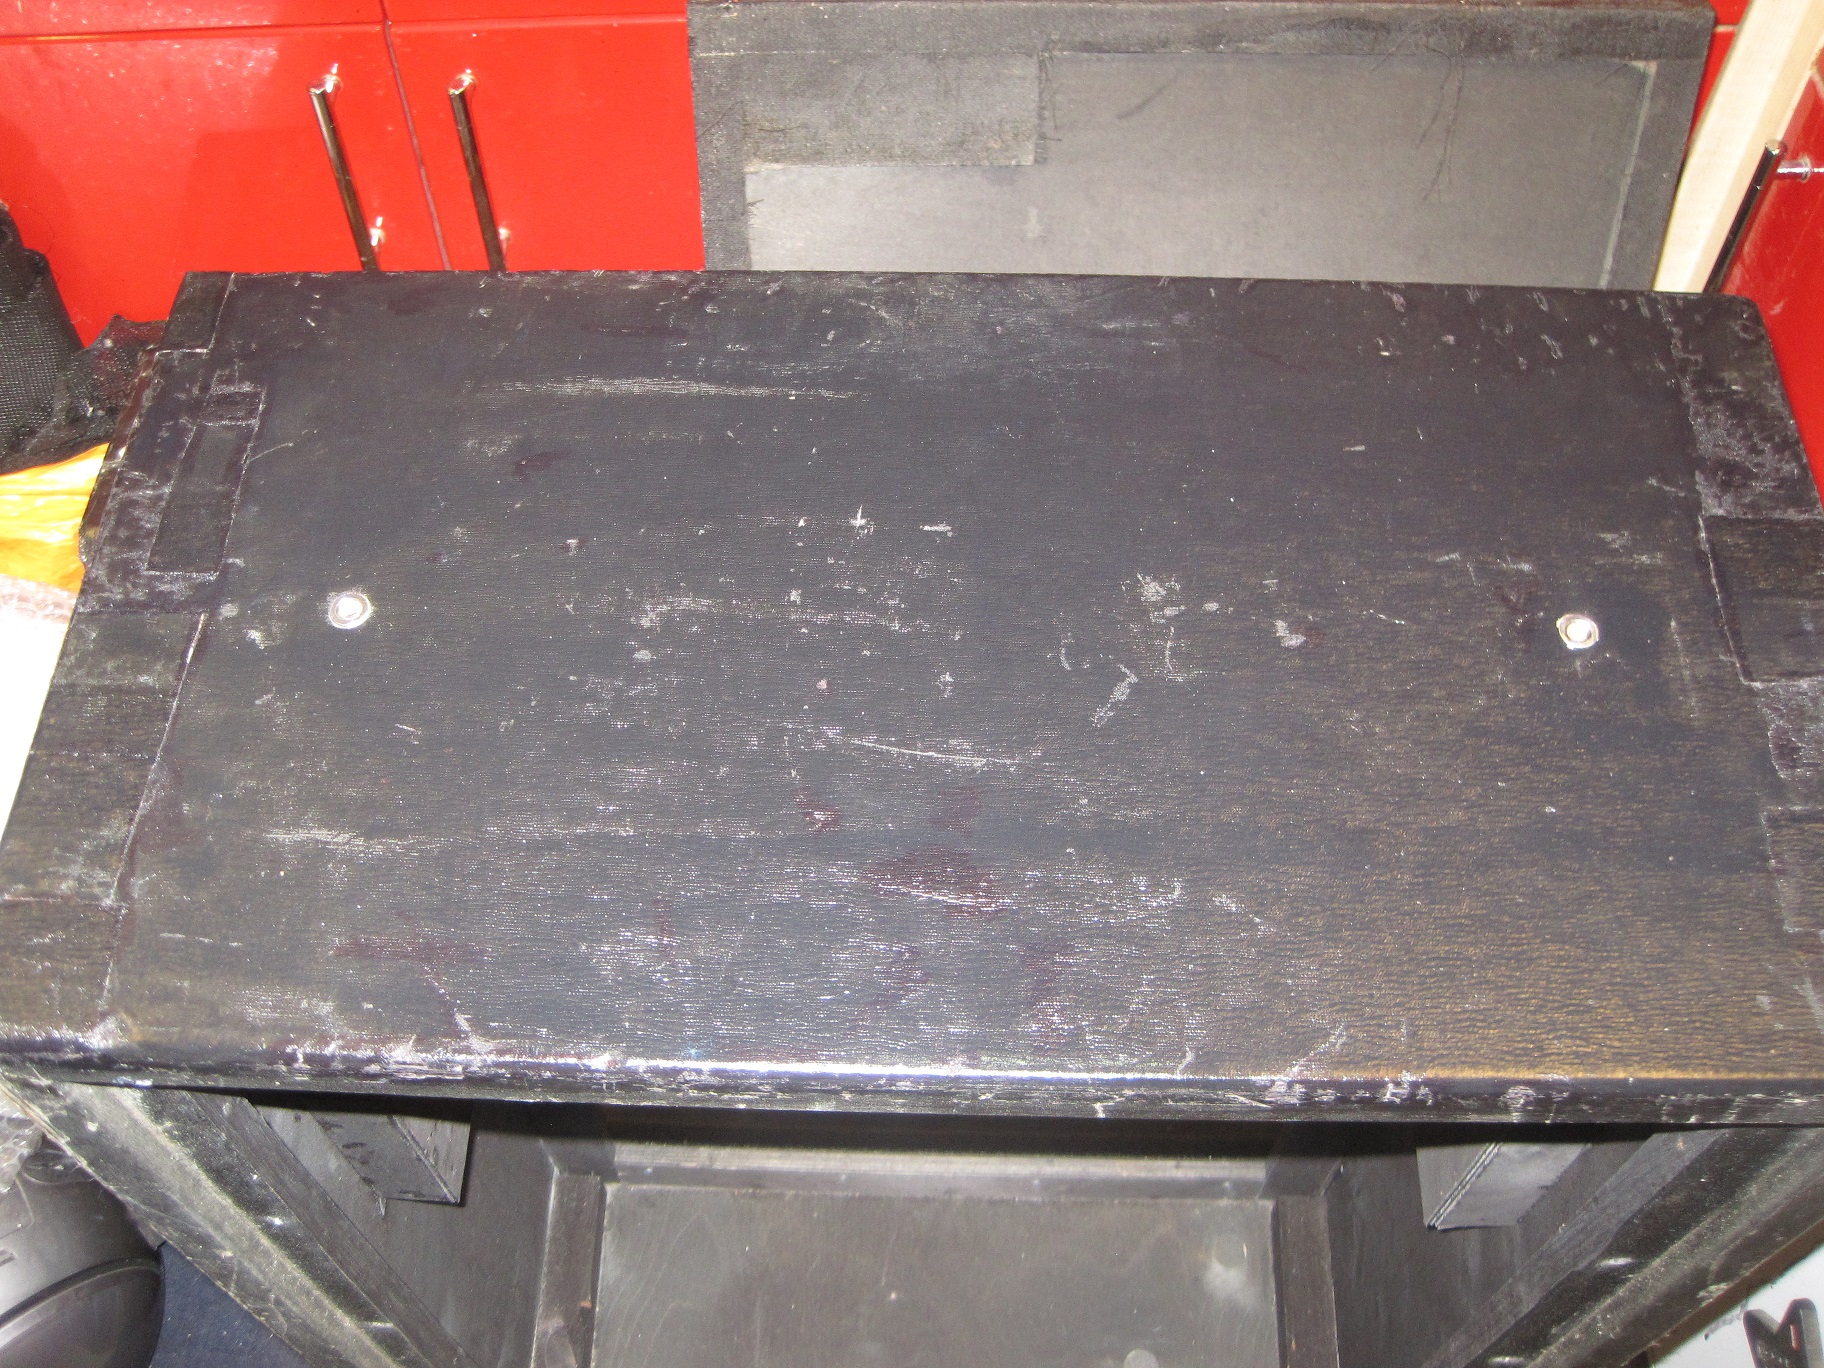
First job was to have a go at the top of the cab as this is where the rexine damage was worst.

I had a few pieces of old spare rexine so I cut and patched in some patches to cover the worst areas. Being the thin rexine meant that it was impossible to completely hide the damaged areas but the top does now look better than it did.
Next step was to cut a new front baffle. The original baffle was made from layers of 15mm and 10mm ply, which I could not find a source for, so I used 18mm ply for the main baffle to hold the drivers and 9mm to form the outer section which holds the grill cloth etc..


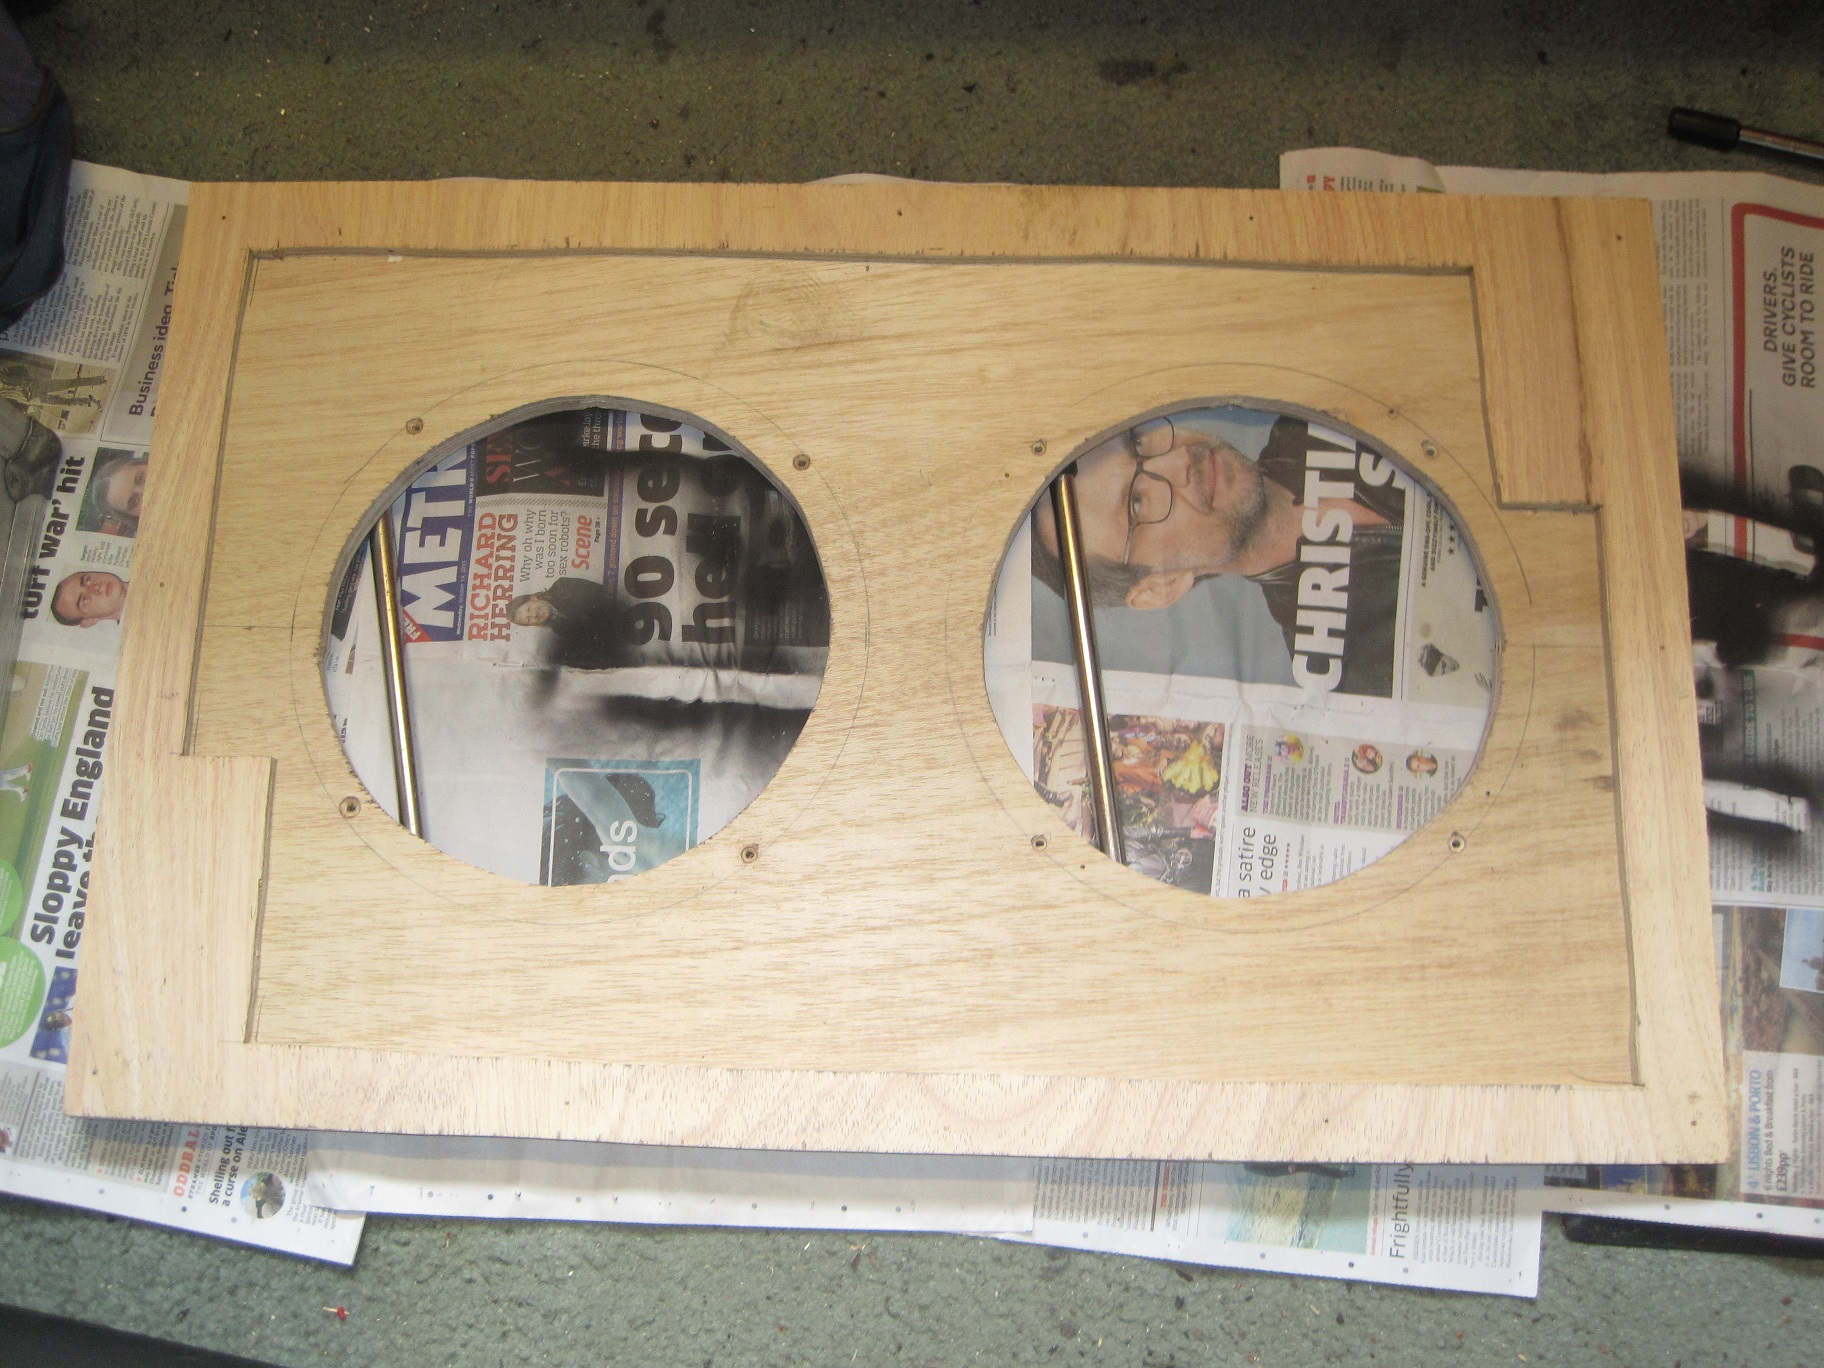
The two sections of new baffle were glued and pinned together and the holes for the driver retaining bolts were drilled. The holes for the WEM logo were also marked out and drilled.
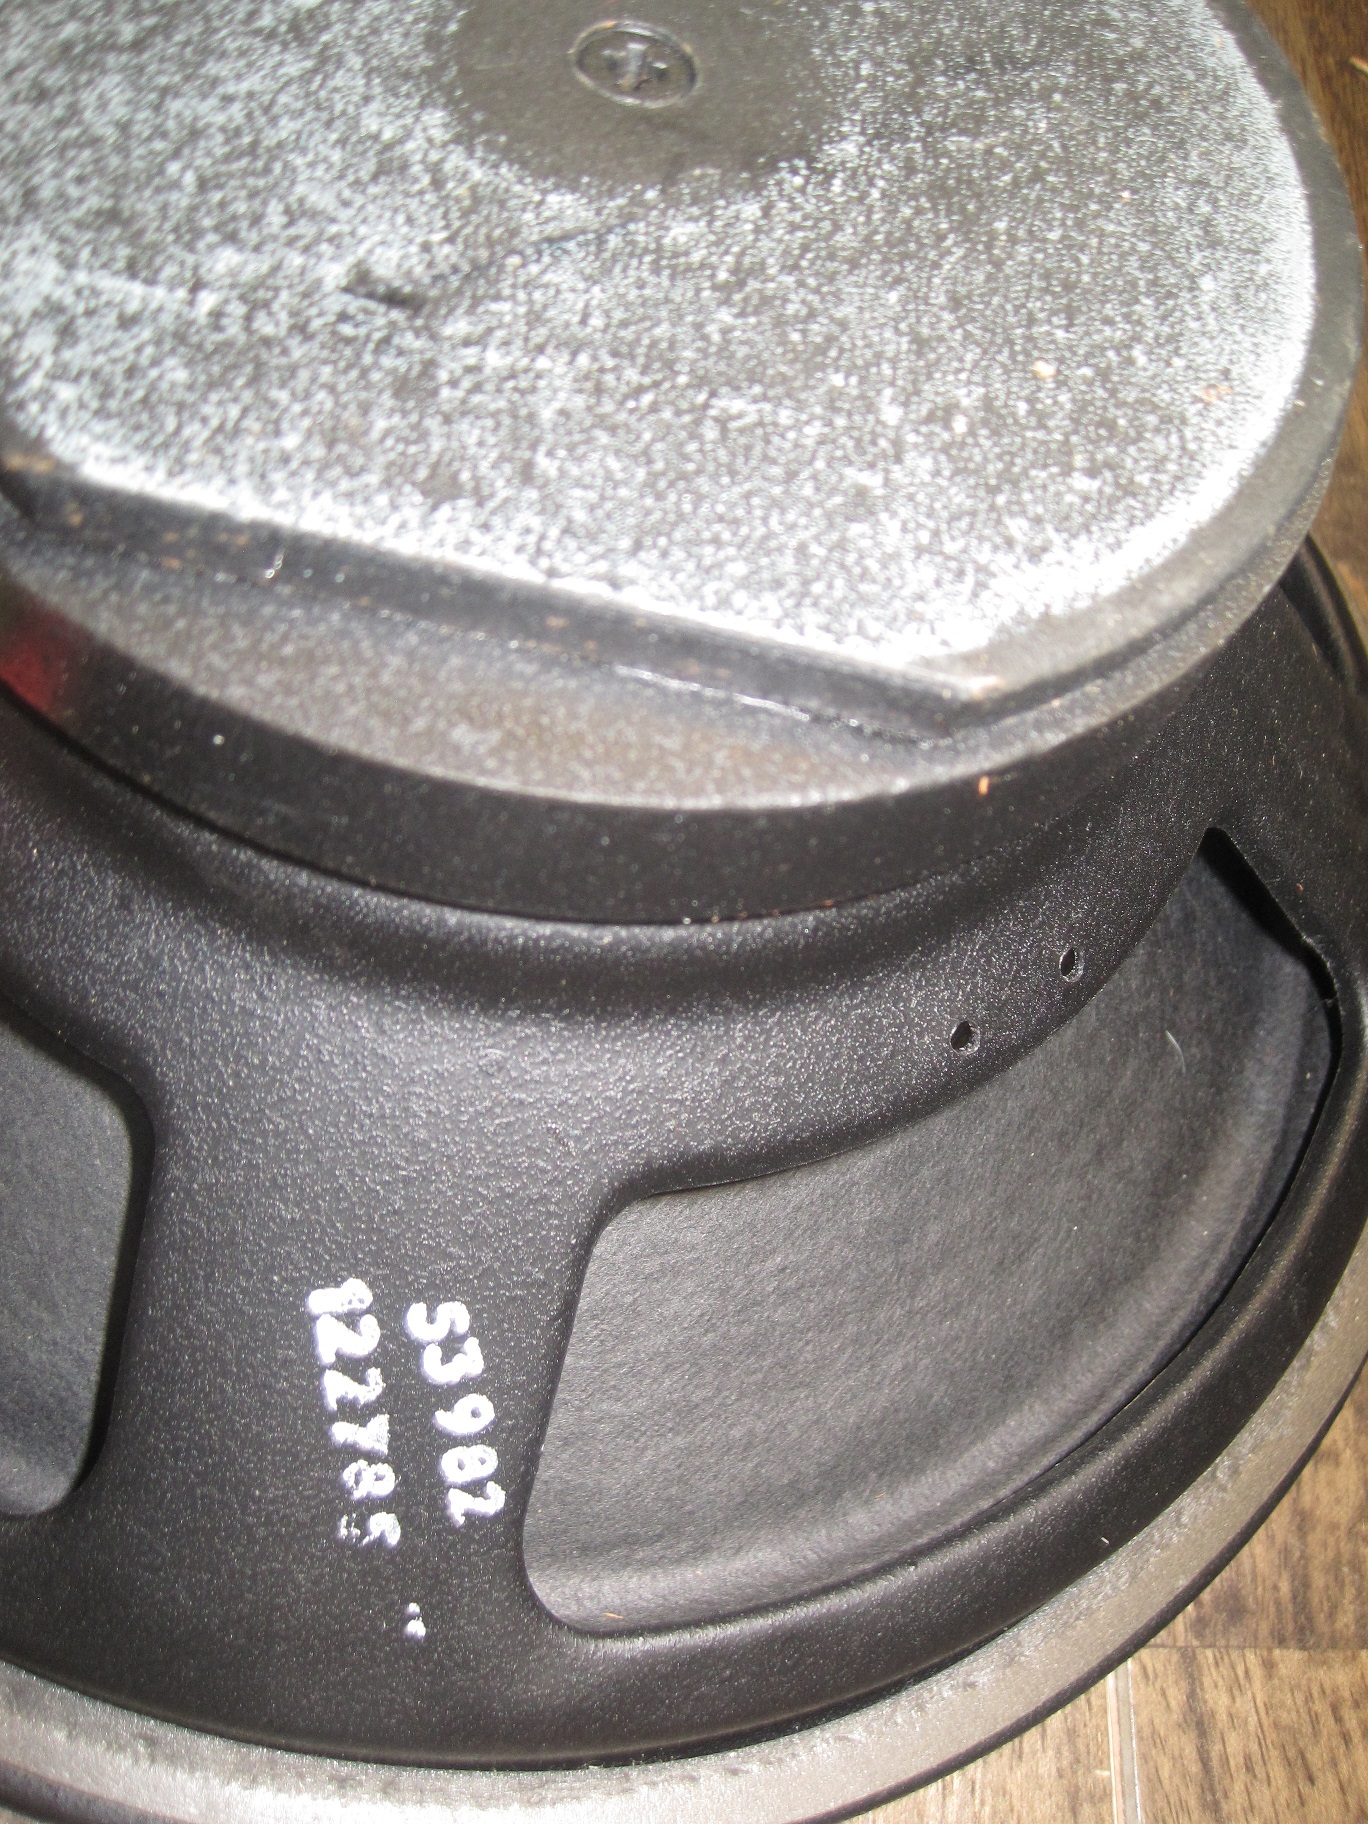
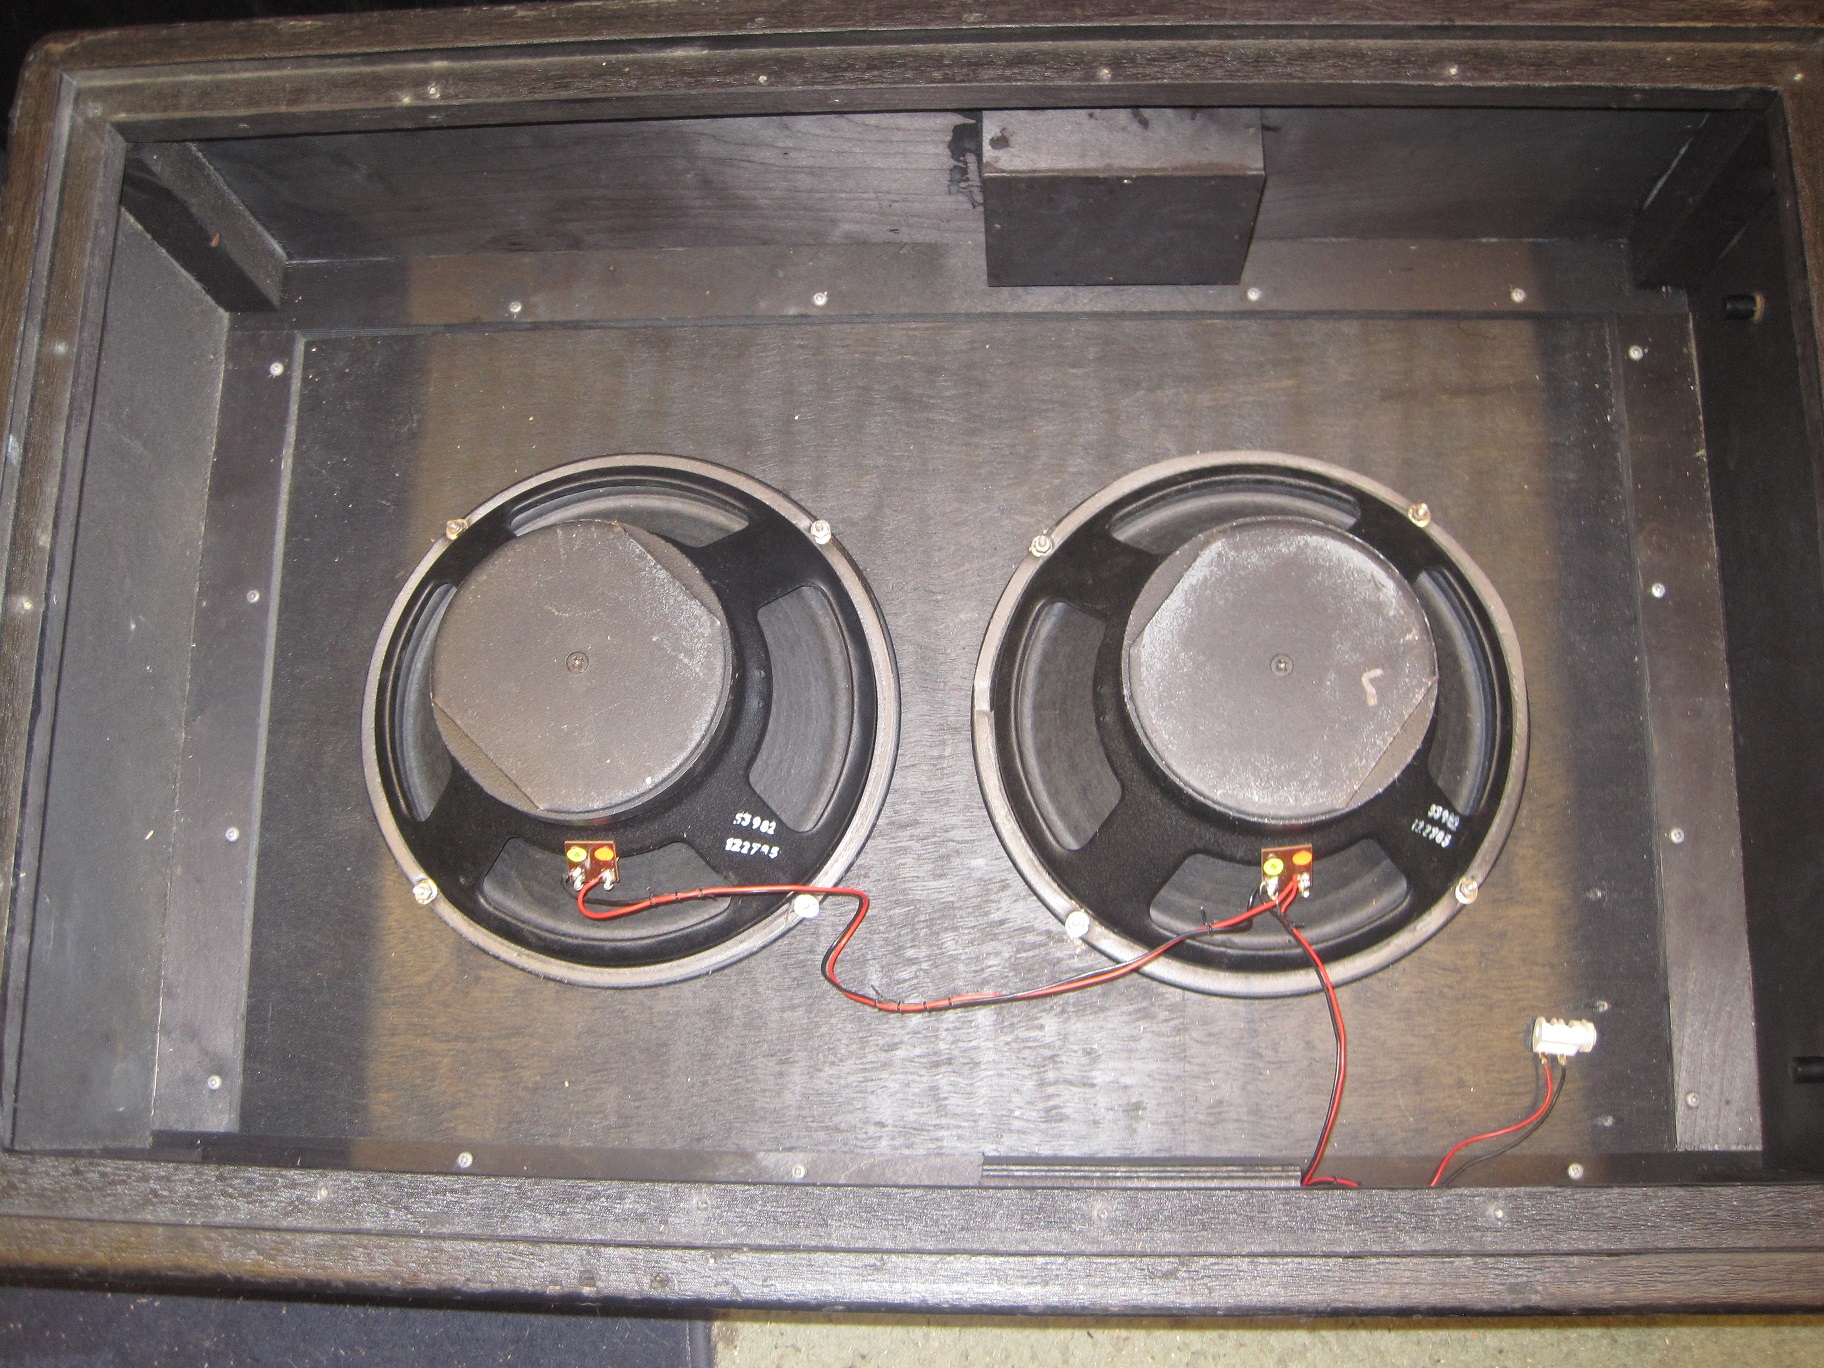
I also chose which drivers to use. I had a spare pair of Fane 75 watt drivers (code 122785) which are pretty good for guitar so it was an easy choice.
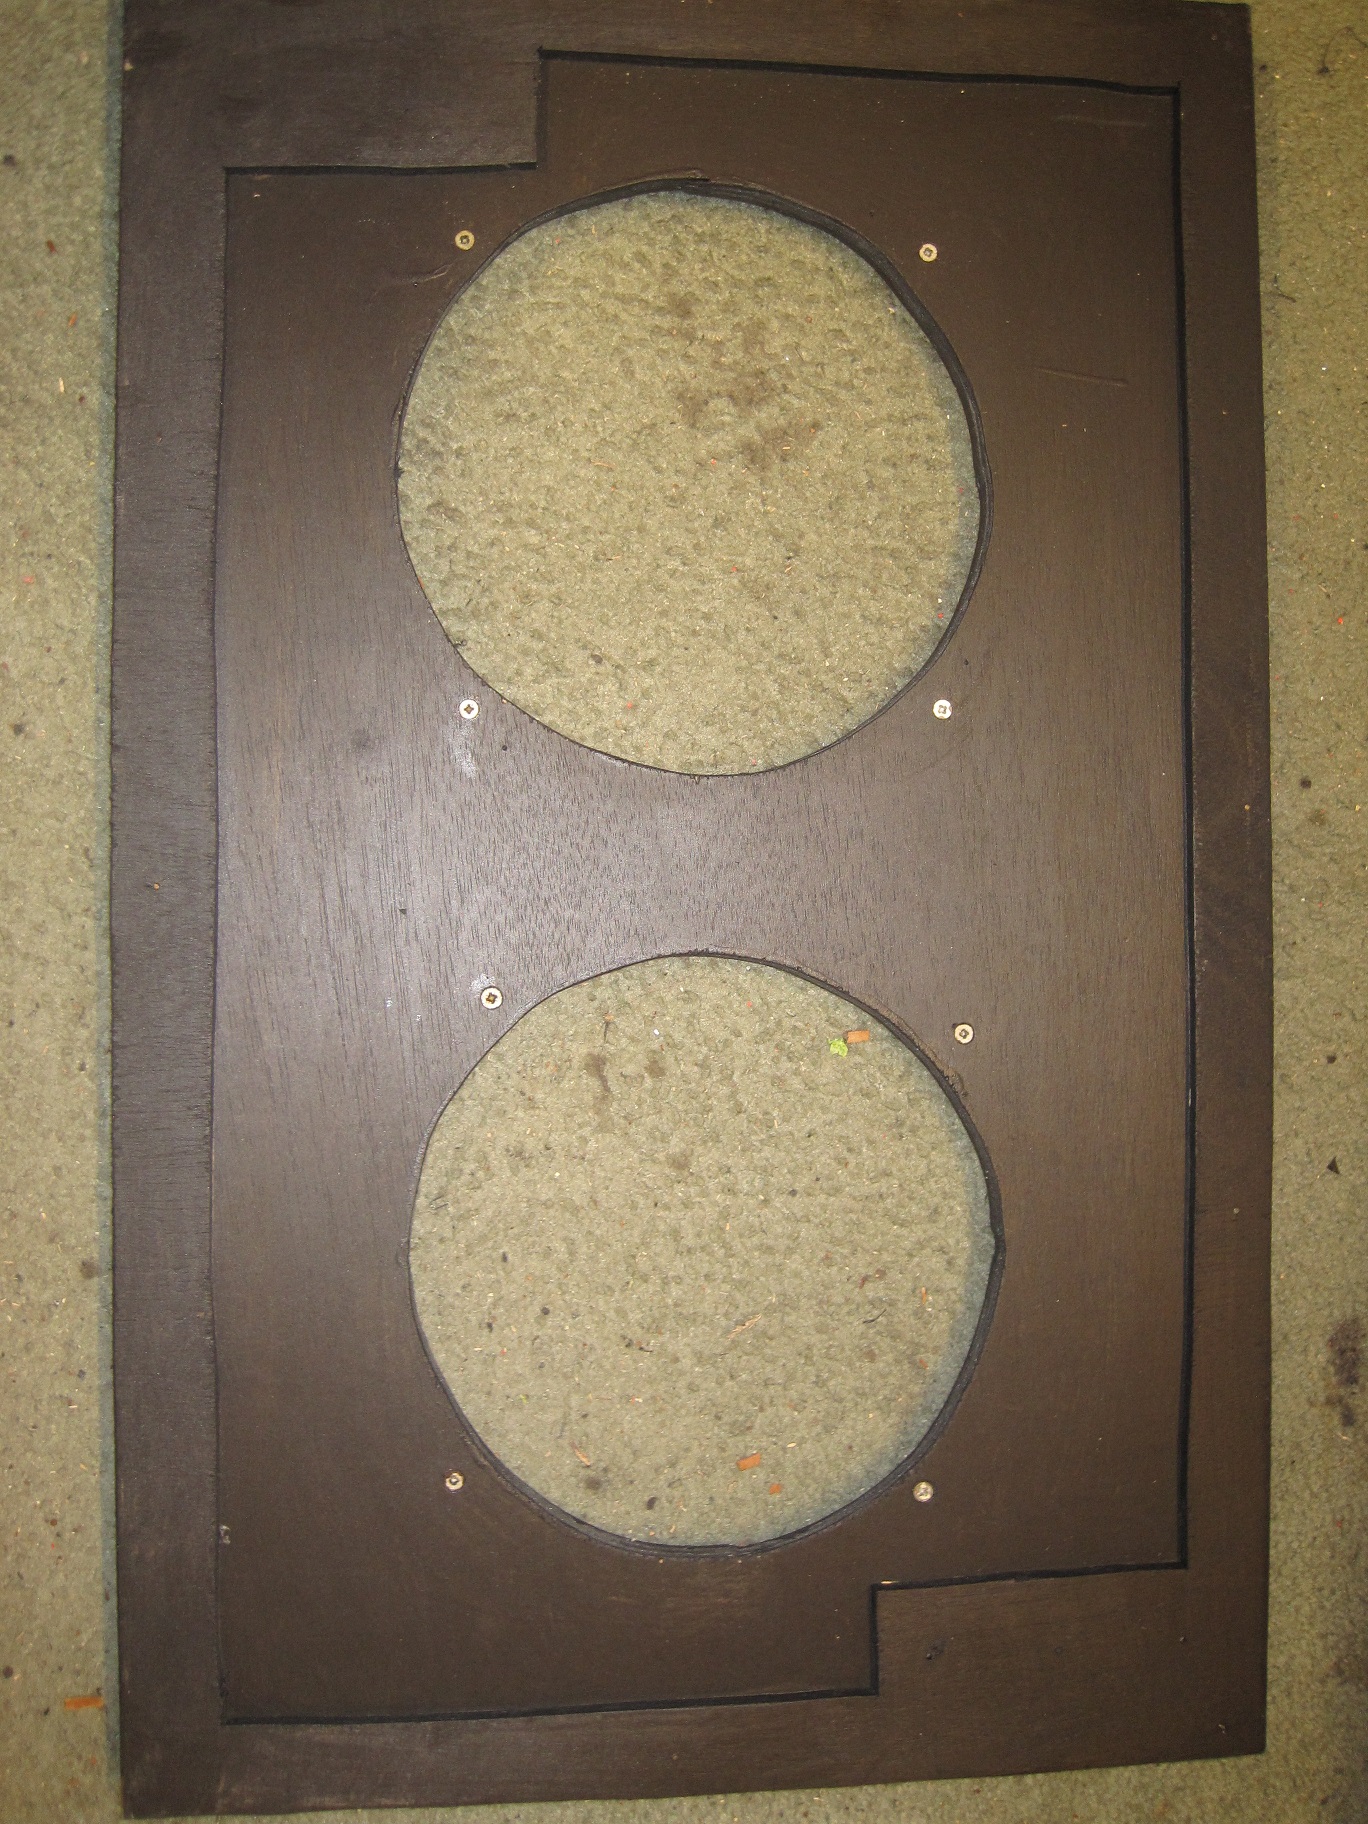
The new front baffle was given 2 coats of black wood stain and the driver fixing bolts were refitted.
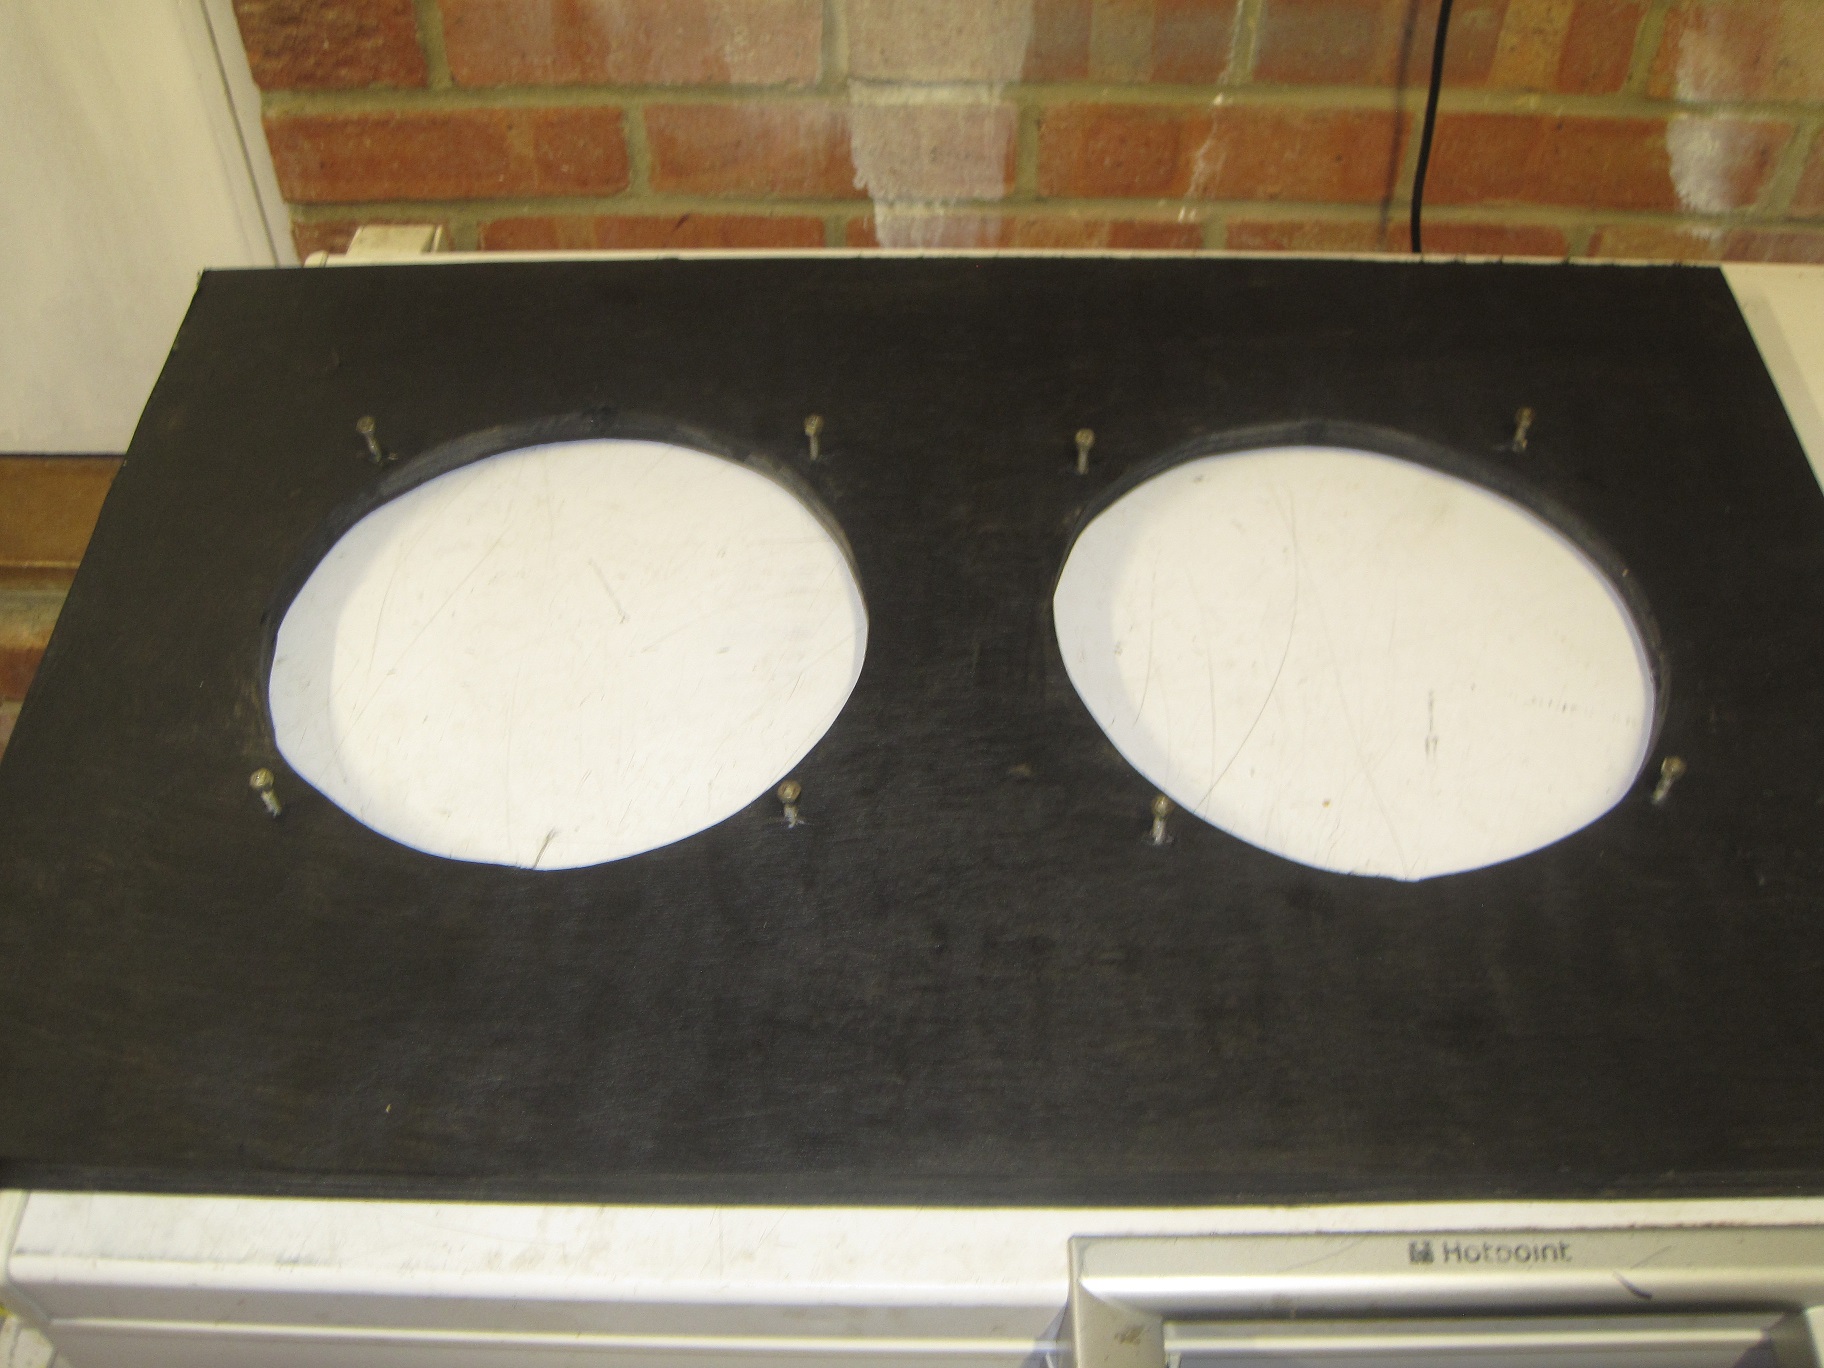
Next step was to fit a replacement black mesh grill cloth – the type used on HH cabs.
And then it was time to refit the repaired patterened grill cloth, the silver piping, and the repainted WEM logo. I was then able to screw the new baffle into the front of the cab.
![]()
The drivers were then fitted and wired up using some original WEM wiring from an old cab.

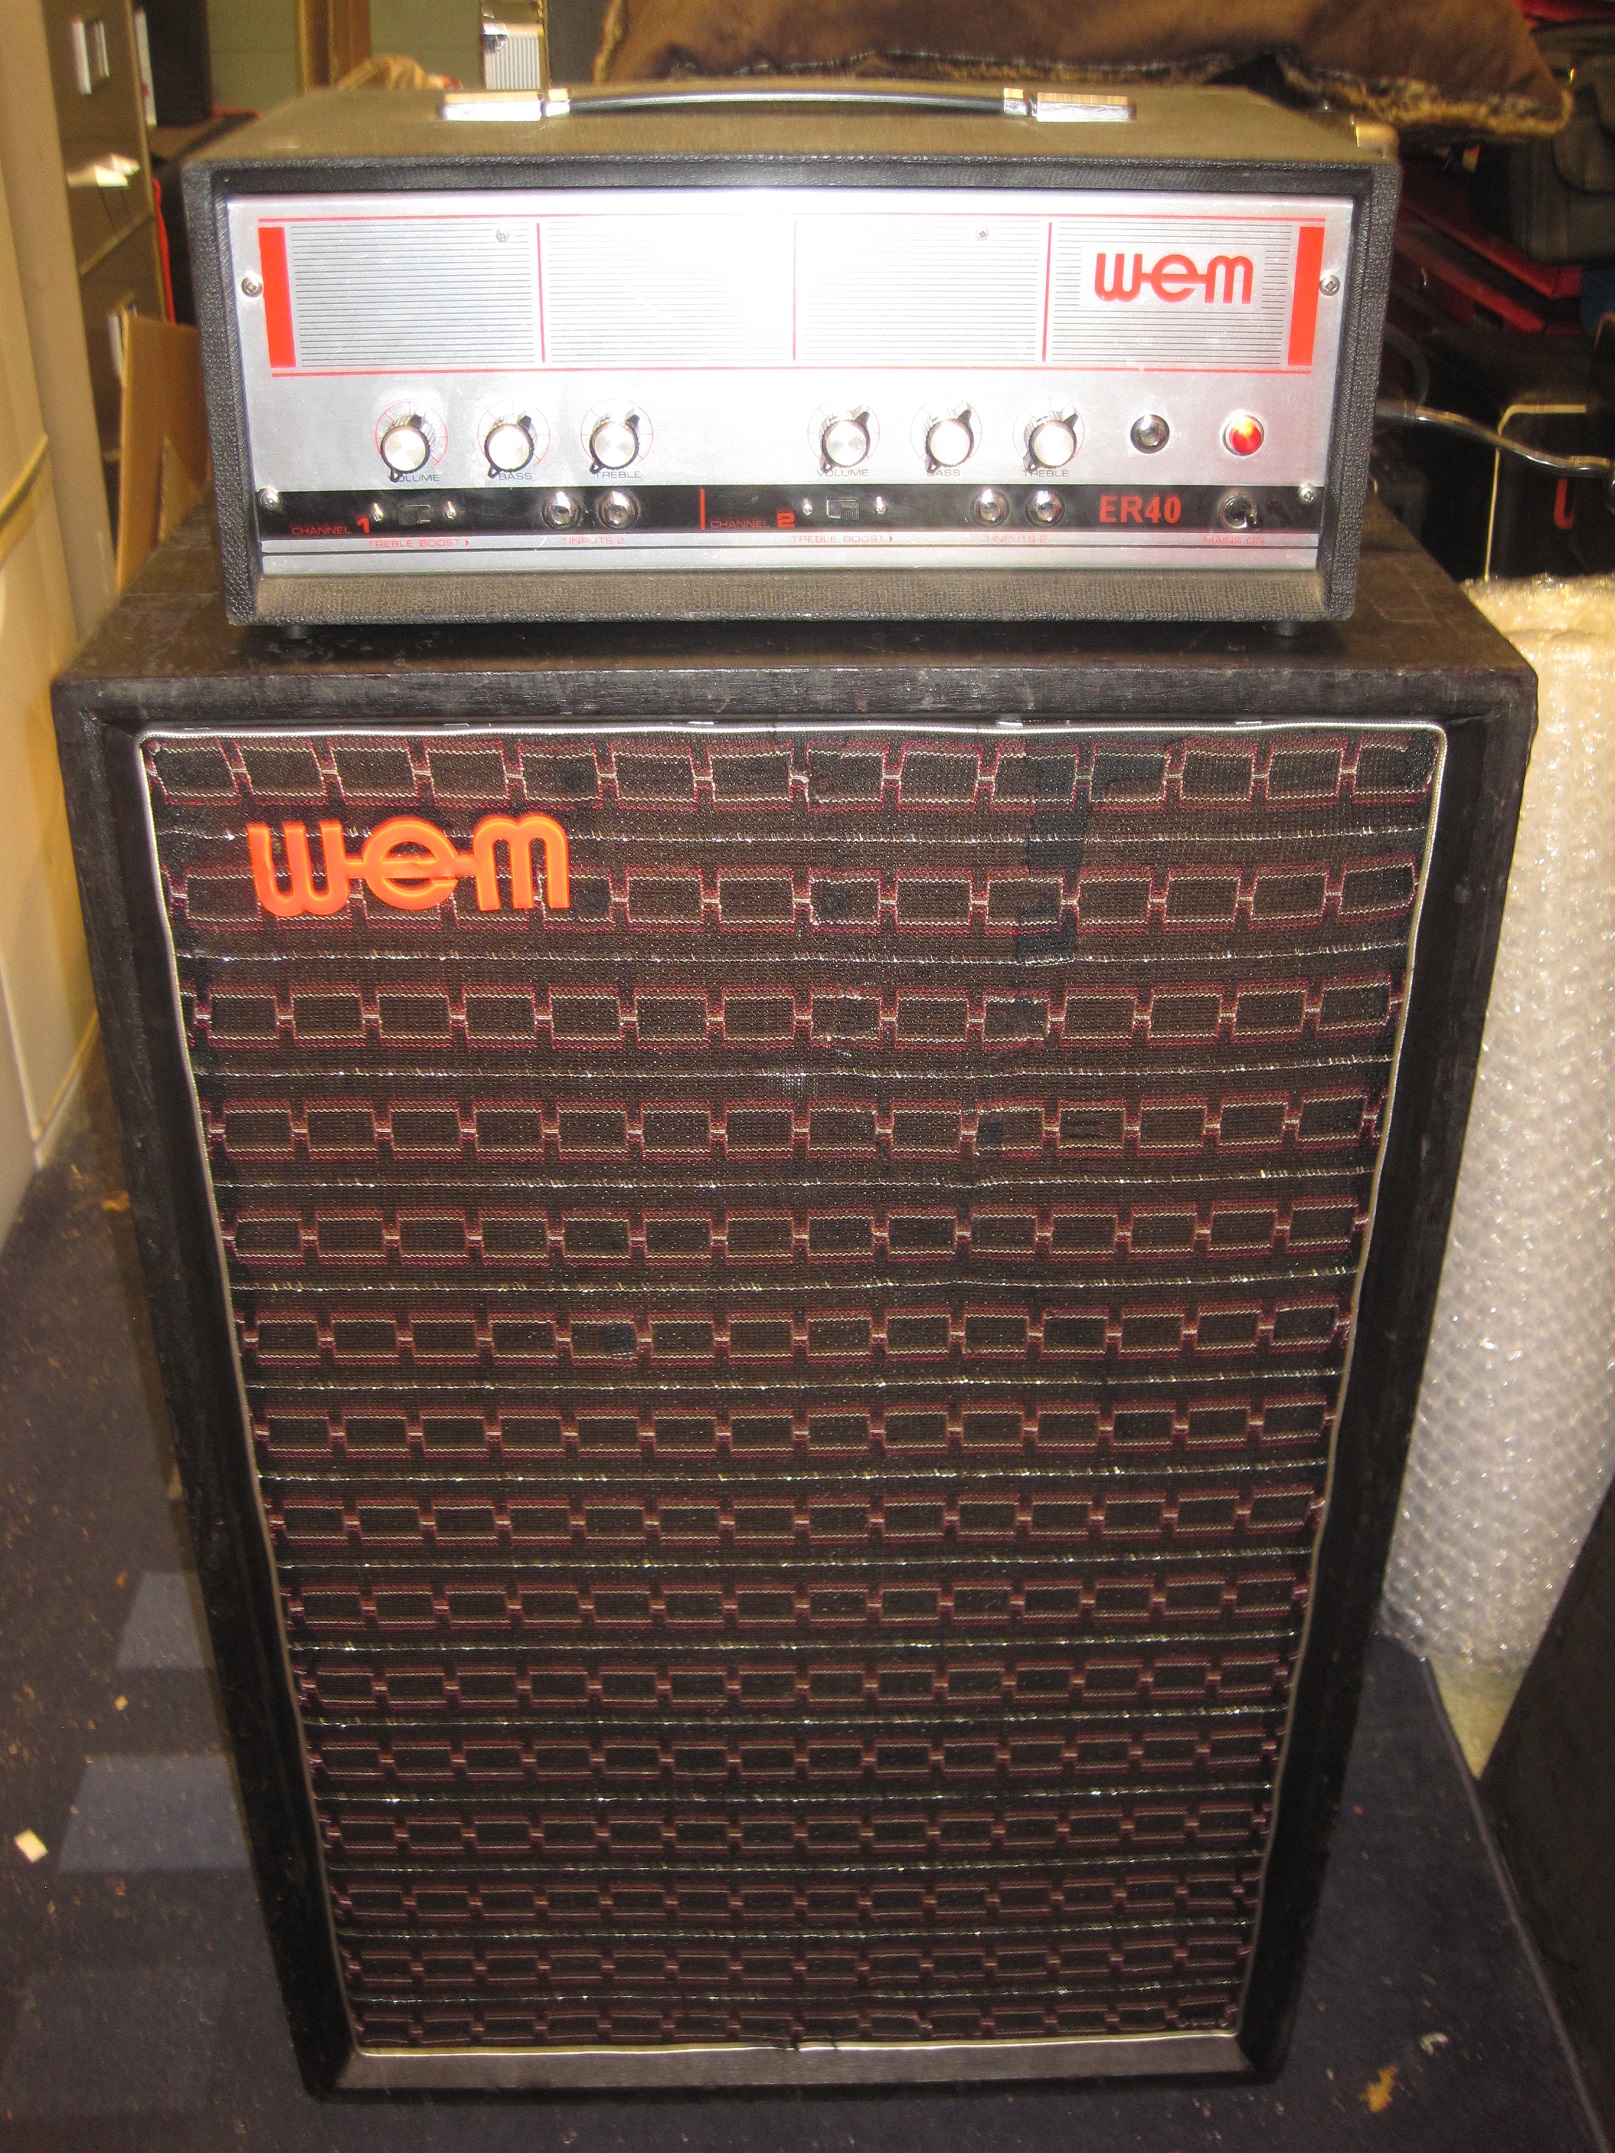
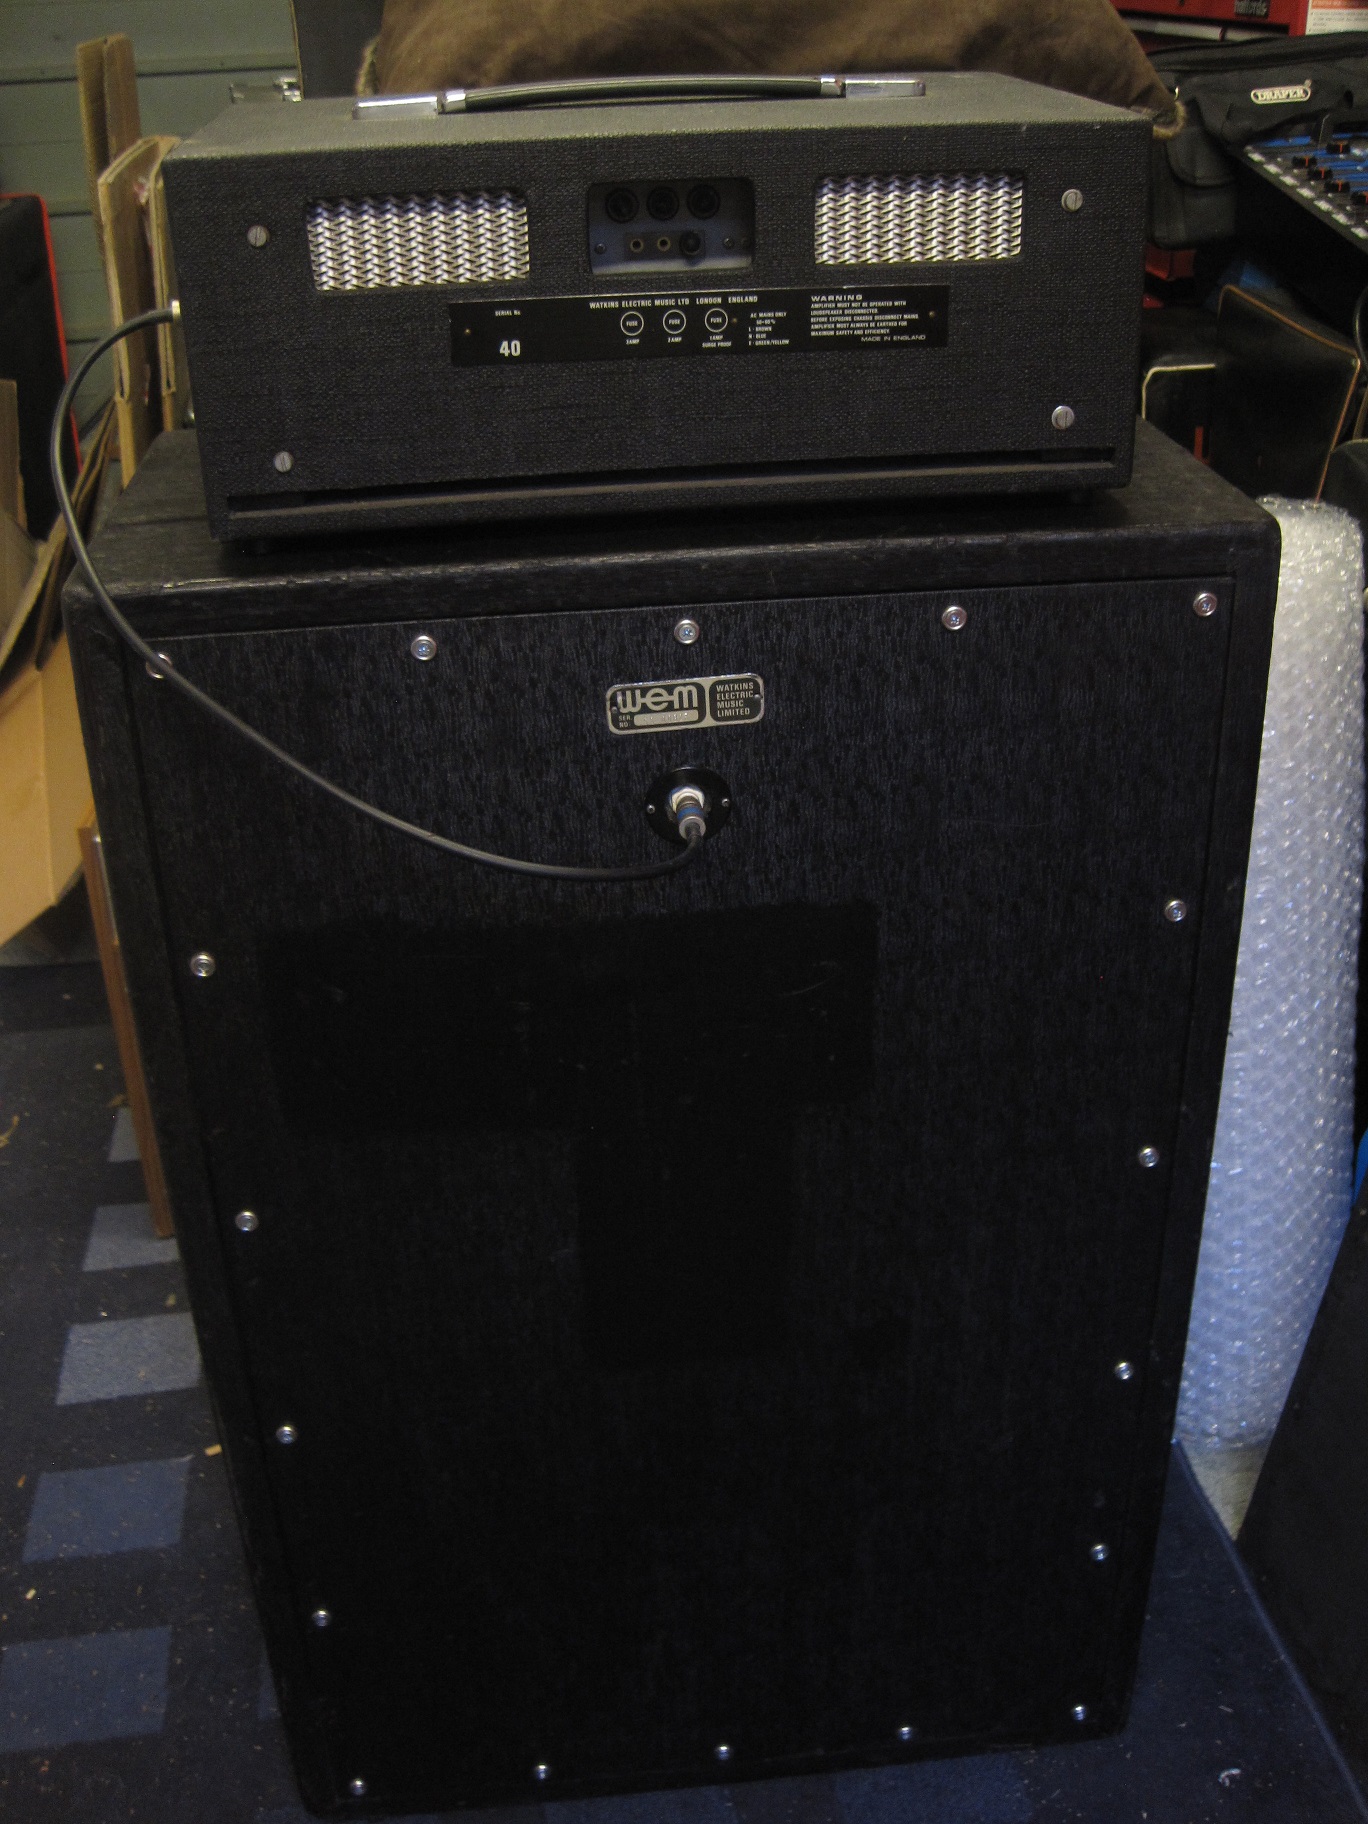
And that’s about it. The back panel was refitted and the whole cab had the rexine cleaned and tidied up. The following pictures show the cab with one of my WEM ER40 heads. It sounds excellent and the cab could easily be used with a 100 watt amp as it has the pair of 75 watt drivers.