This Dominator 50 was acquired in June 2017 and has now completed extensive refurbishment.
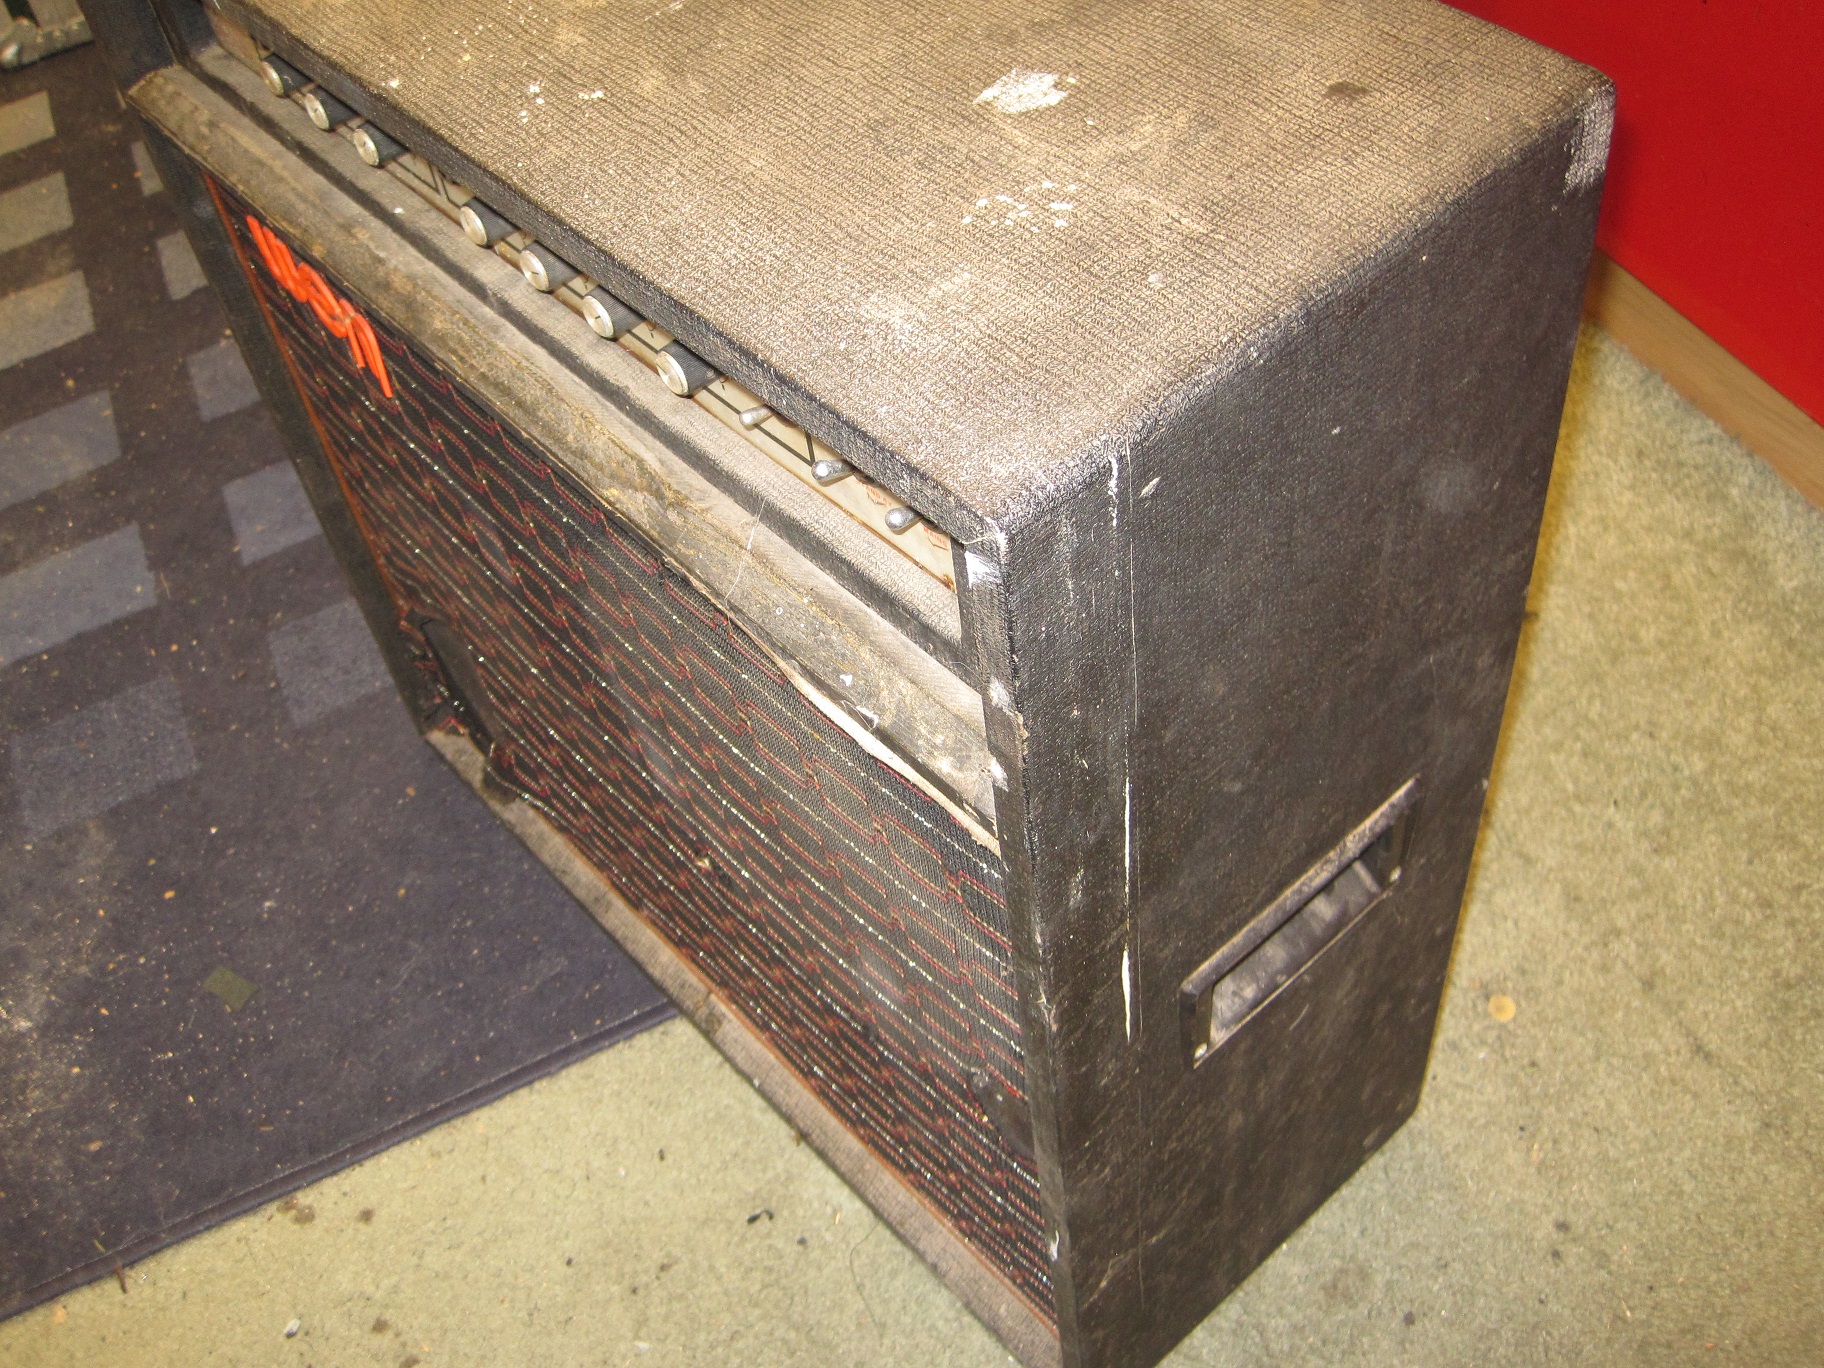
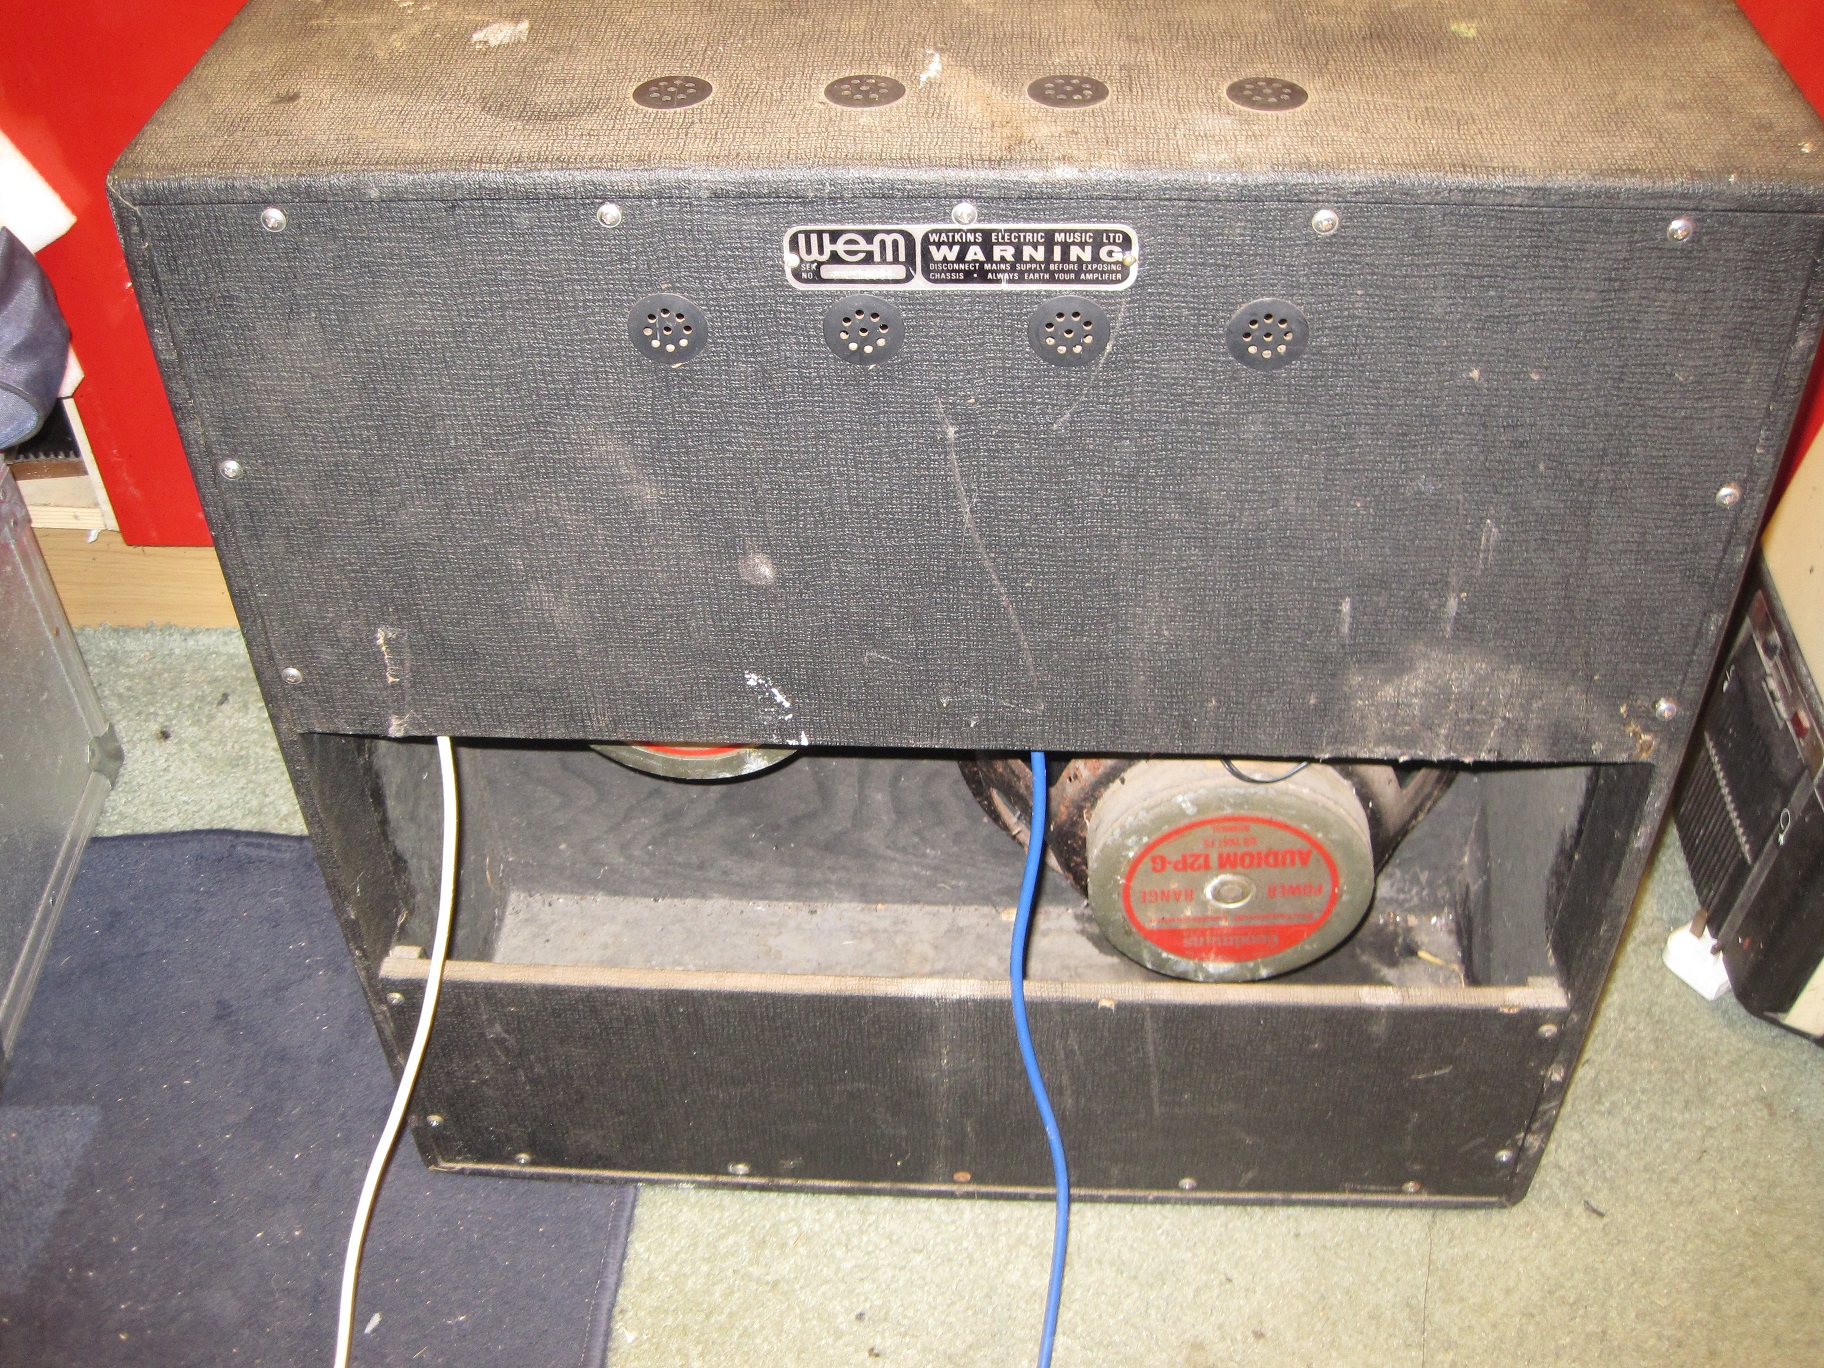
As you can probably see from the “before” pictures, it needed a lot of work. The first thing I had to do was to completely strip the combo and this is what I found –
- The tolex was extremely dirty and had numerous paint and other marks.
- The patterned grill cloth had several holes, including a couple of large ones.
- The inner layer of black grill cloth was badly torn.
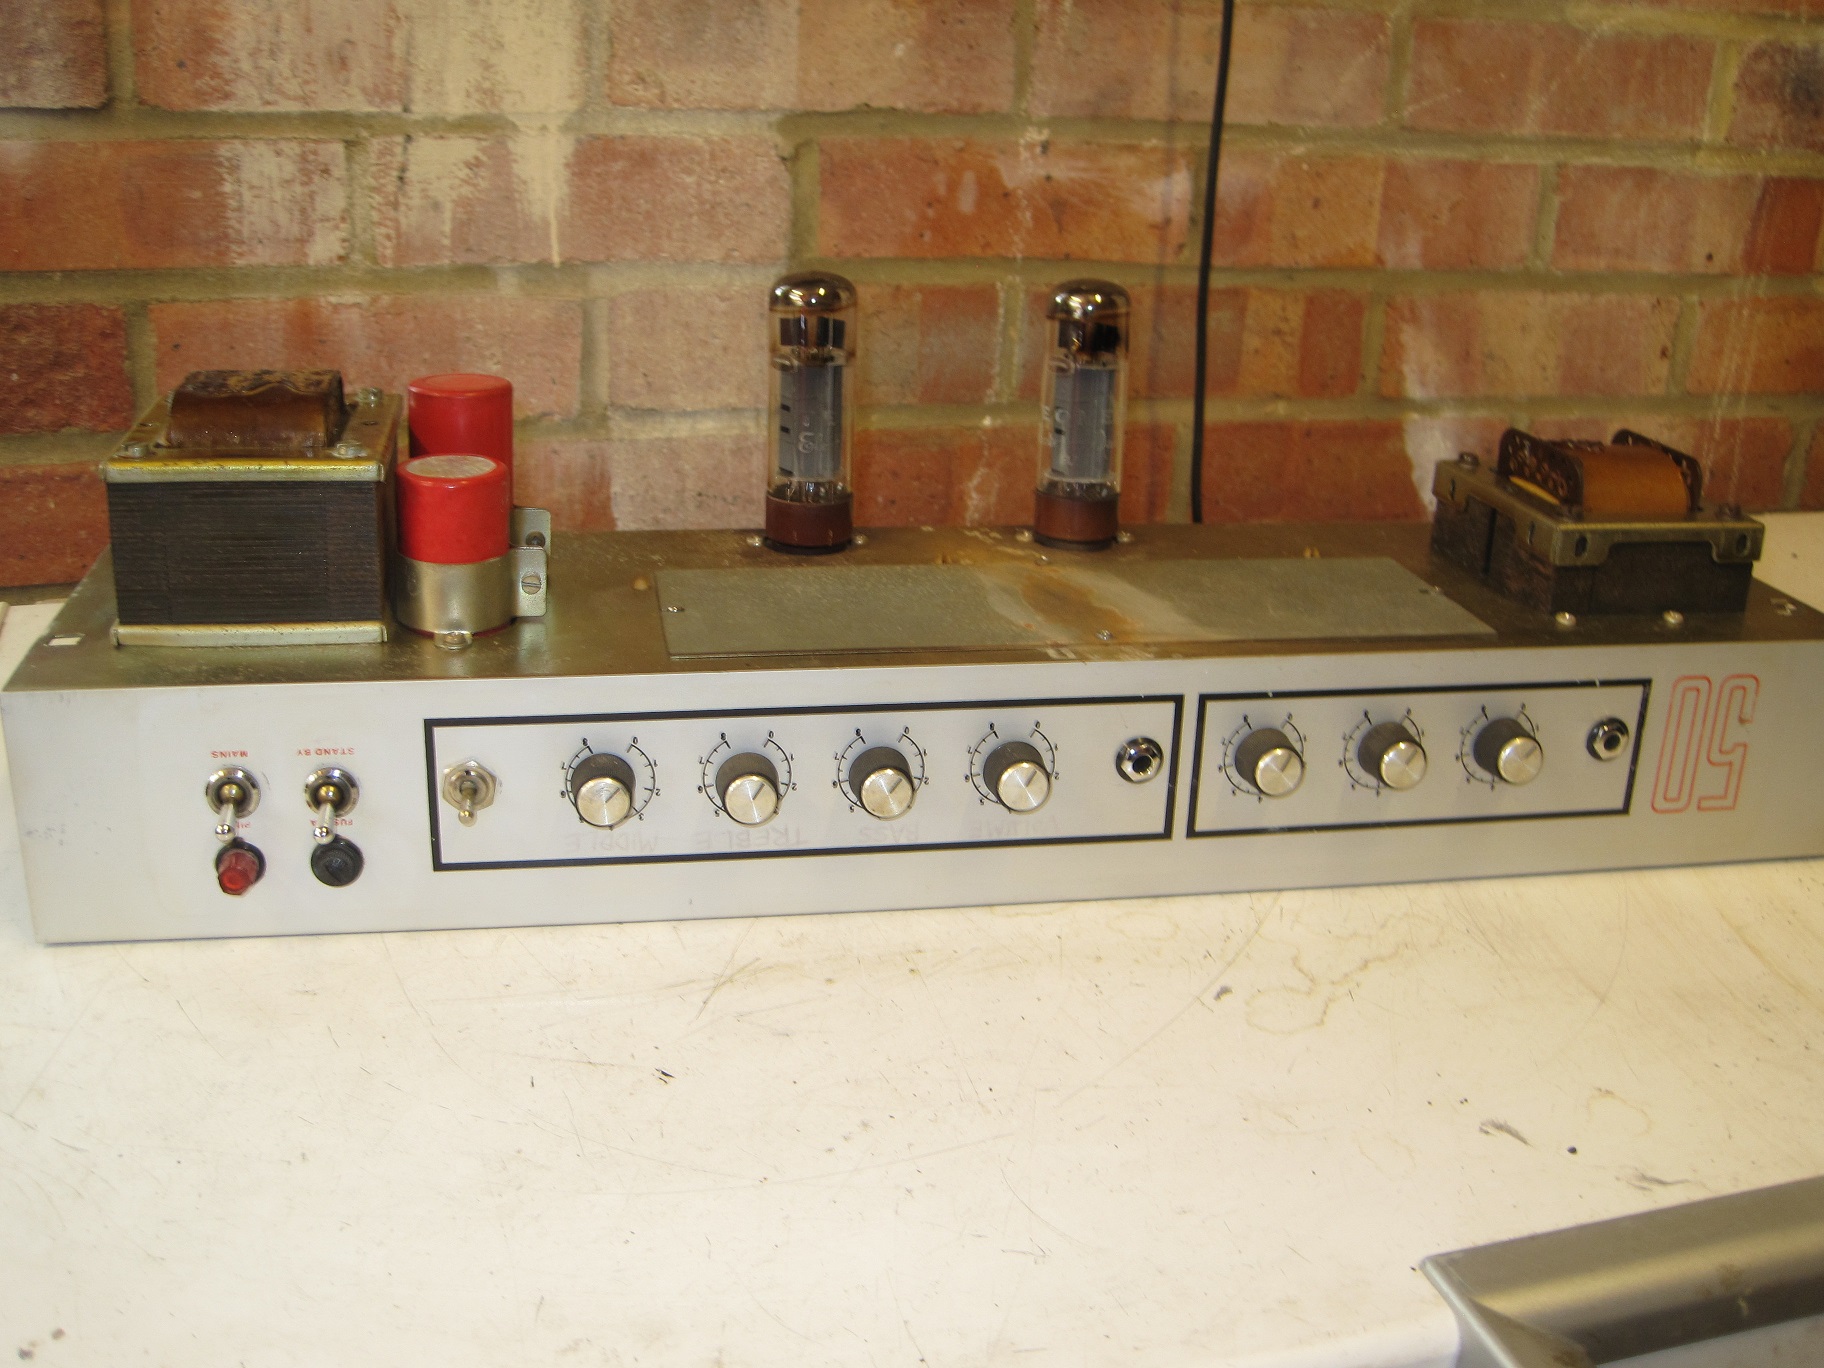
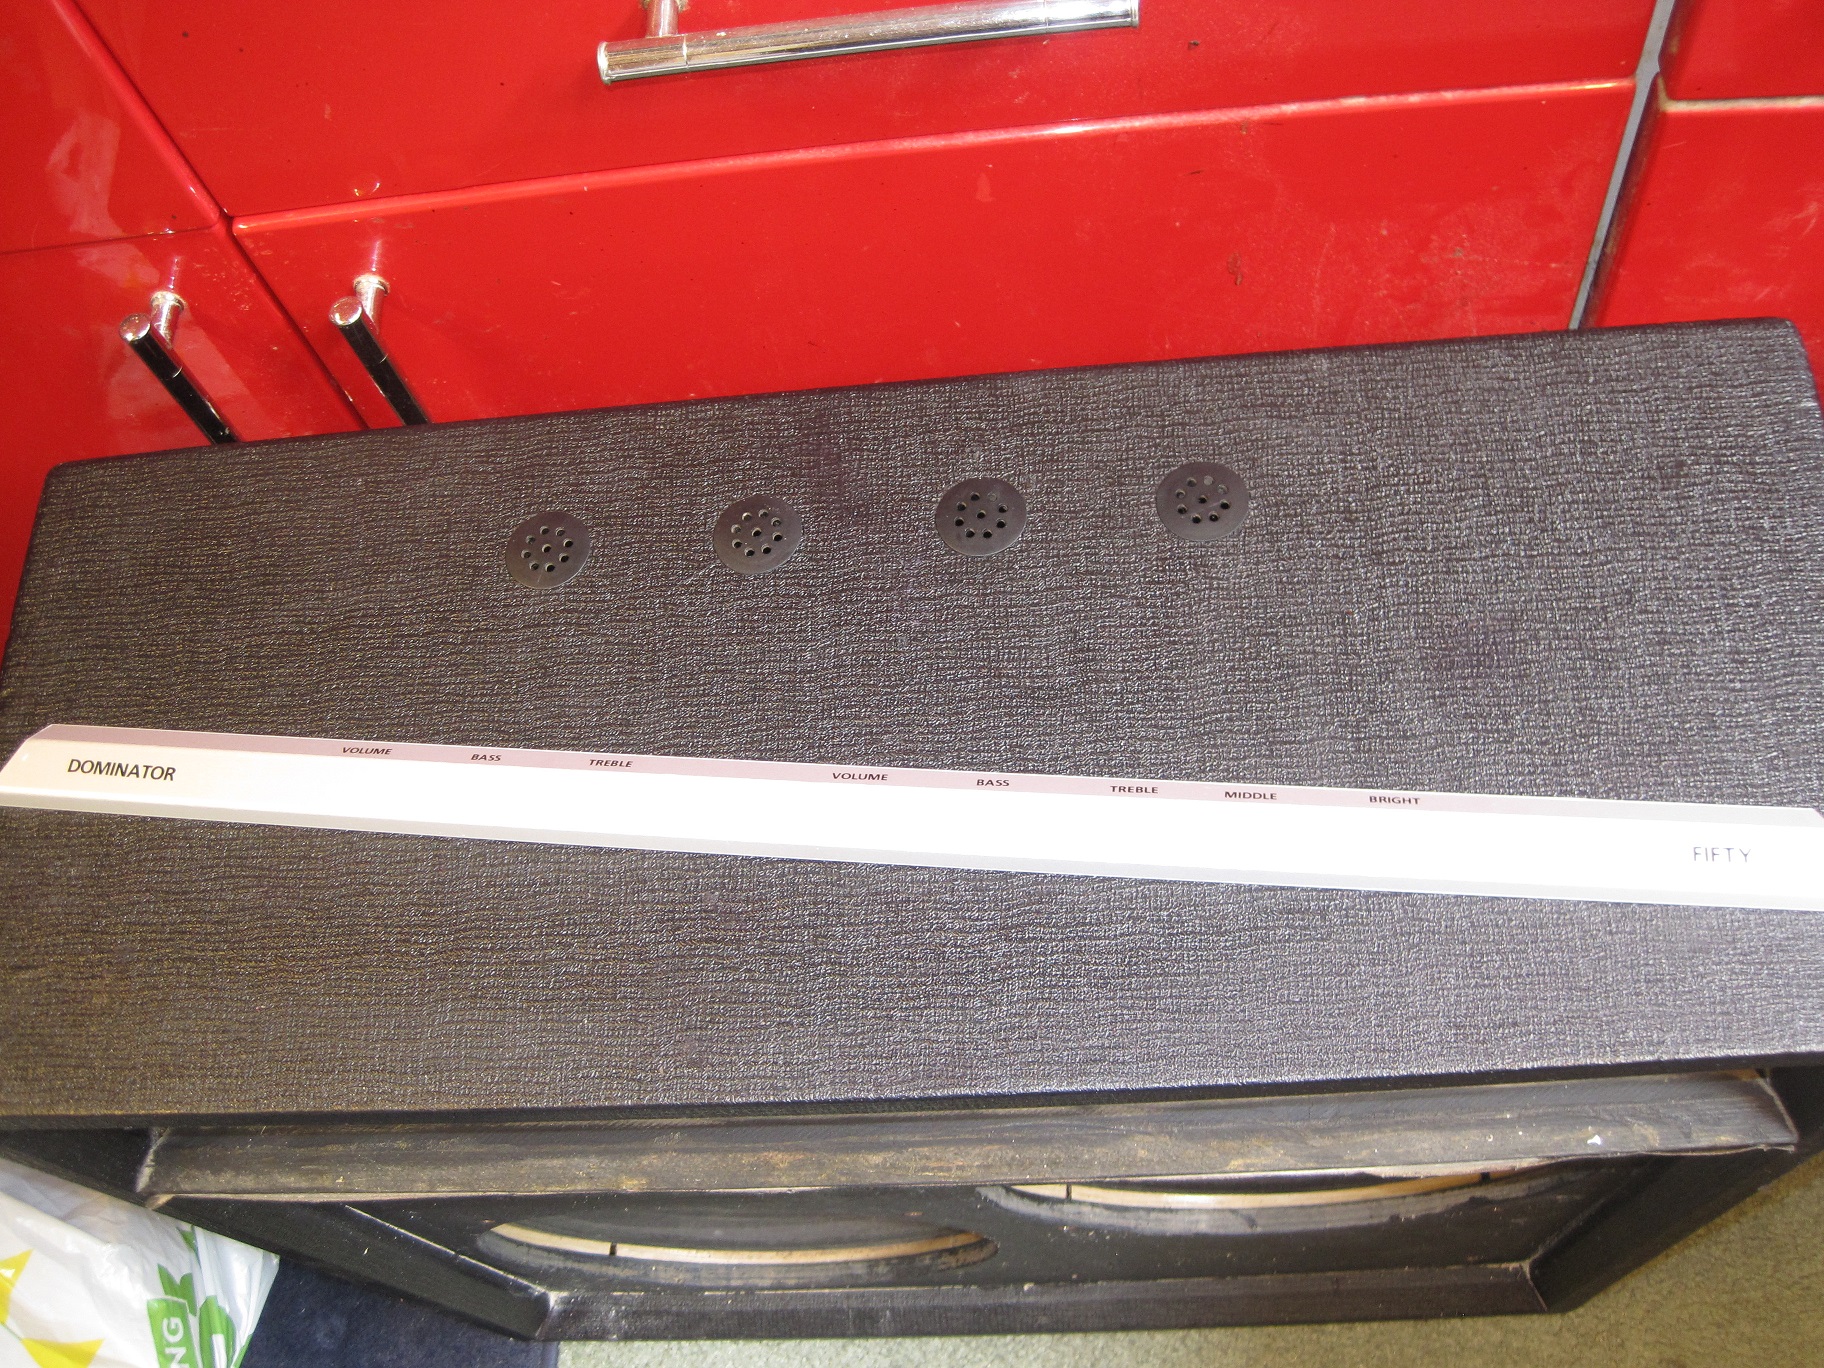
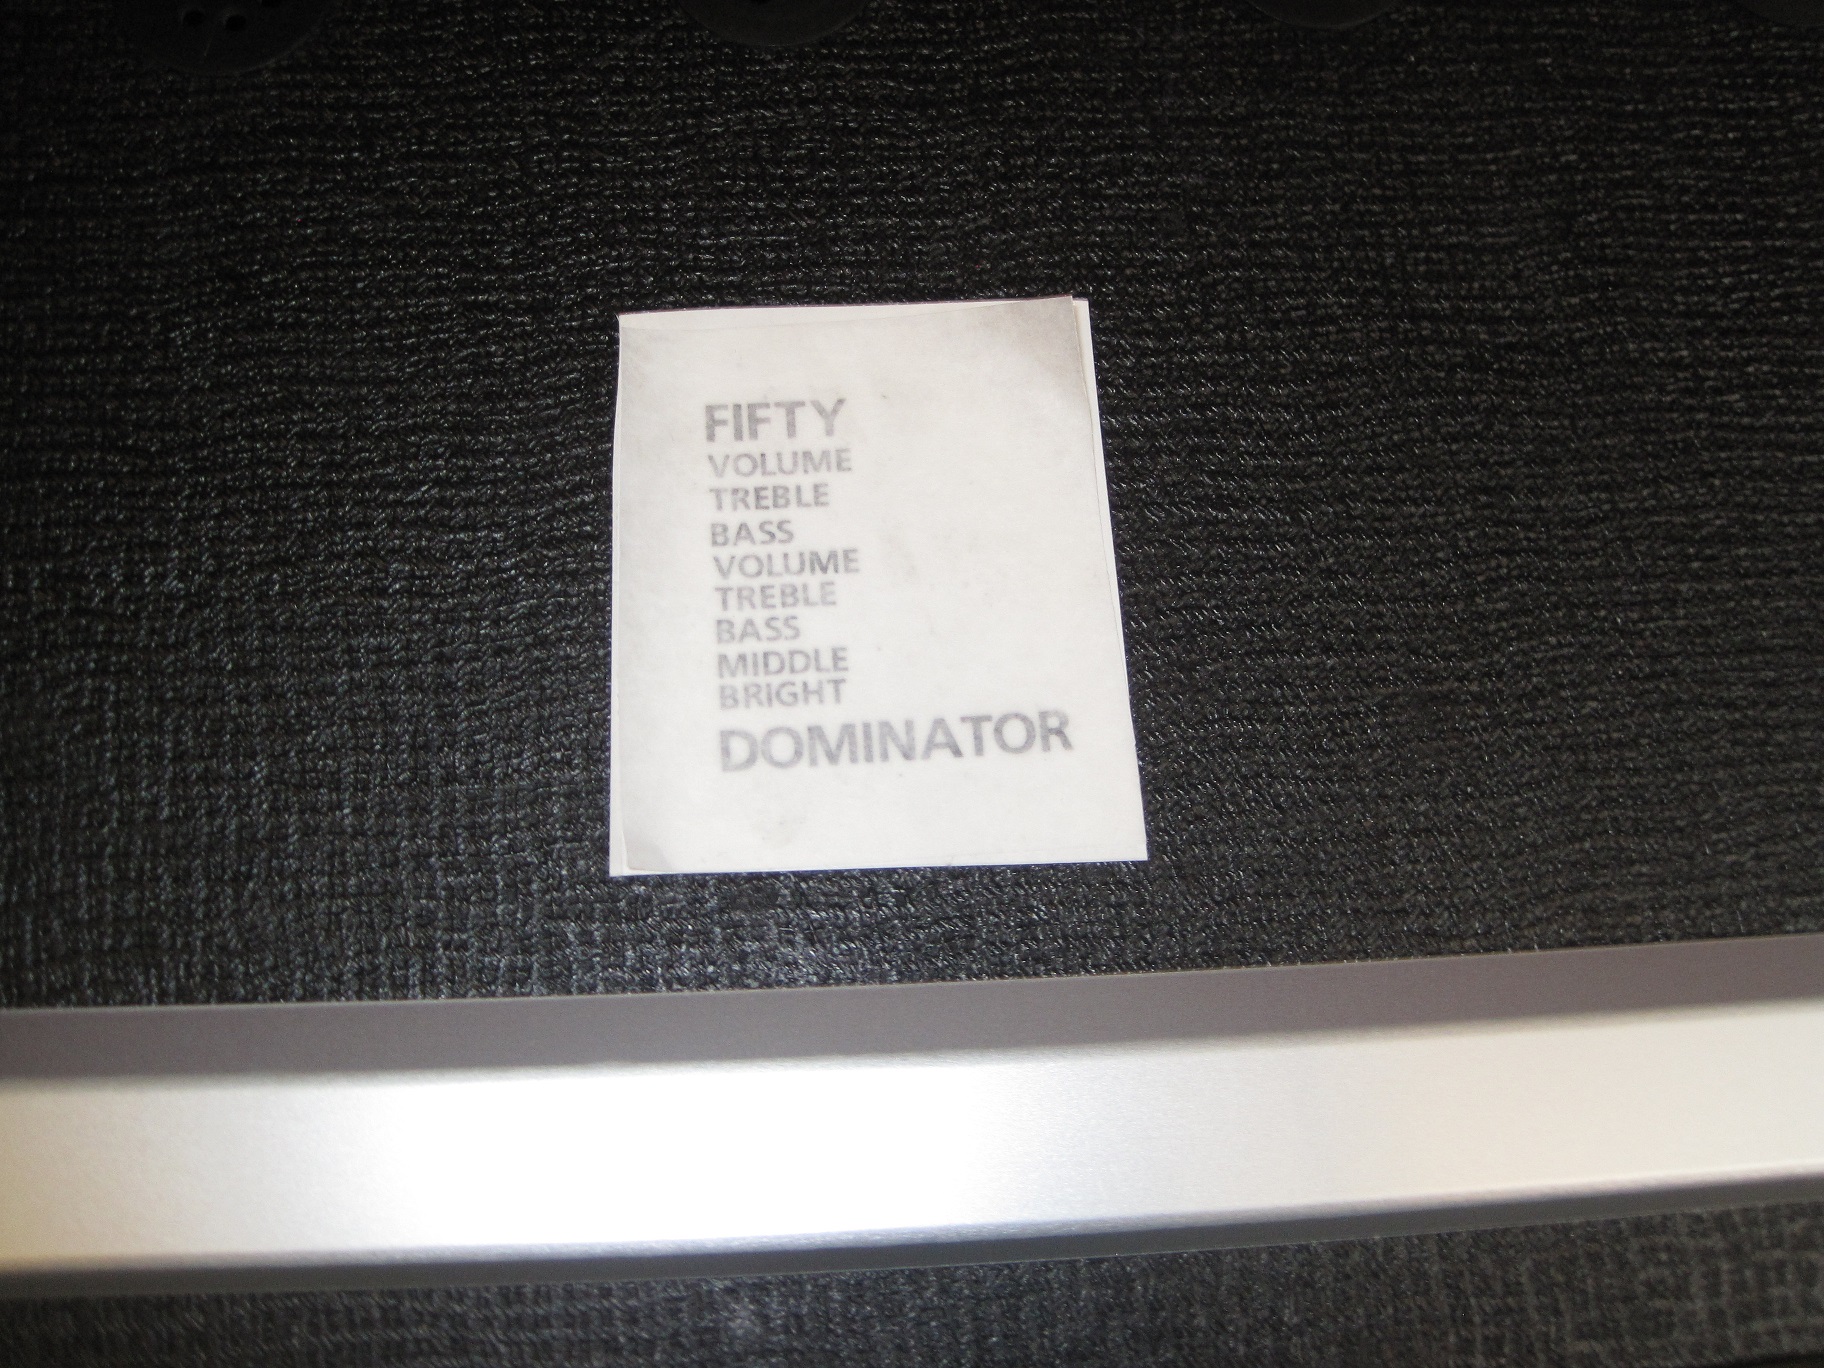
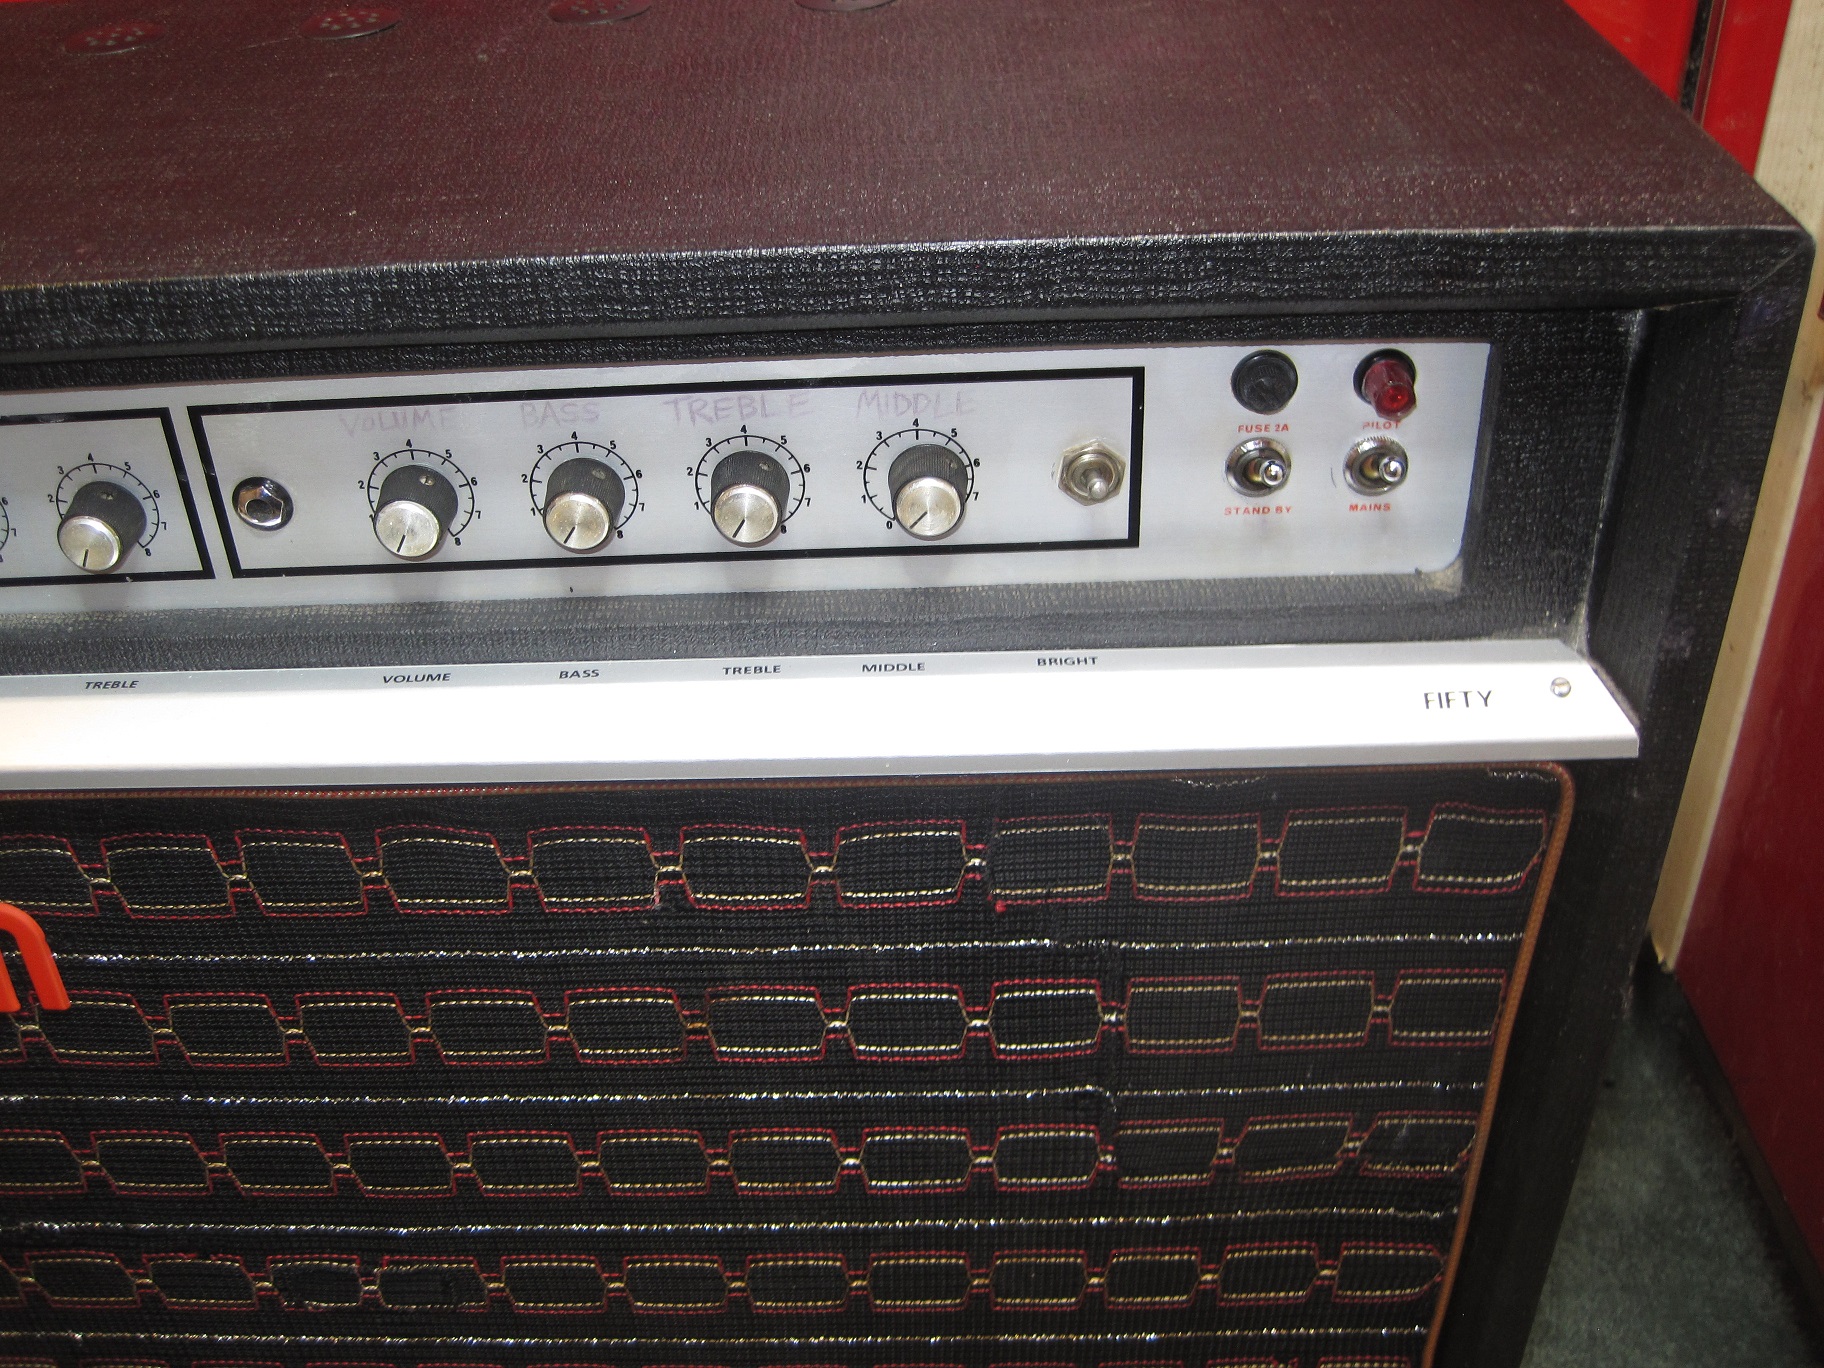
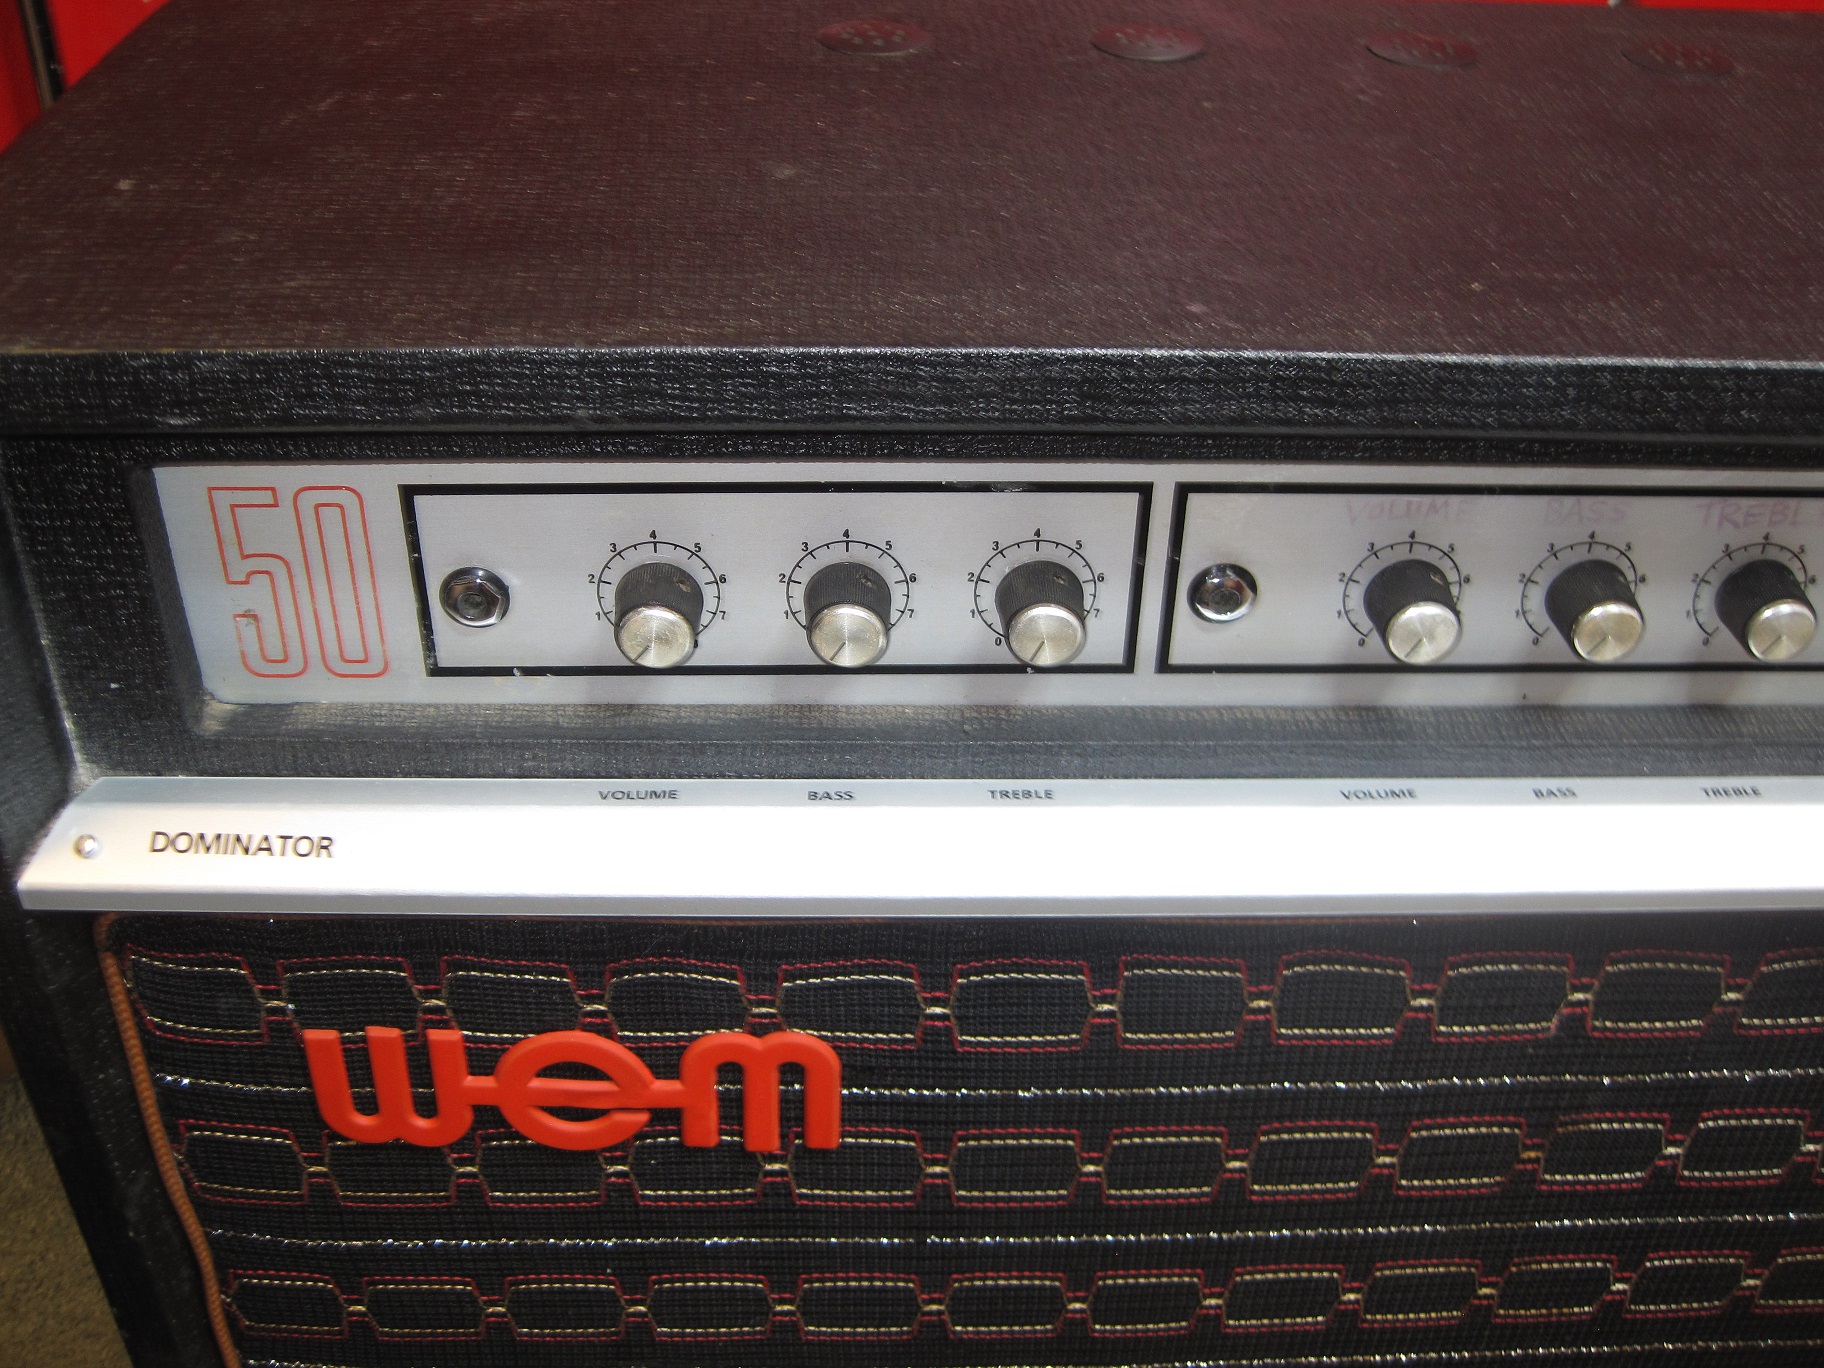
- The metal fascia strip which has the control lettering was missing.
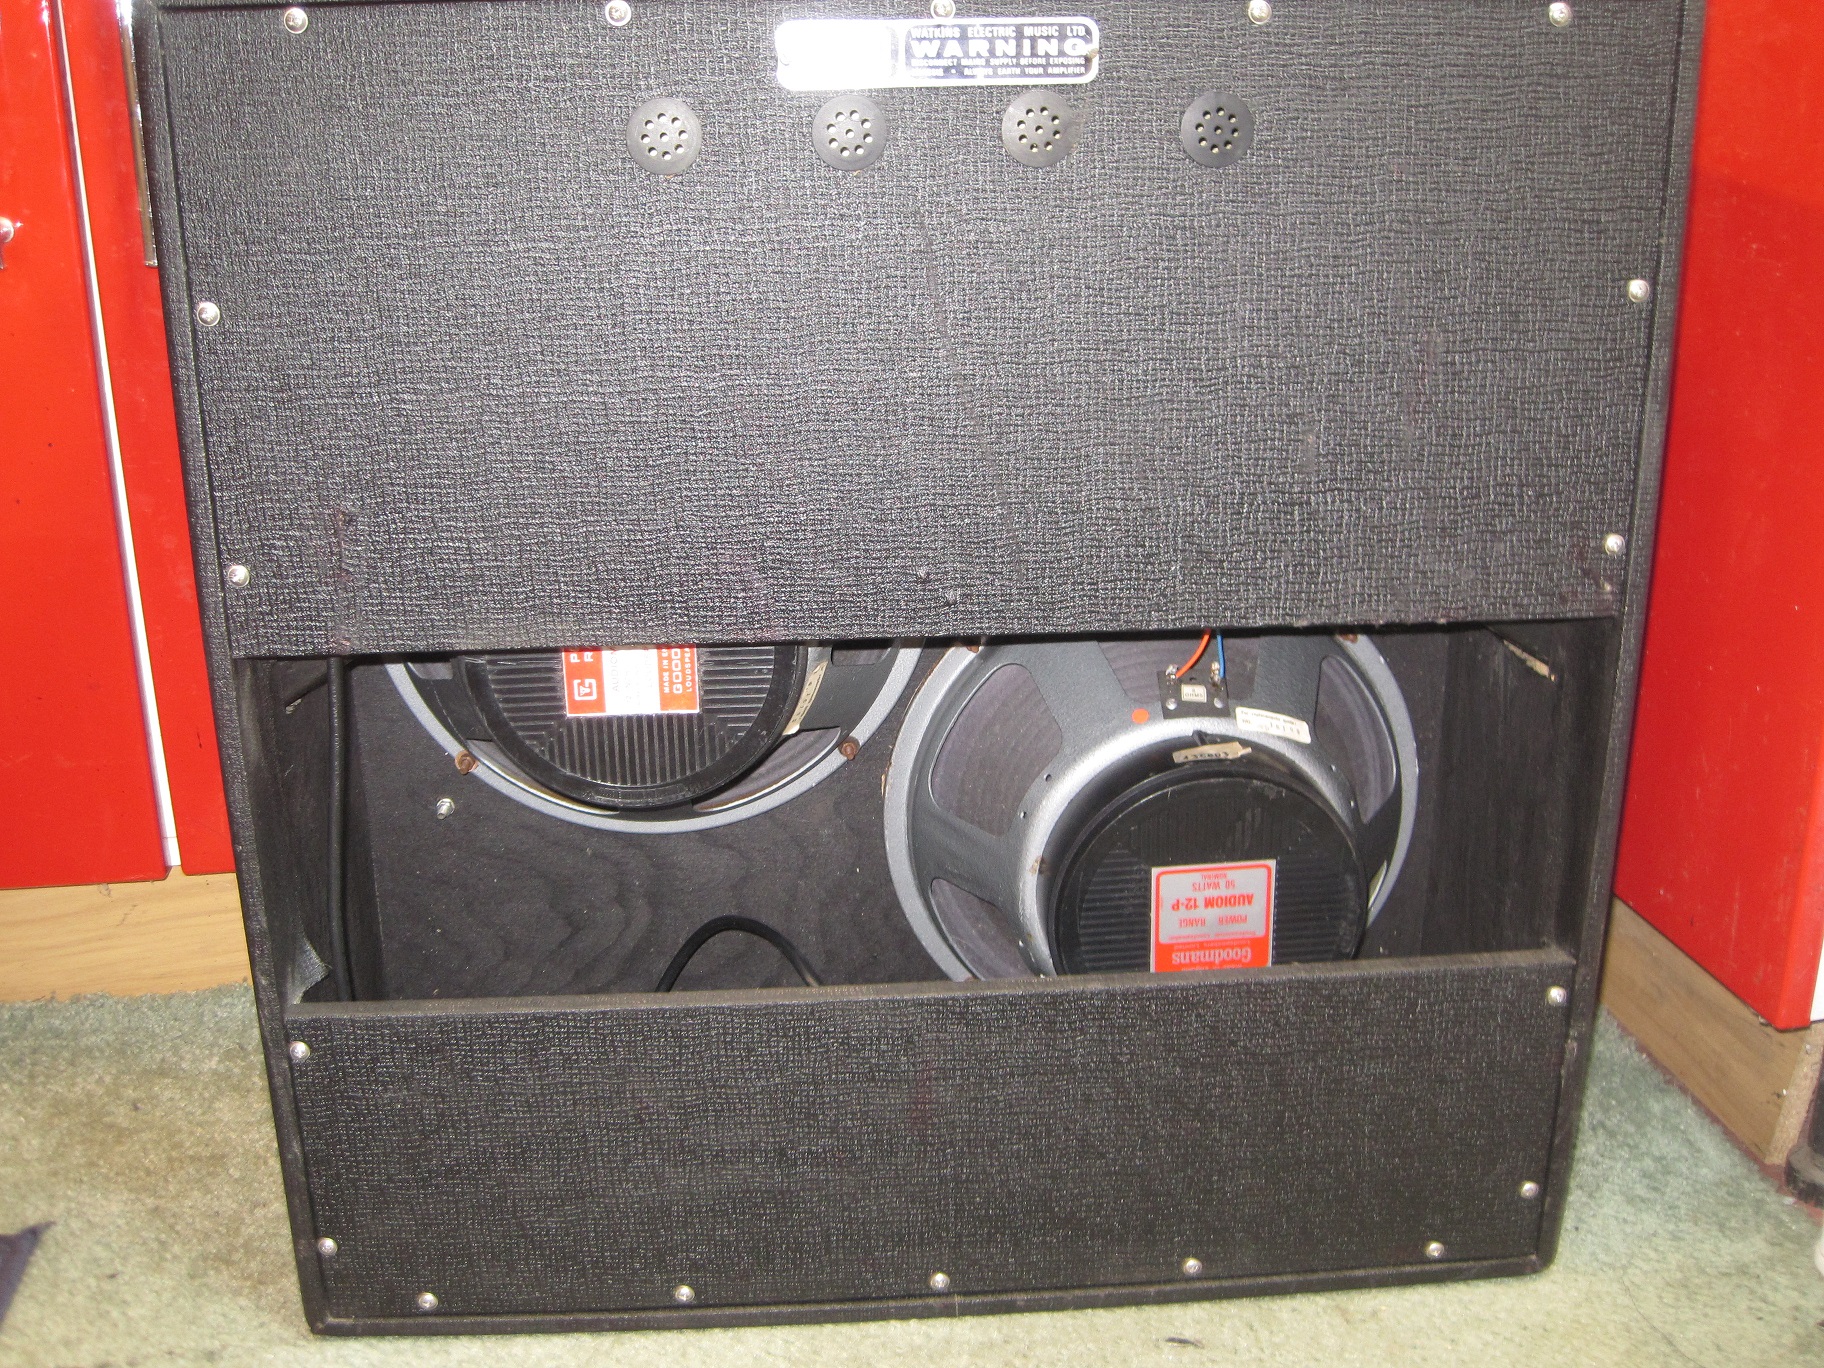
- The 2 Goodmans 12P drivers were extremely dirty with lots of paint missing and lots of corrosion.
- When removing the drivers, on one of them the outer rim of the driver was stuck to the baffle board and this resulted in the cone coming away from the frame when it was removed.
- The amplifier worked for a few seconds but then developed a gradually increasing hum.
- Channel 1 on the amplifier didn’t work and the controls on channel 2 seemed to have little effect.
Here are the “before” pics –


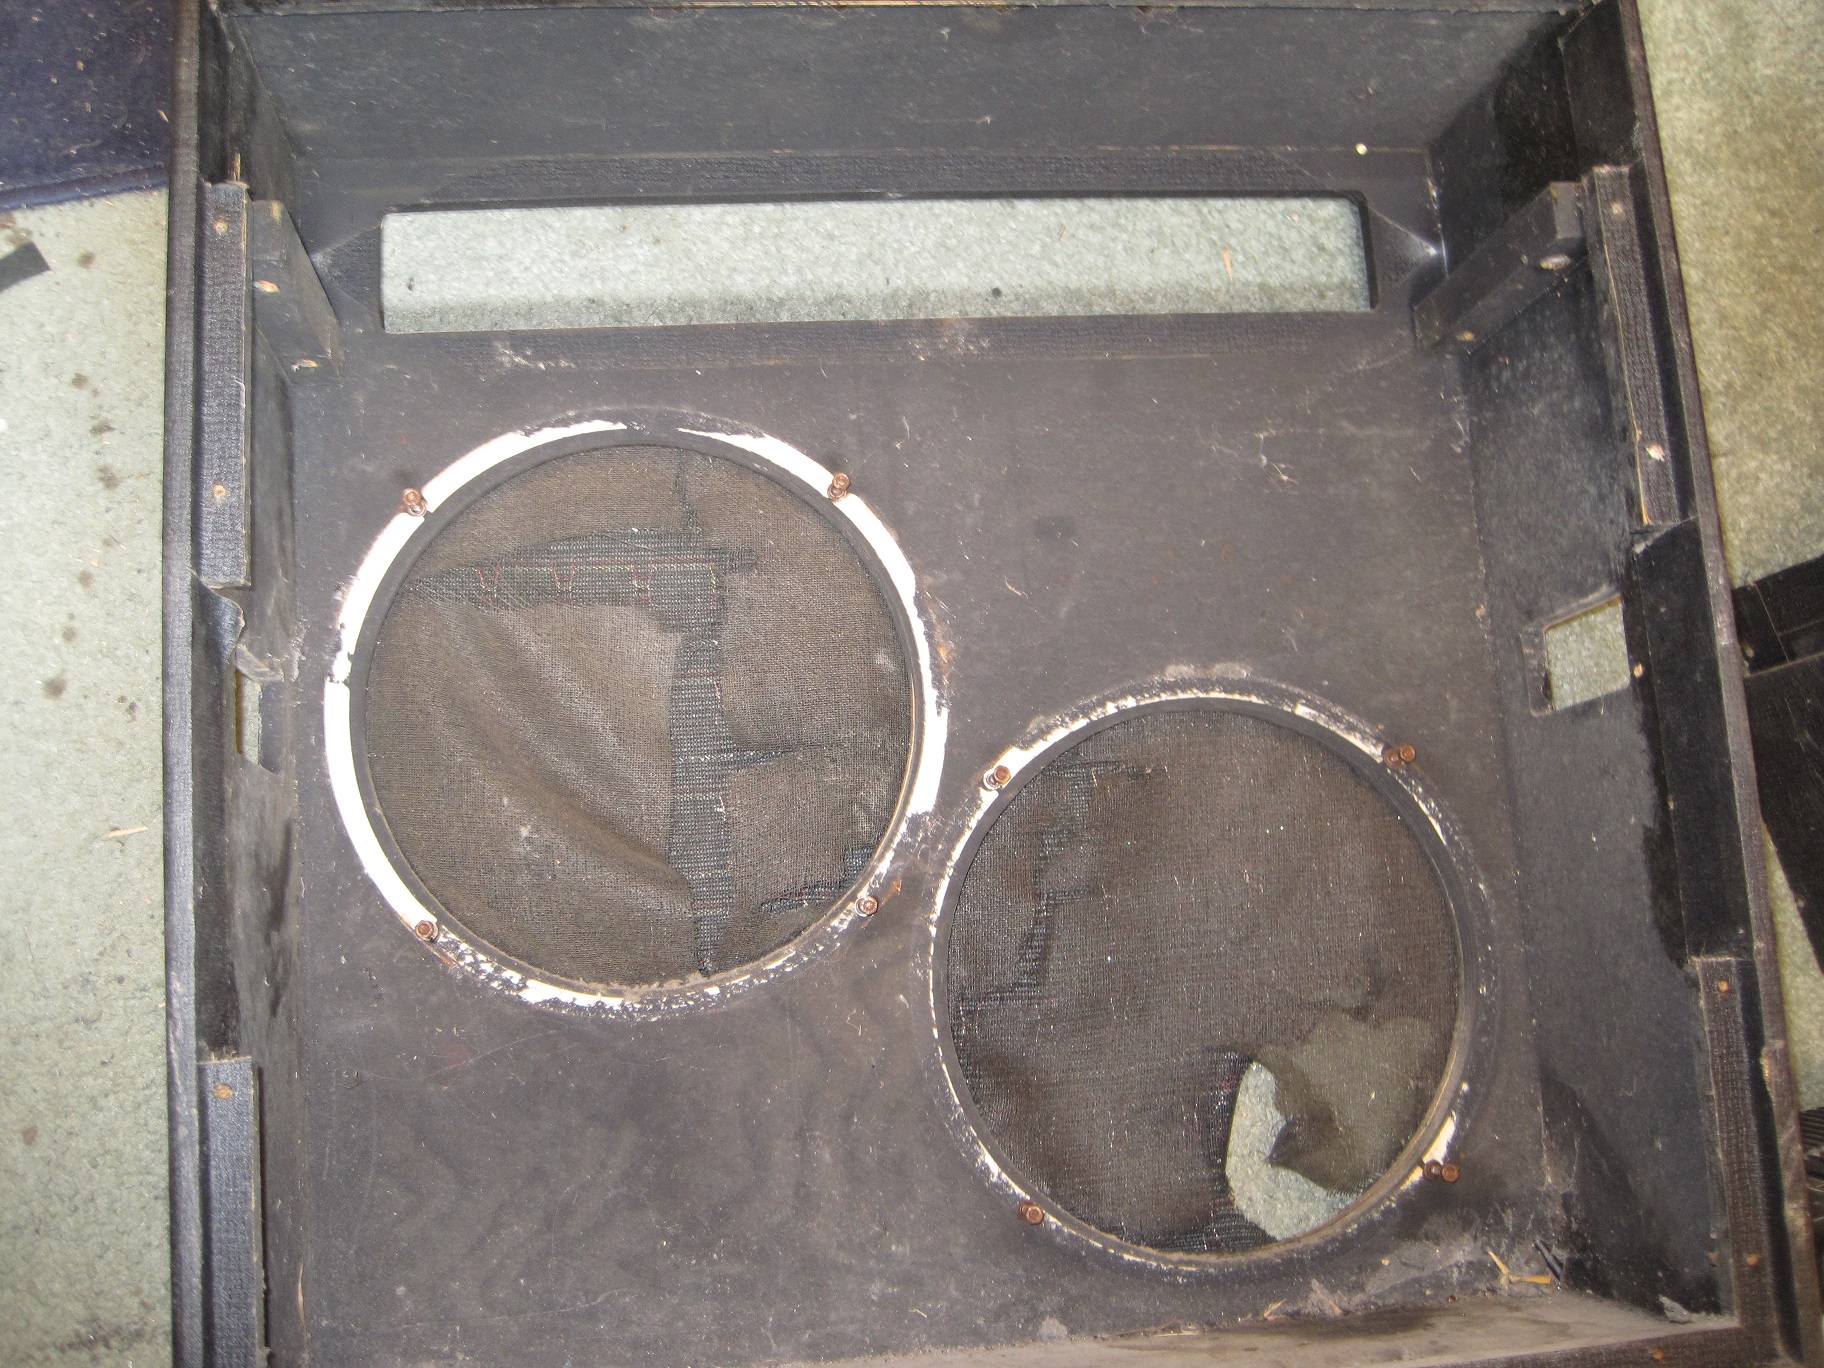
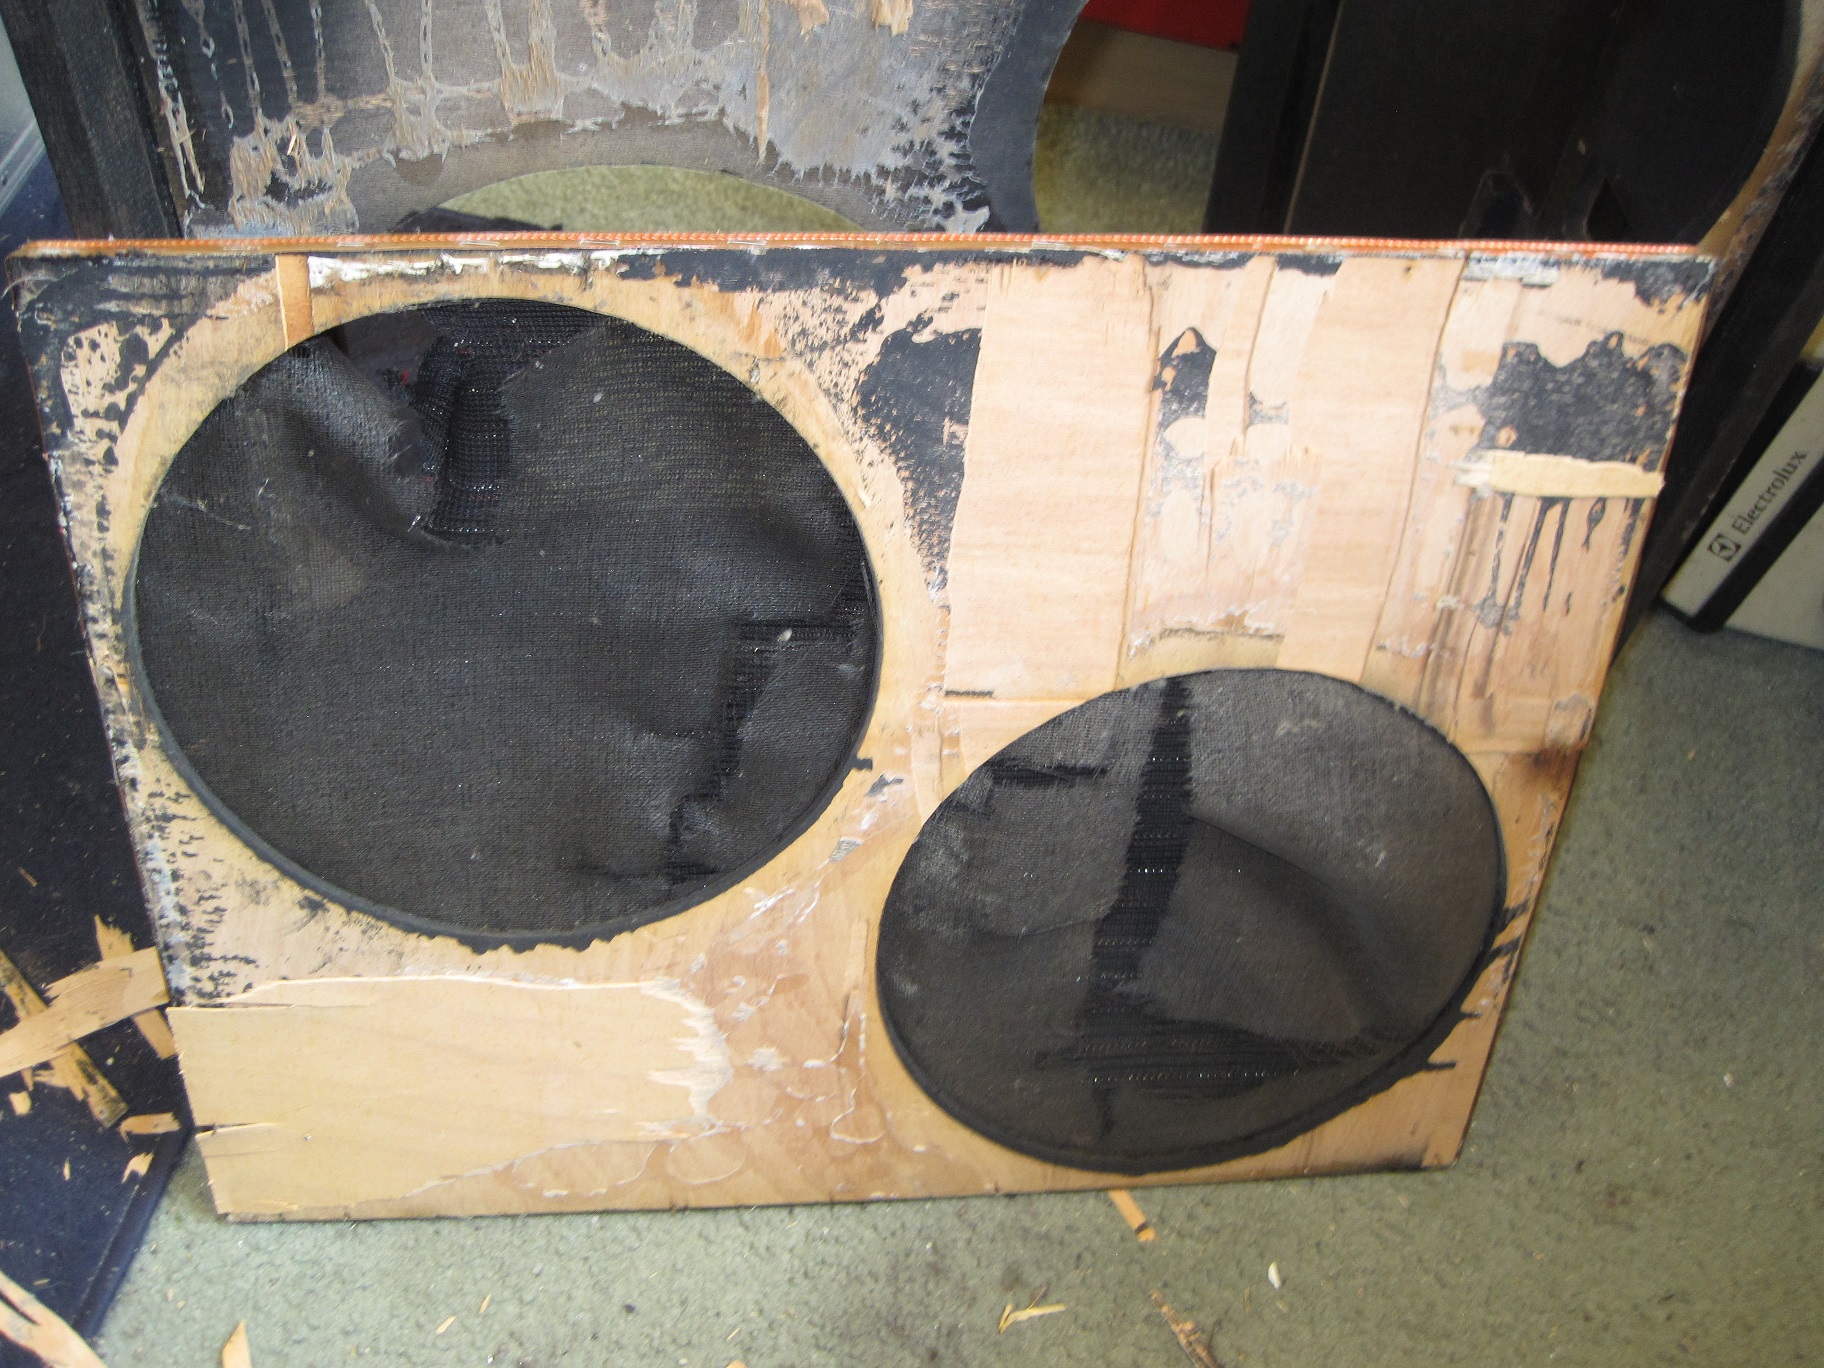
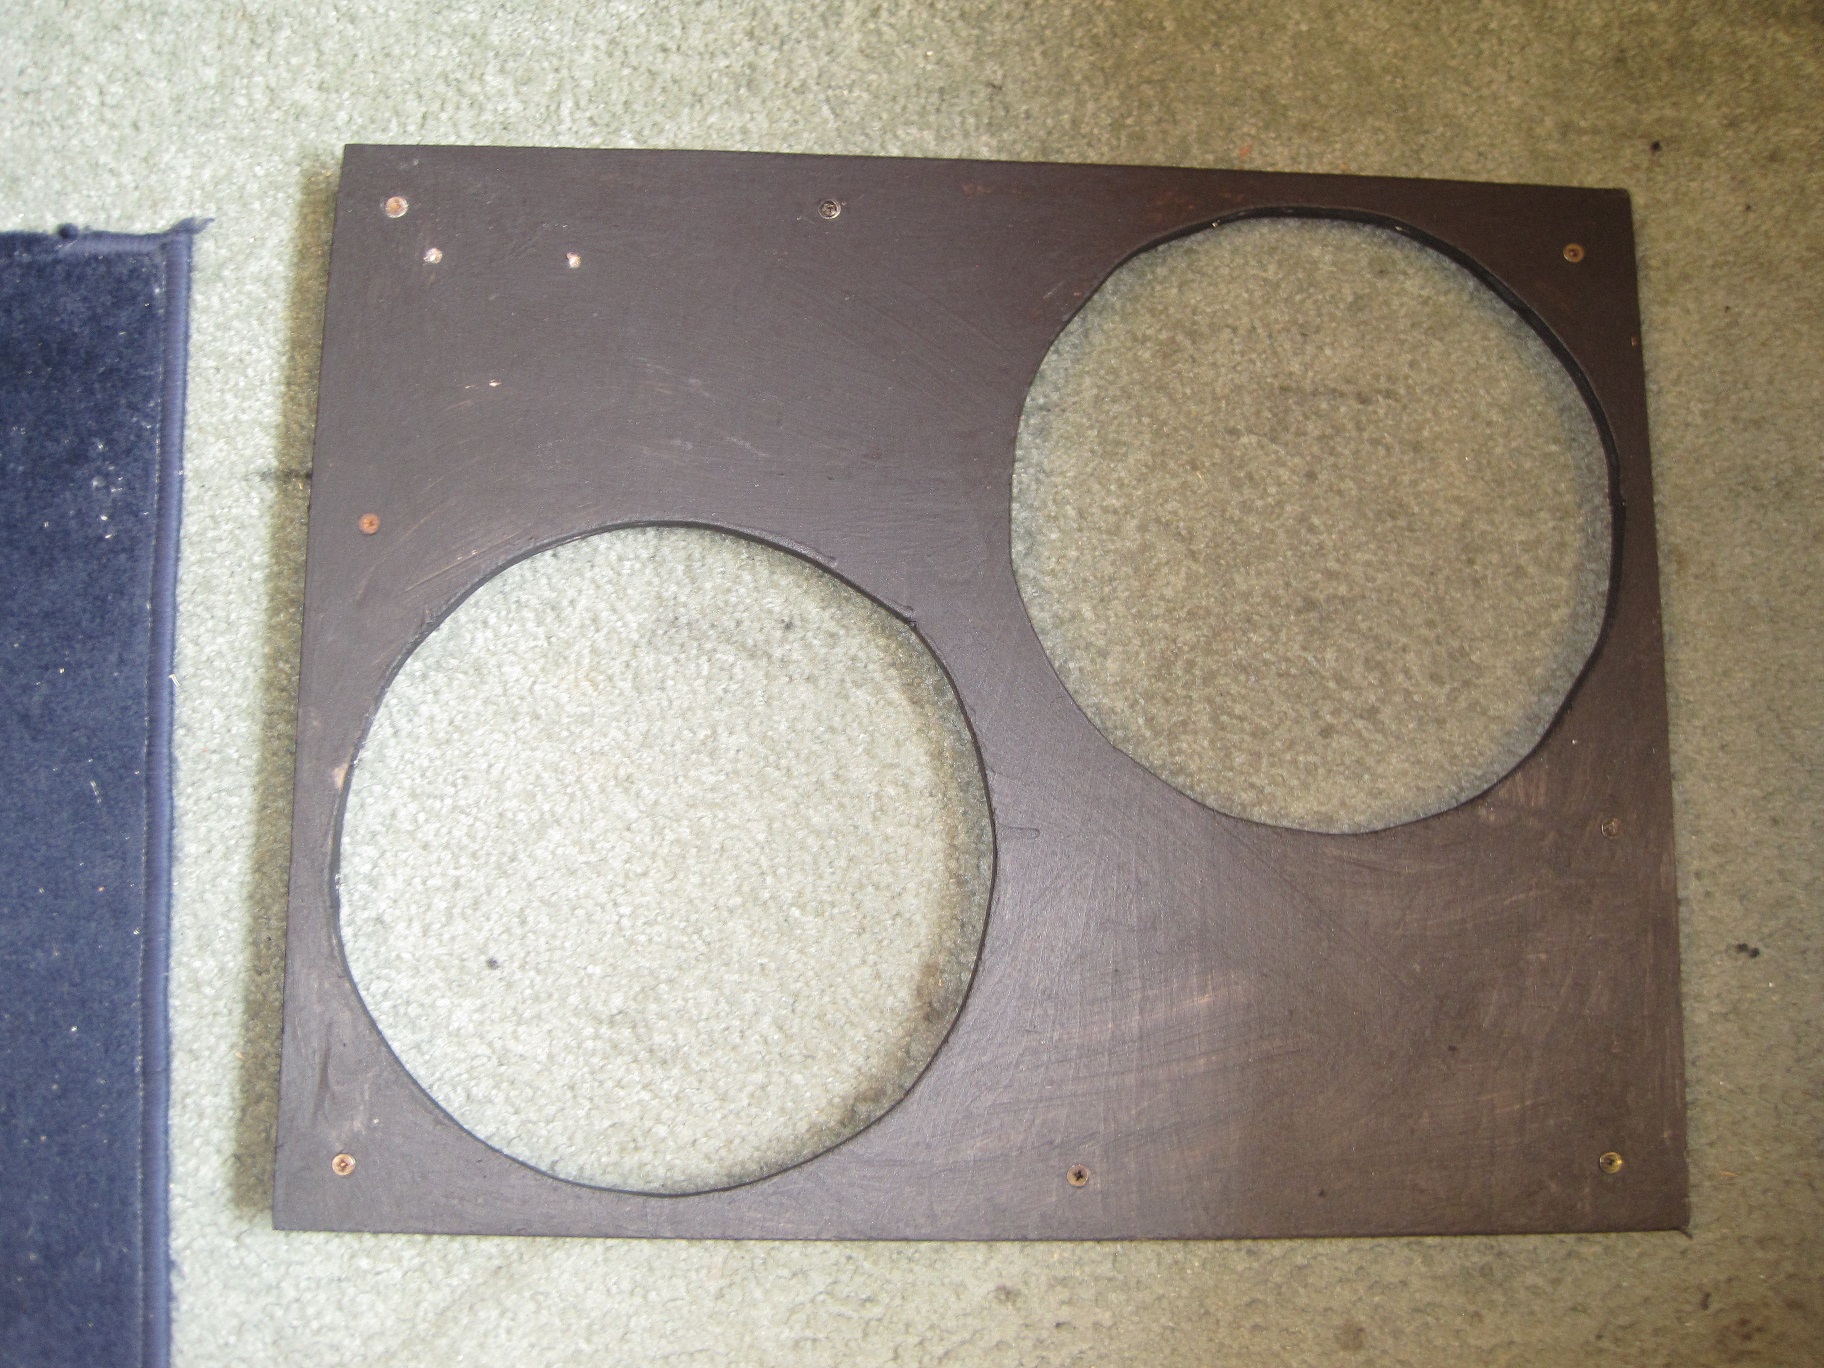
Here are a couple of pics showing the empty cab, the front of the cab with the grill cloth frame removed, and the grill cloth frame front and back –


The amp went away to specialist amp tech Ian Woledge in Tadley, Hants.
The grill cloth was removed from the frame and was sent to Sharon at Sewfistication, in Basingstoke, for repair.
I cleaned up the cab and made a new grill cloth frame and the following pics and text describe the numerous steps involved in this project.
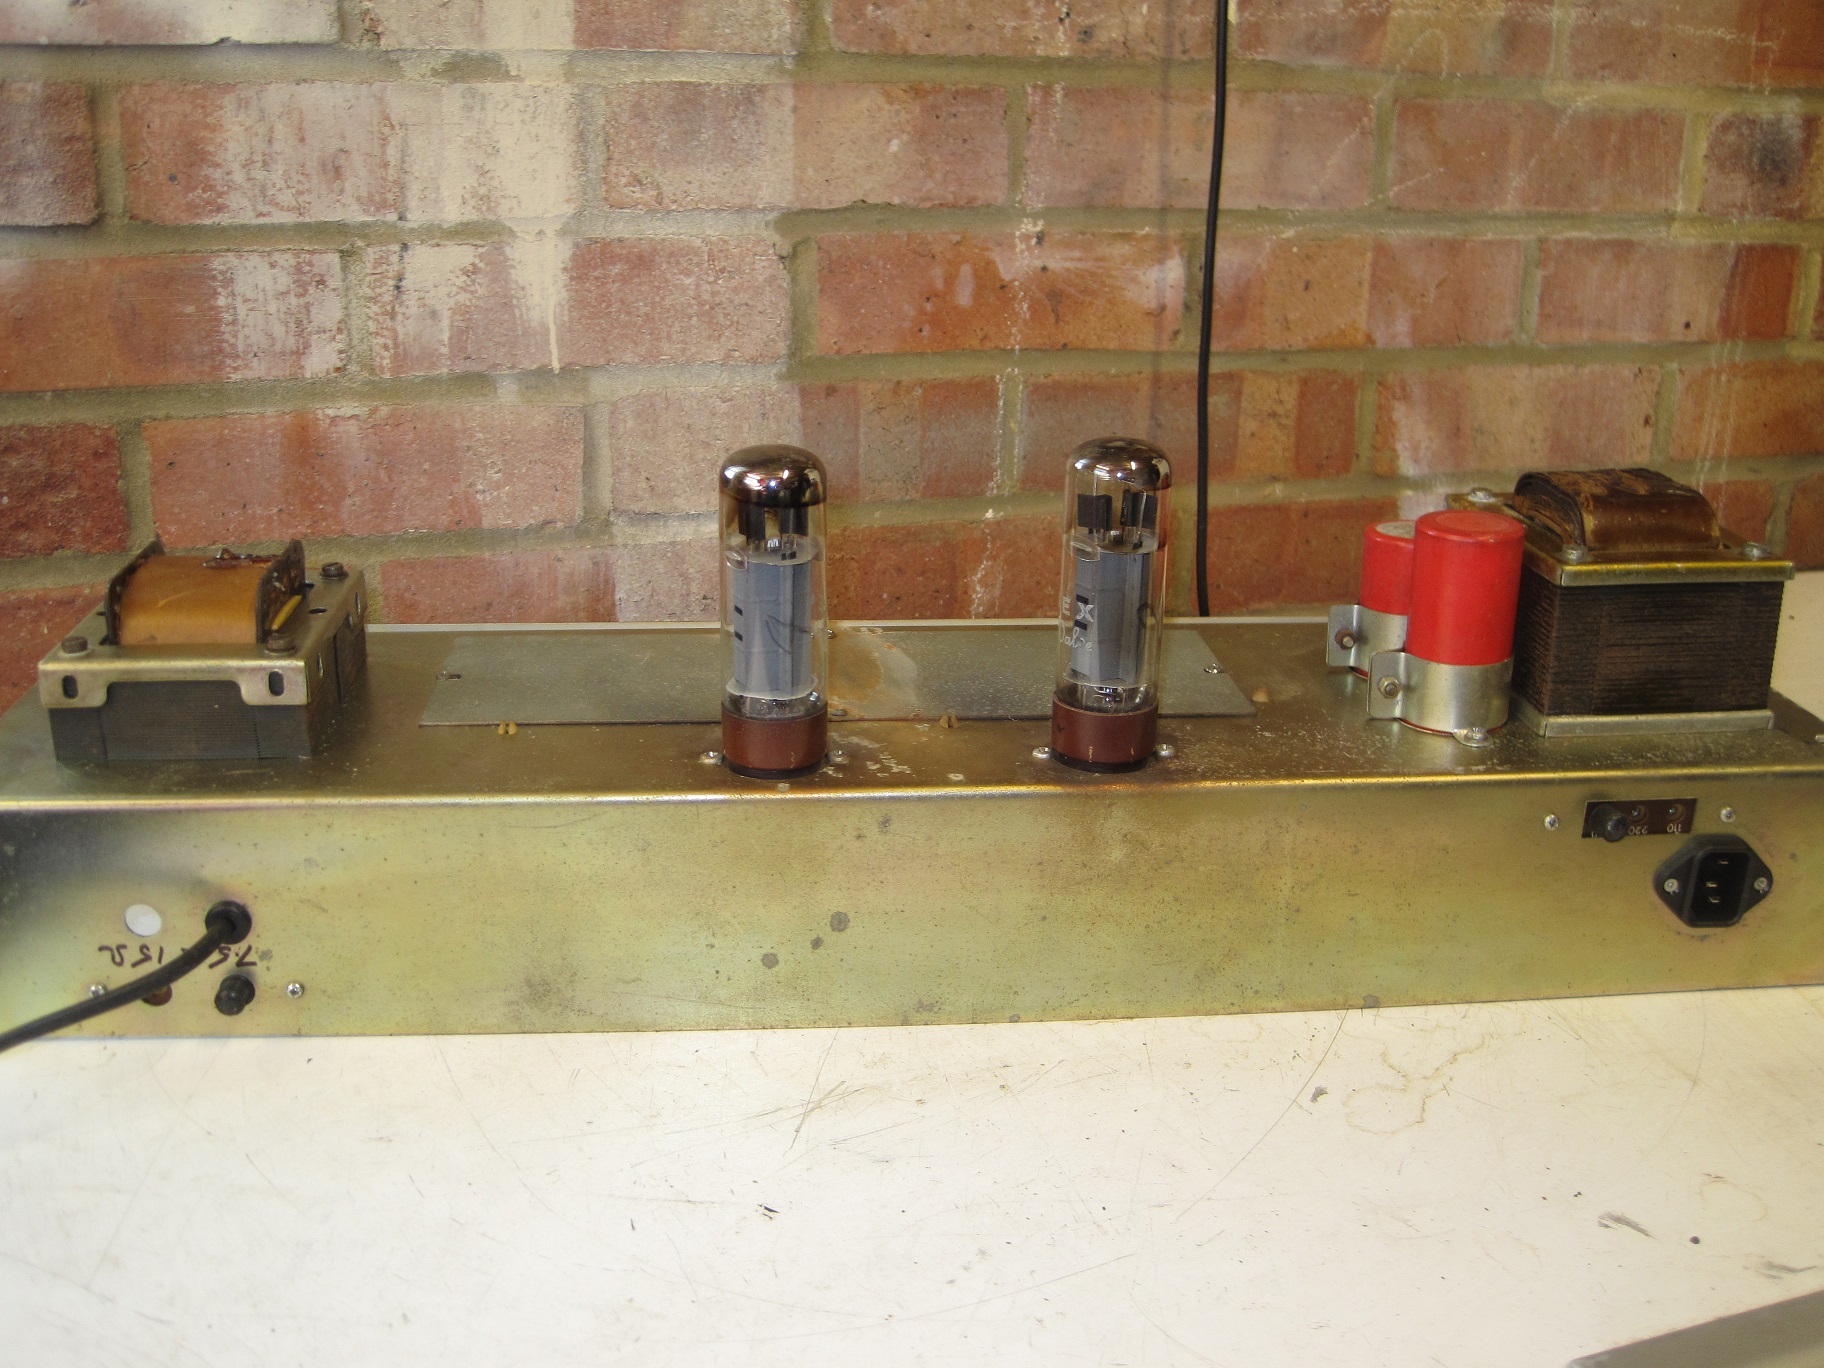
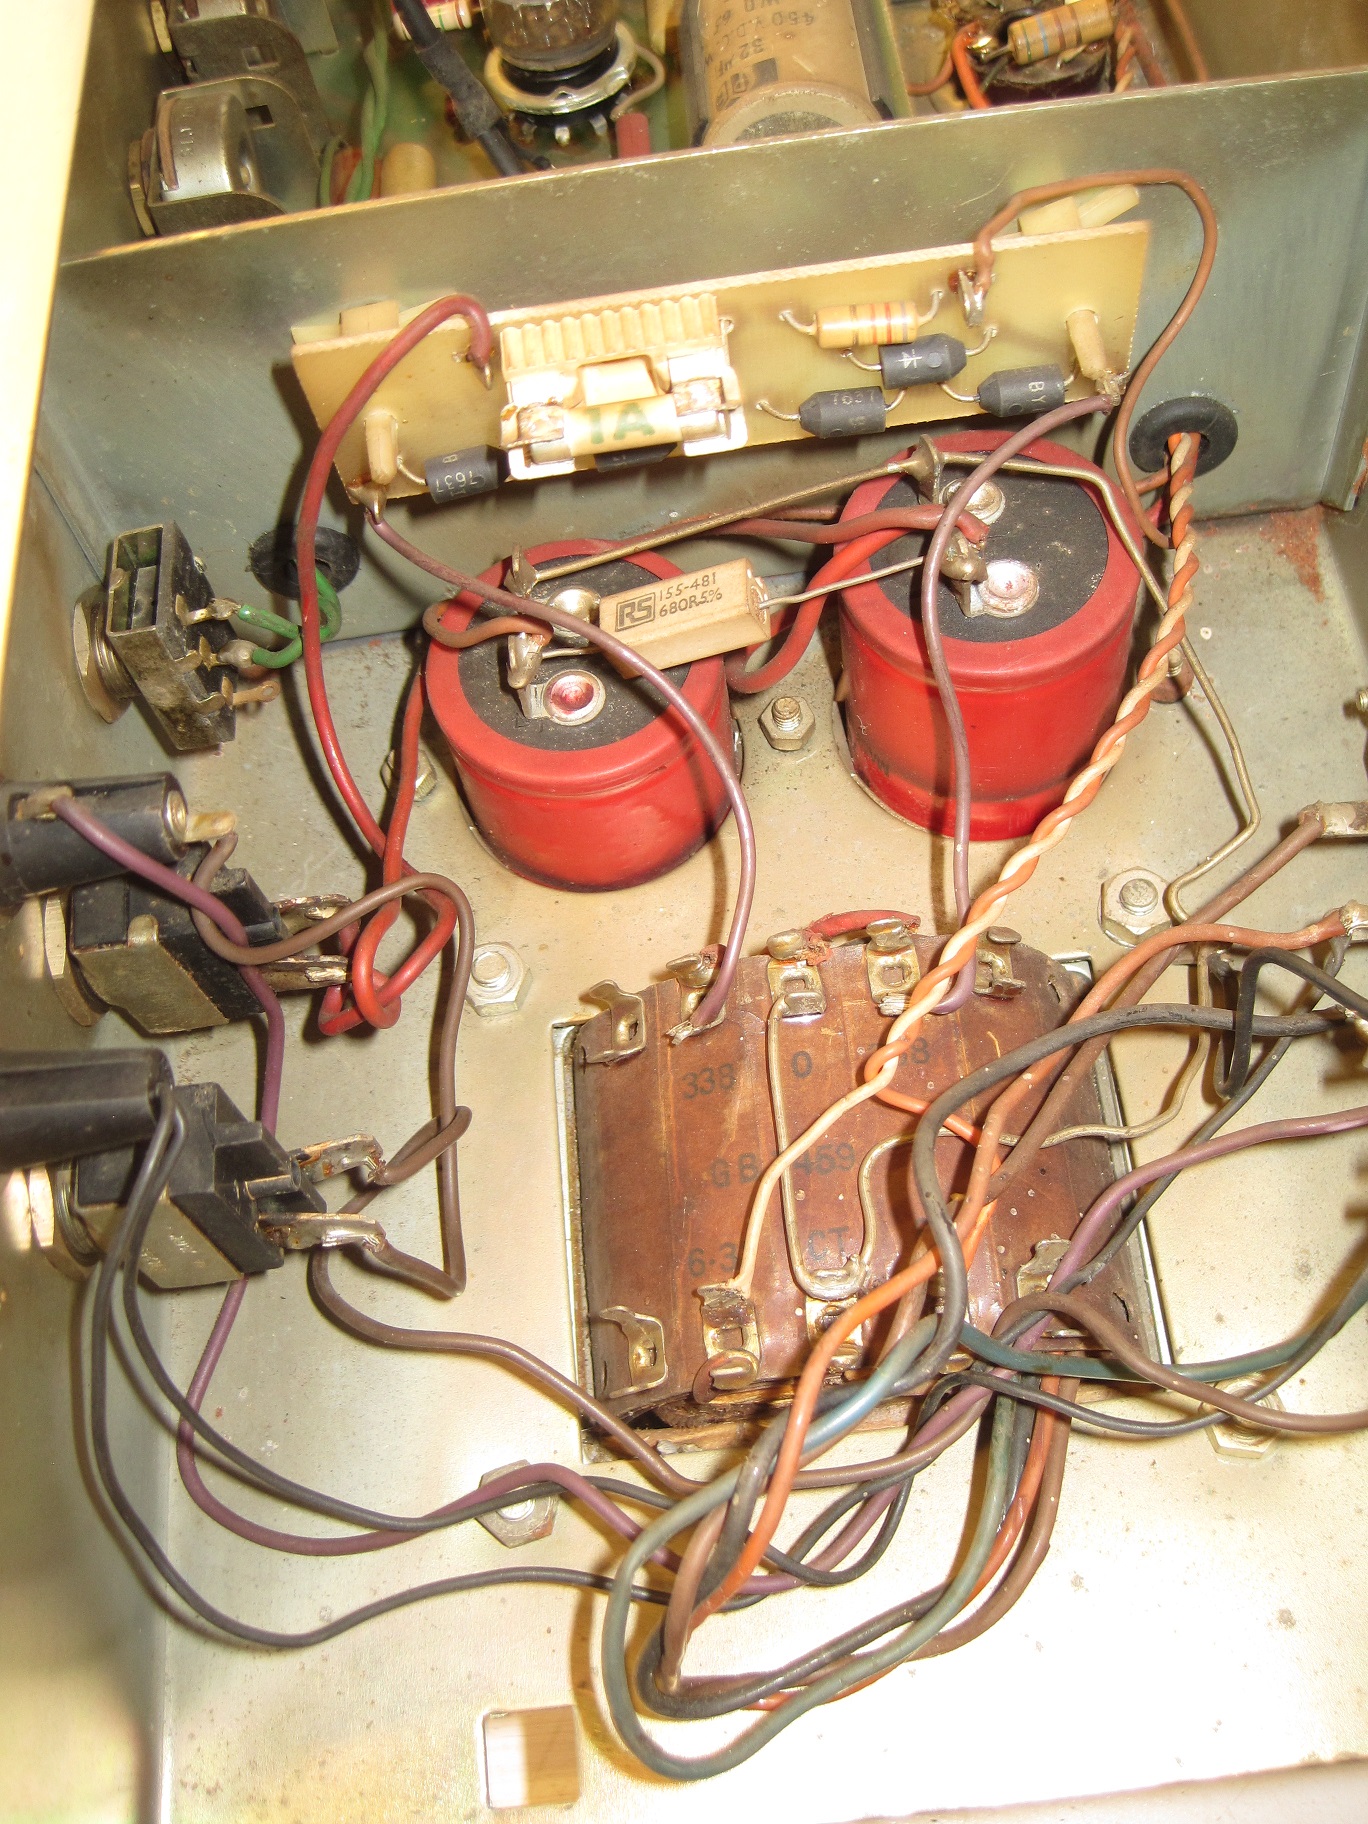
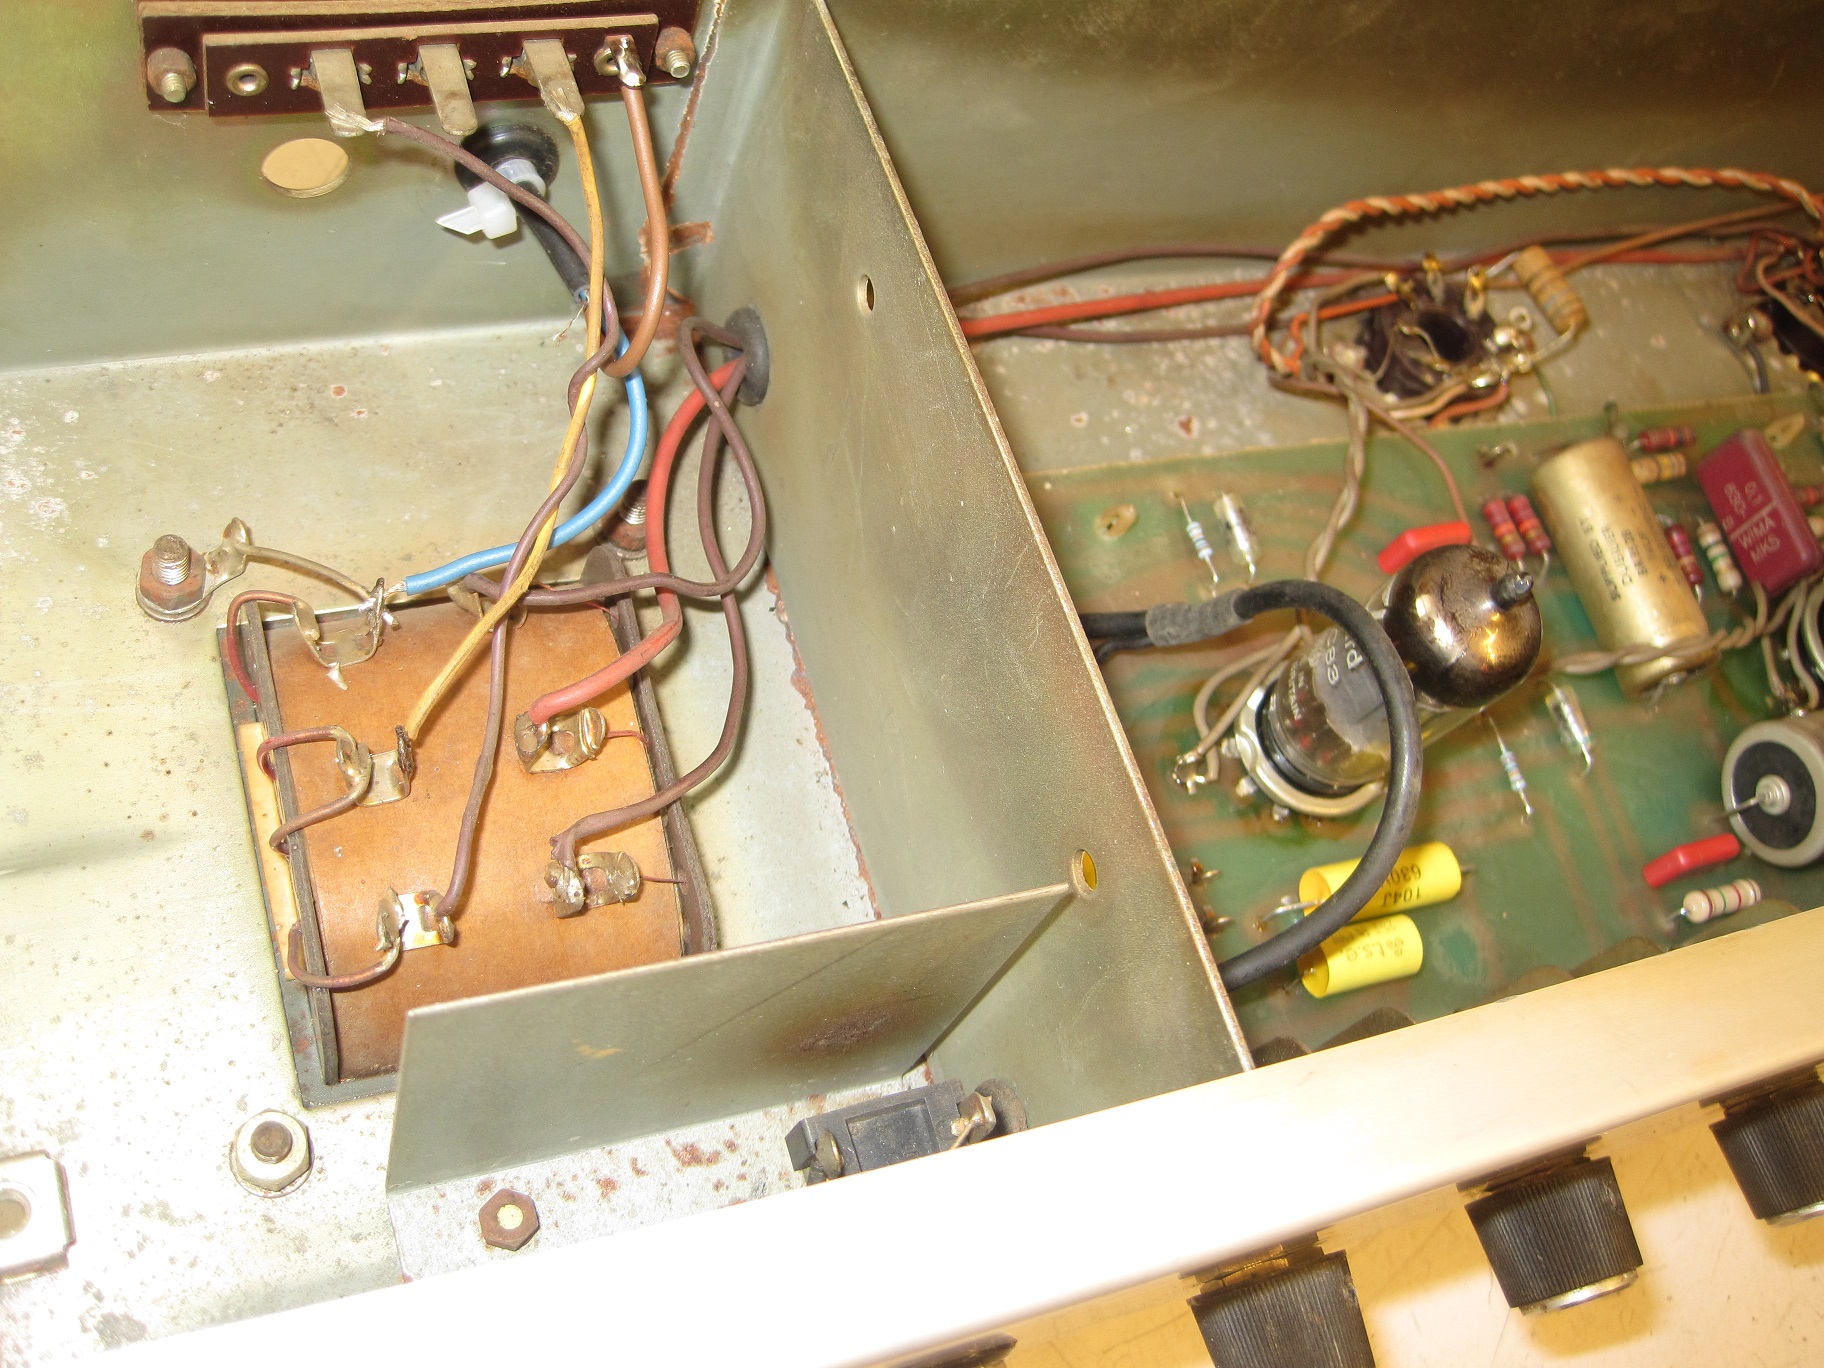
July 2nd 2017 – Just received the amp back from Ian Woledge fully repaired and working. It needed – 2 x power valves (EL34), 1 x pre-amp valve (ECC83), 8 resistors, 7 capacitors and a new fuse to get it back to full health and to do away with all the niggling little crackles and pops etc. Here are some pics of the completed amp section –

Next stage done – I cut a replacement grill cloth frame from 5mm plywood. I also smoothed off and painted with wood stain the front of the main baffle. Also, I drilled some holes which I later used to bolt the grill frame to the baffle. I prefer to do that rather than use pins and glue as used originally by WEM. This is because it enables the removal of the grill frame in the future, just in case it needs another repair in the future.

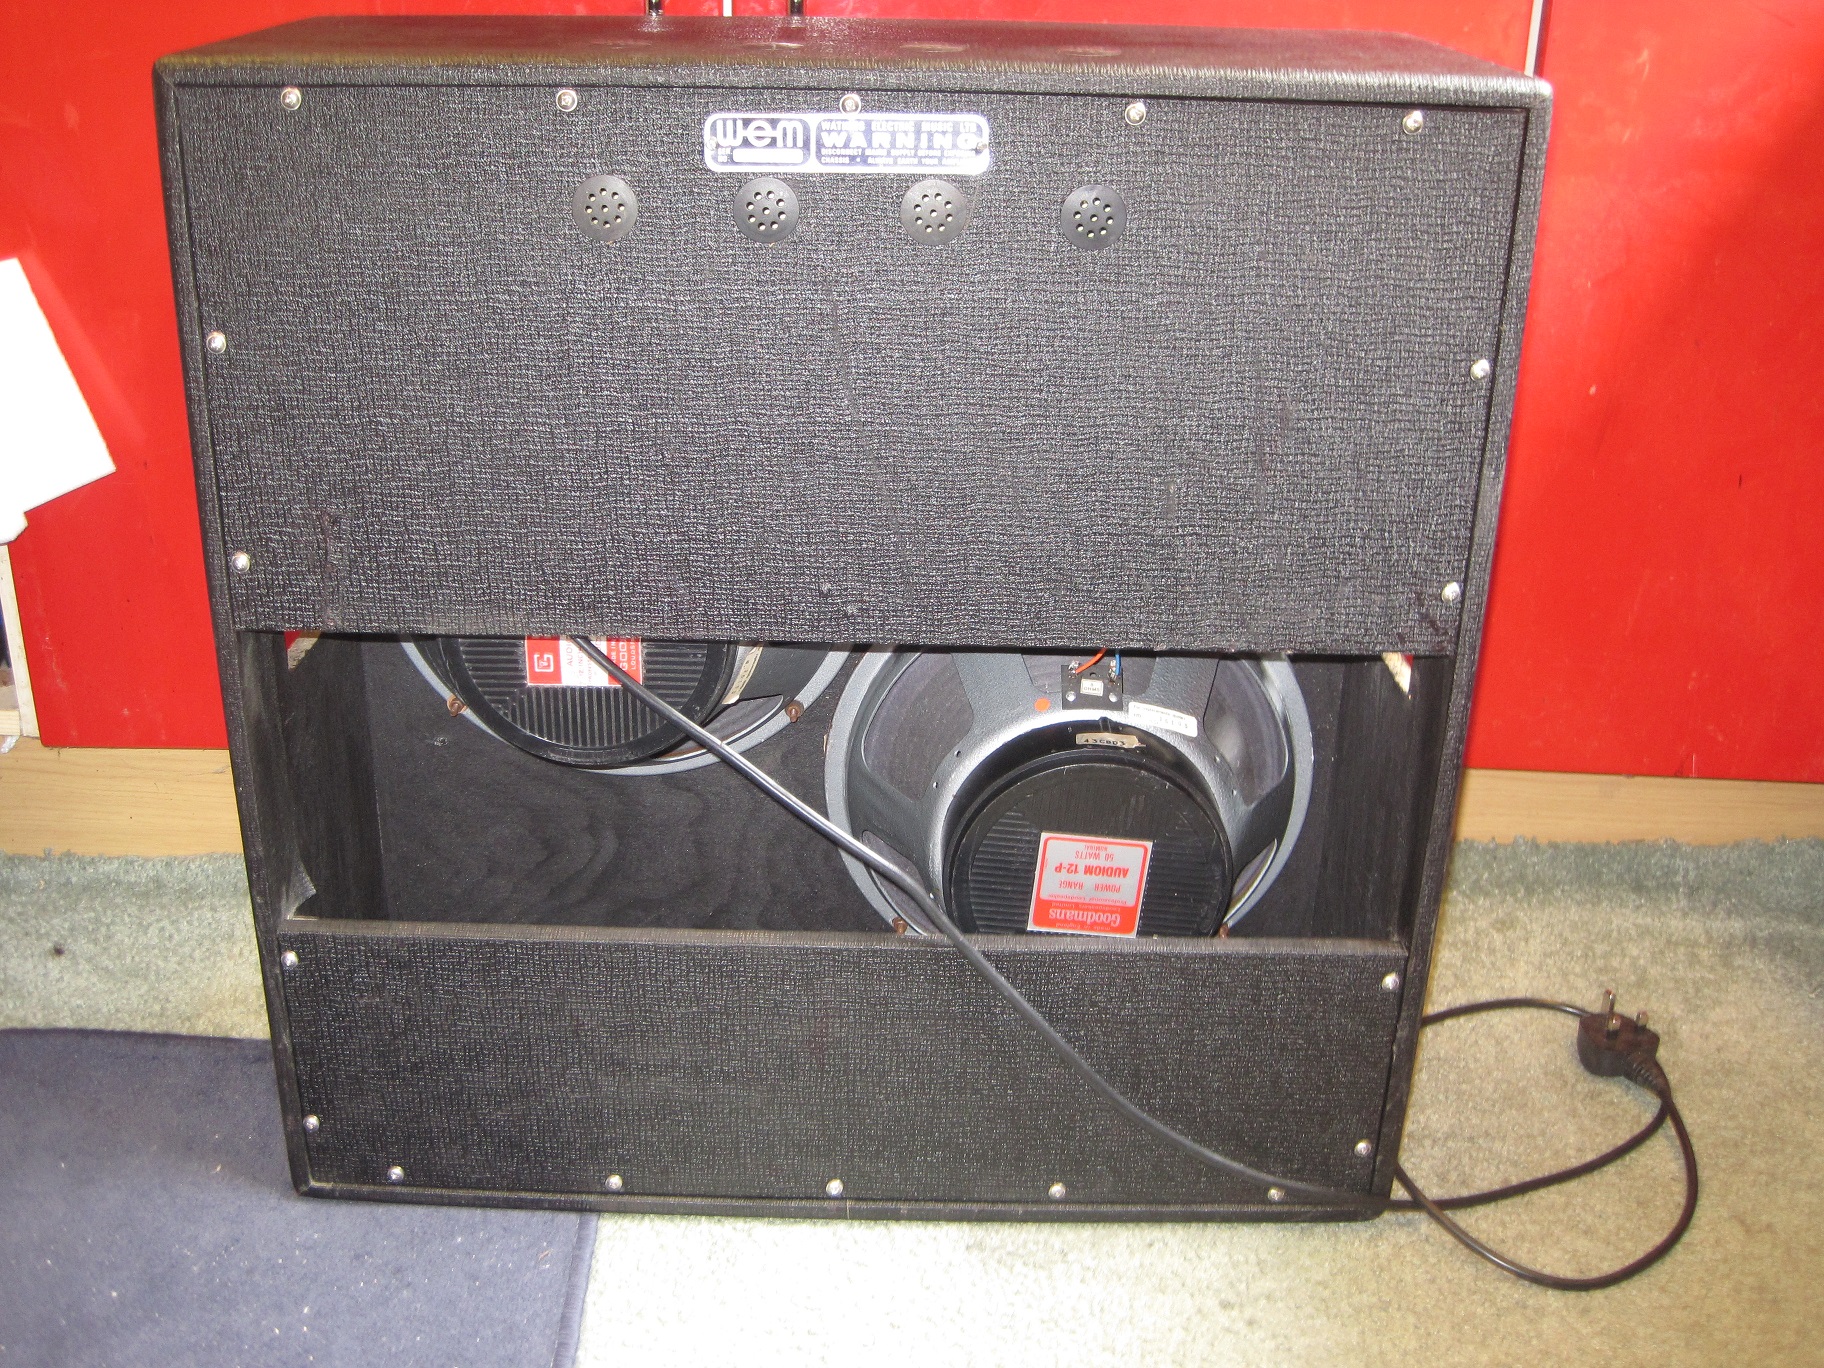
I painted the grill cloth frame with black wood stain and also drilled 2 small holes into which the WEM logo will slot. I also painted inside the back of the main cab and, once the paint had dried, I was able to slot the amp into place then fit and reconnect the drivers. I decided to use 2 Goodmans 12P drivers that I had spare as the originals were in a very untidy condition. The 2 back panels have also been cleaned and polished and refitted, although I will have to take them off again when it’s time to bolt the grill cloth frame into place.
It now looks complete from the back

I cut the blank metal fascia strip to the right length and shape and I received the transfer lettering from my local printing company. The lettering was applied to the strip and the strip was fixed to the casing. Original strips were just glued to the wood, which is why so many have been lost, and so, although I know it’s not original, I have used two small screws to fix the strip into place. It won’t come off in a hurry.

The cloth has now been done, with huge thanks to Sharon from Sewfistication, who has done an excellent job.


So, it’s now (August 9th 2017) complete and it looks and sounds excellent. A far cry from the tatty old spluttering lump that I started with.
Acknowledgements (click on the name for further info) –
Sharon at Sewfistication – for doing an excellent job on the grill cloth.
Ian Woledge – For getting the amp sounding like new.
BDM Group Ltd – for making the blank metal fascia strip.
N.K. McDougall Signs, Basingstoke – for producing the transfer lettering to go on the fascia.