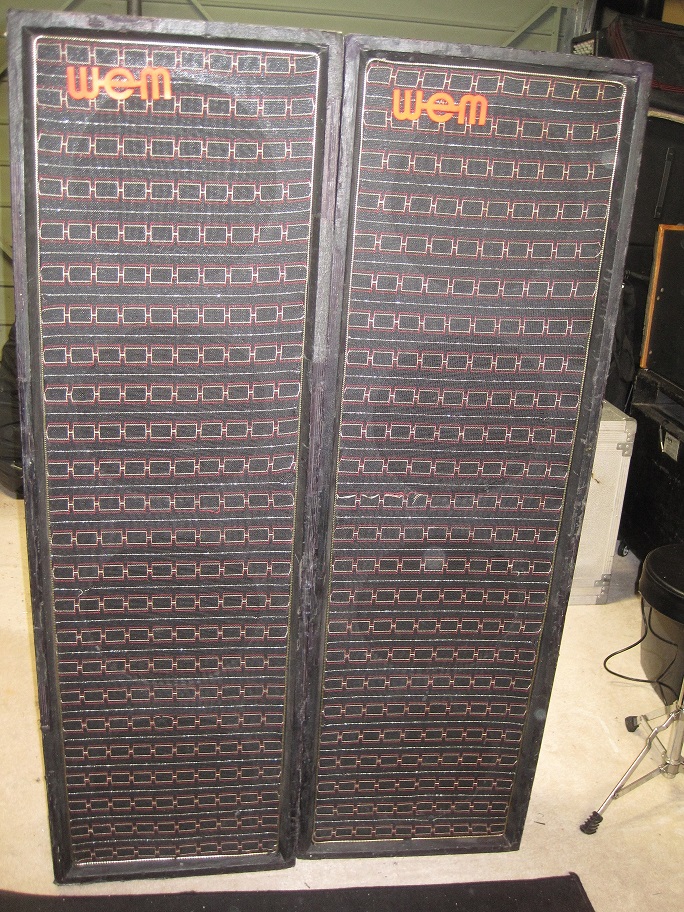
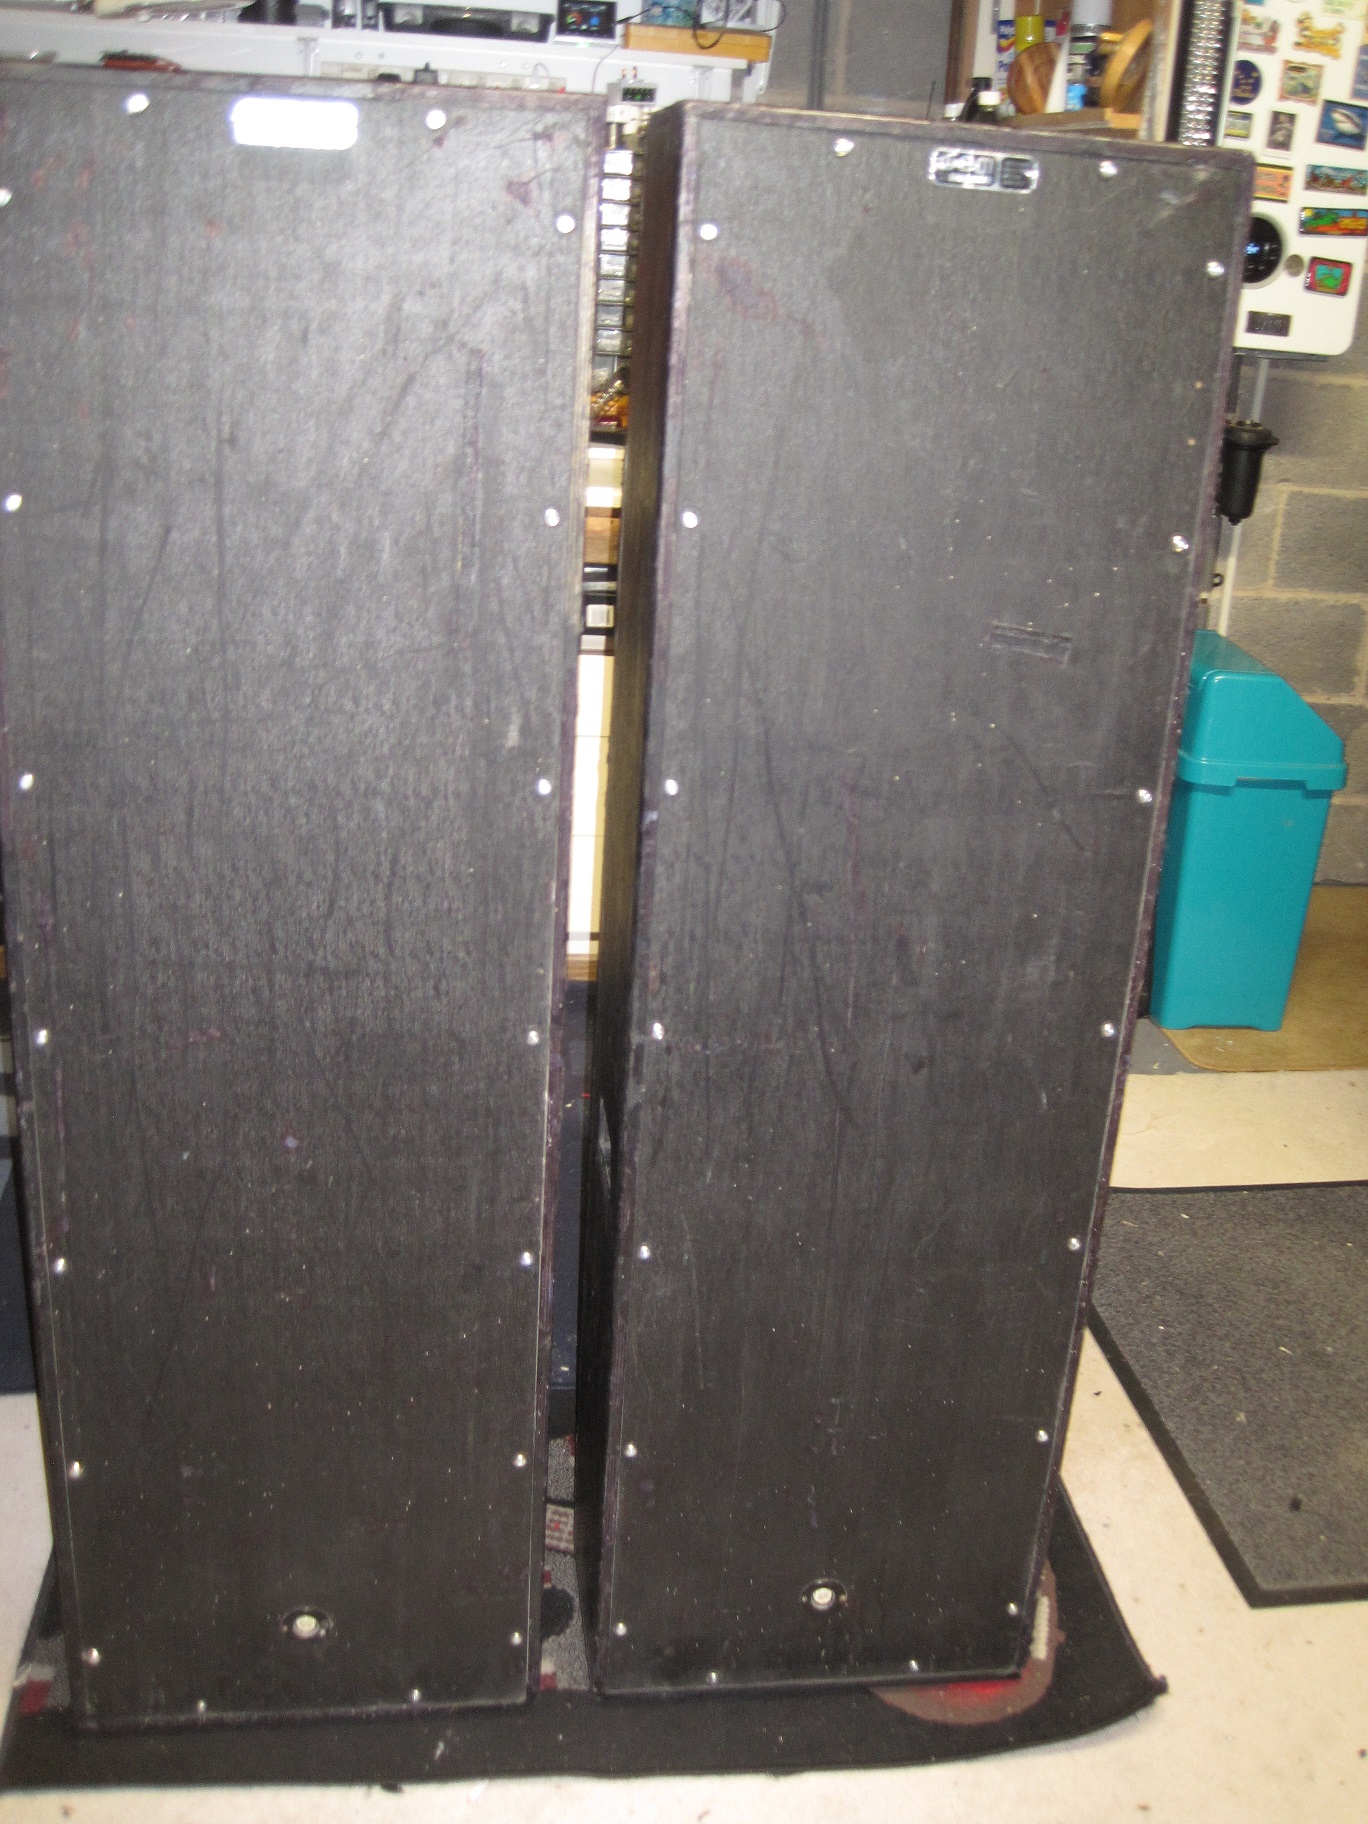
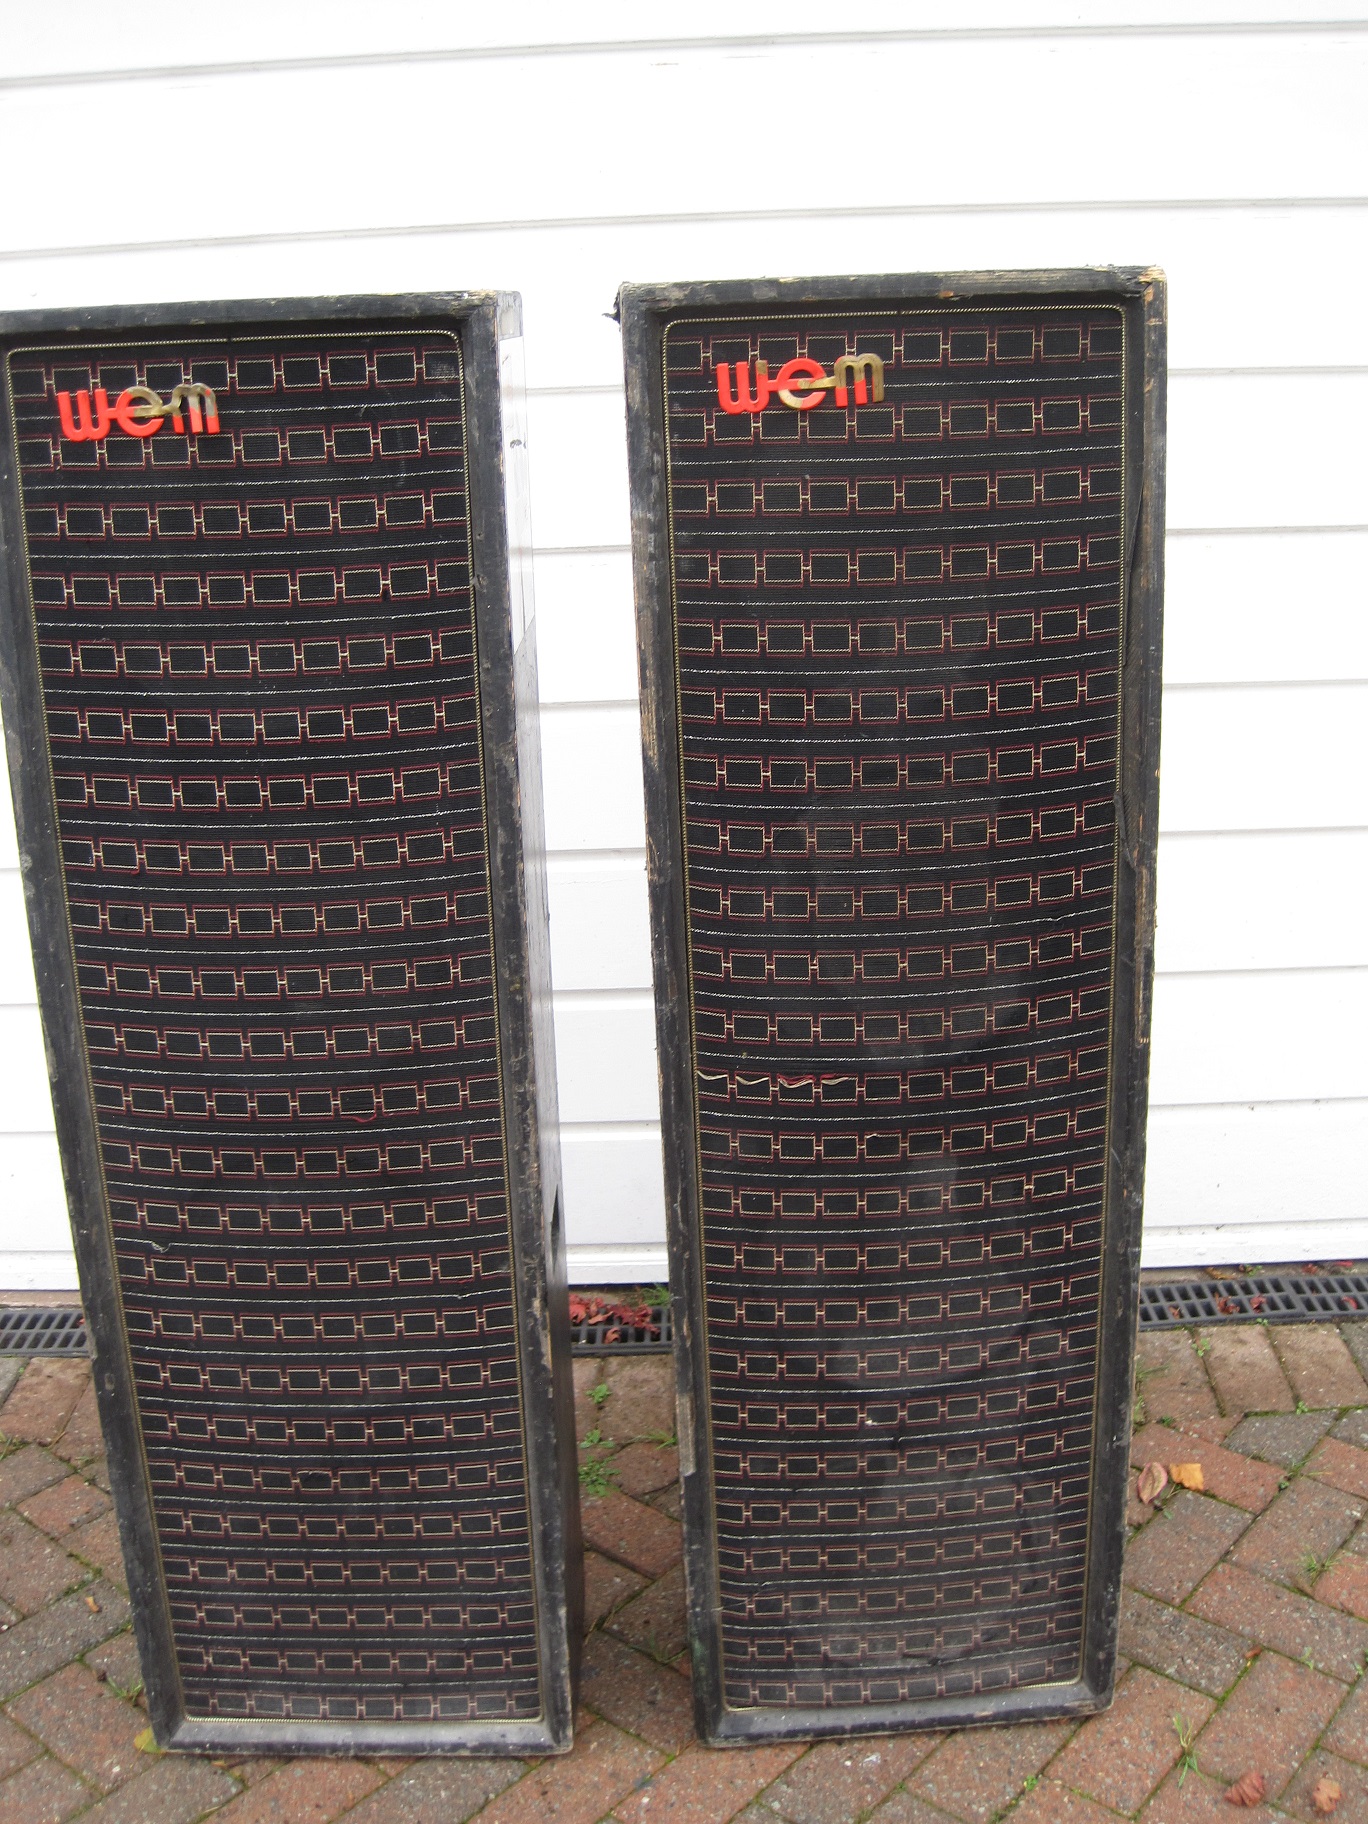
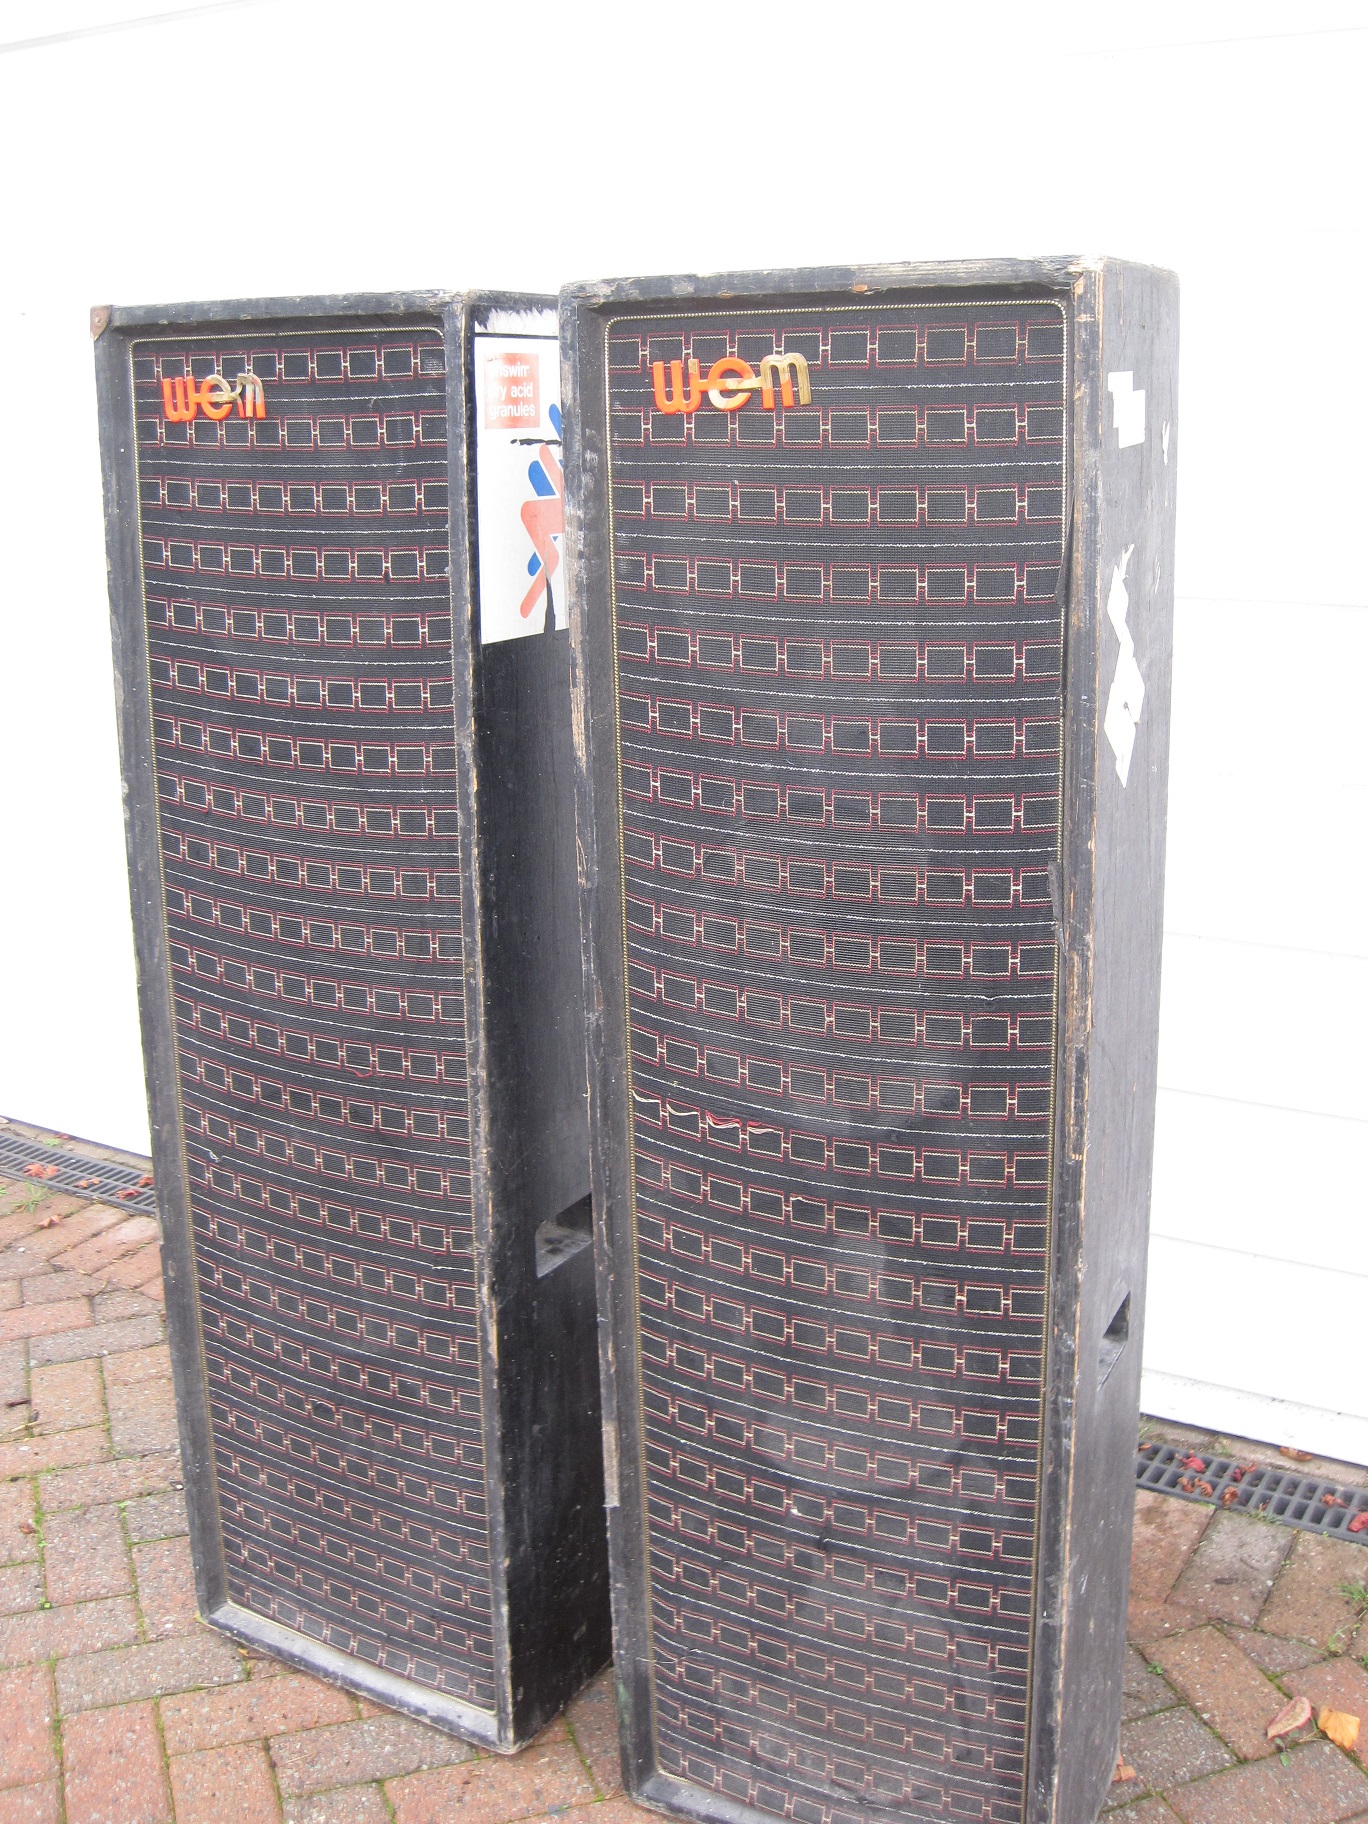
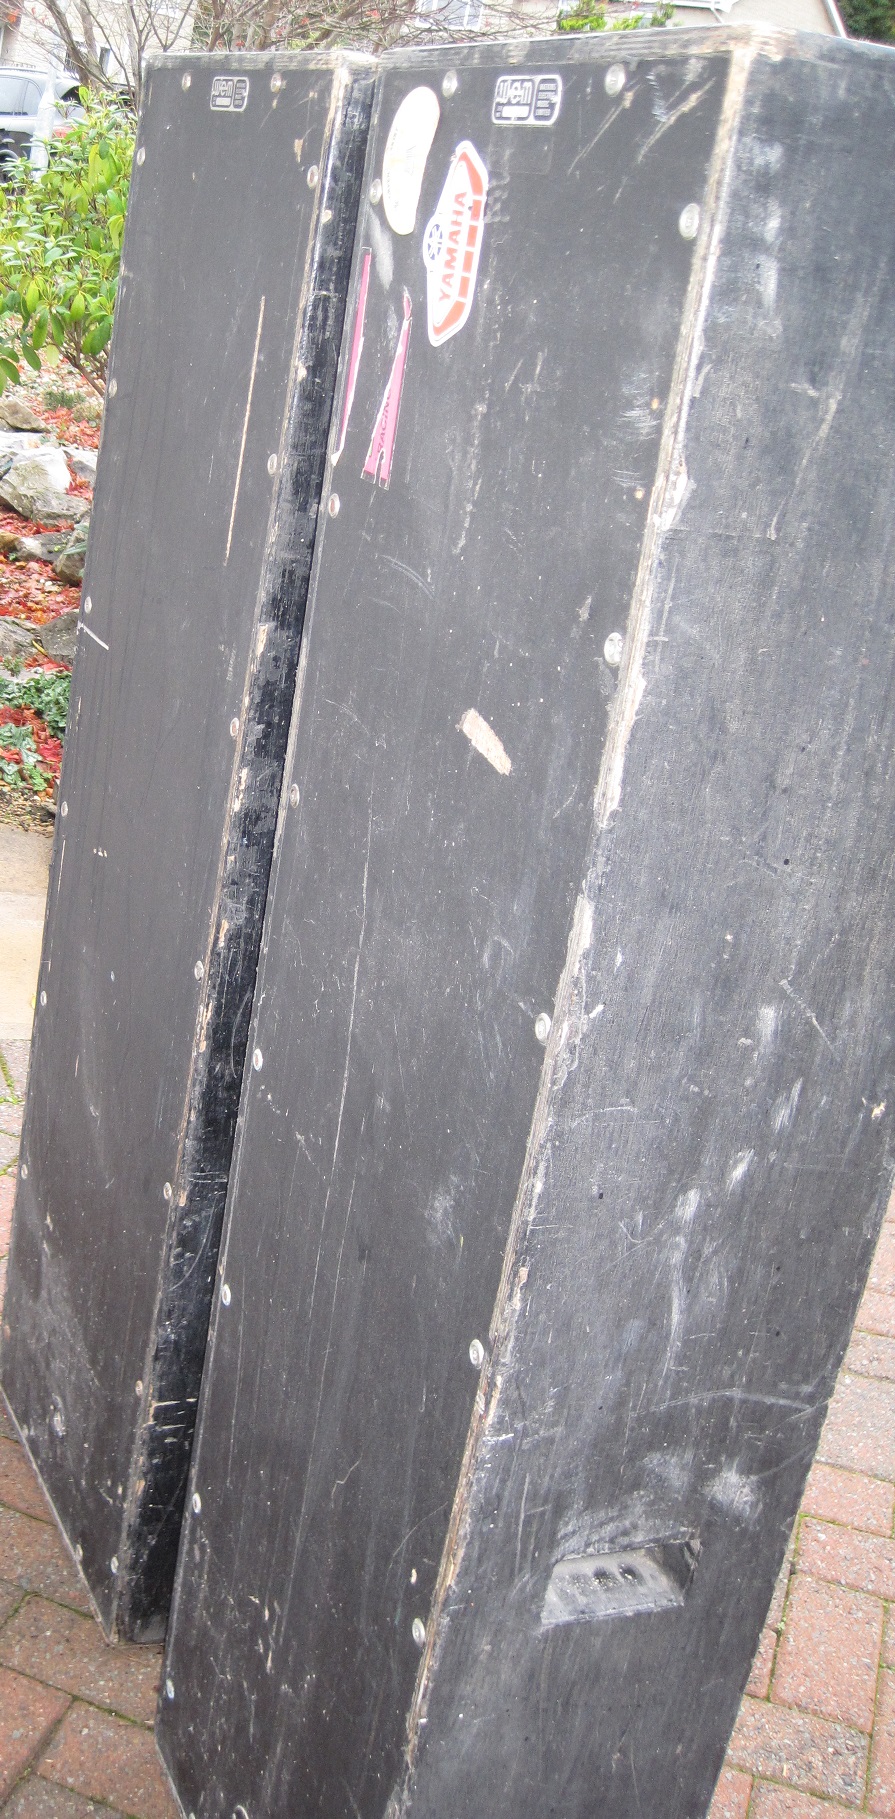
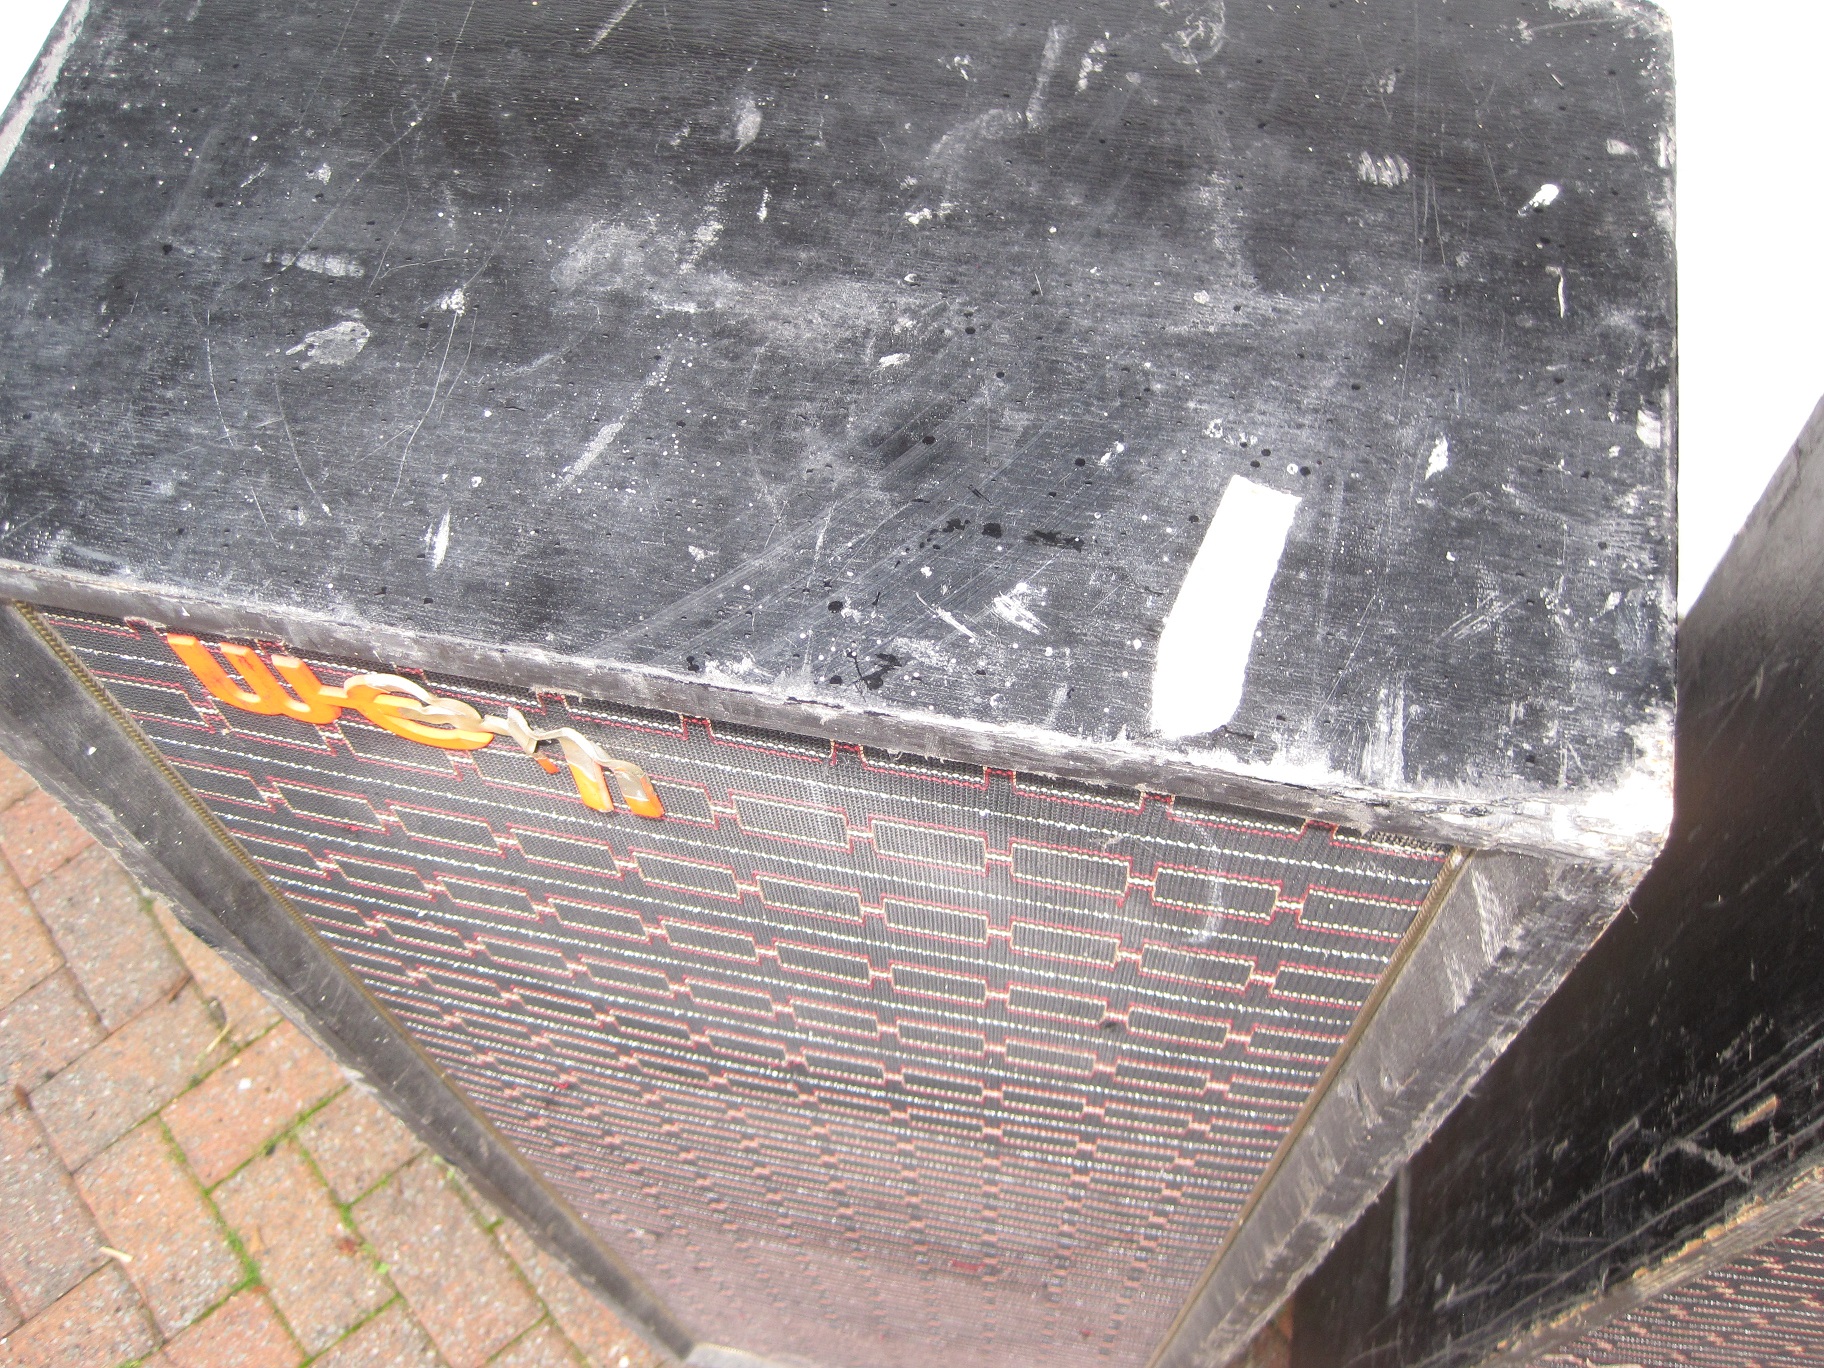
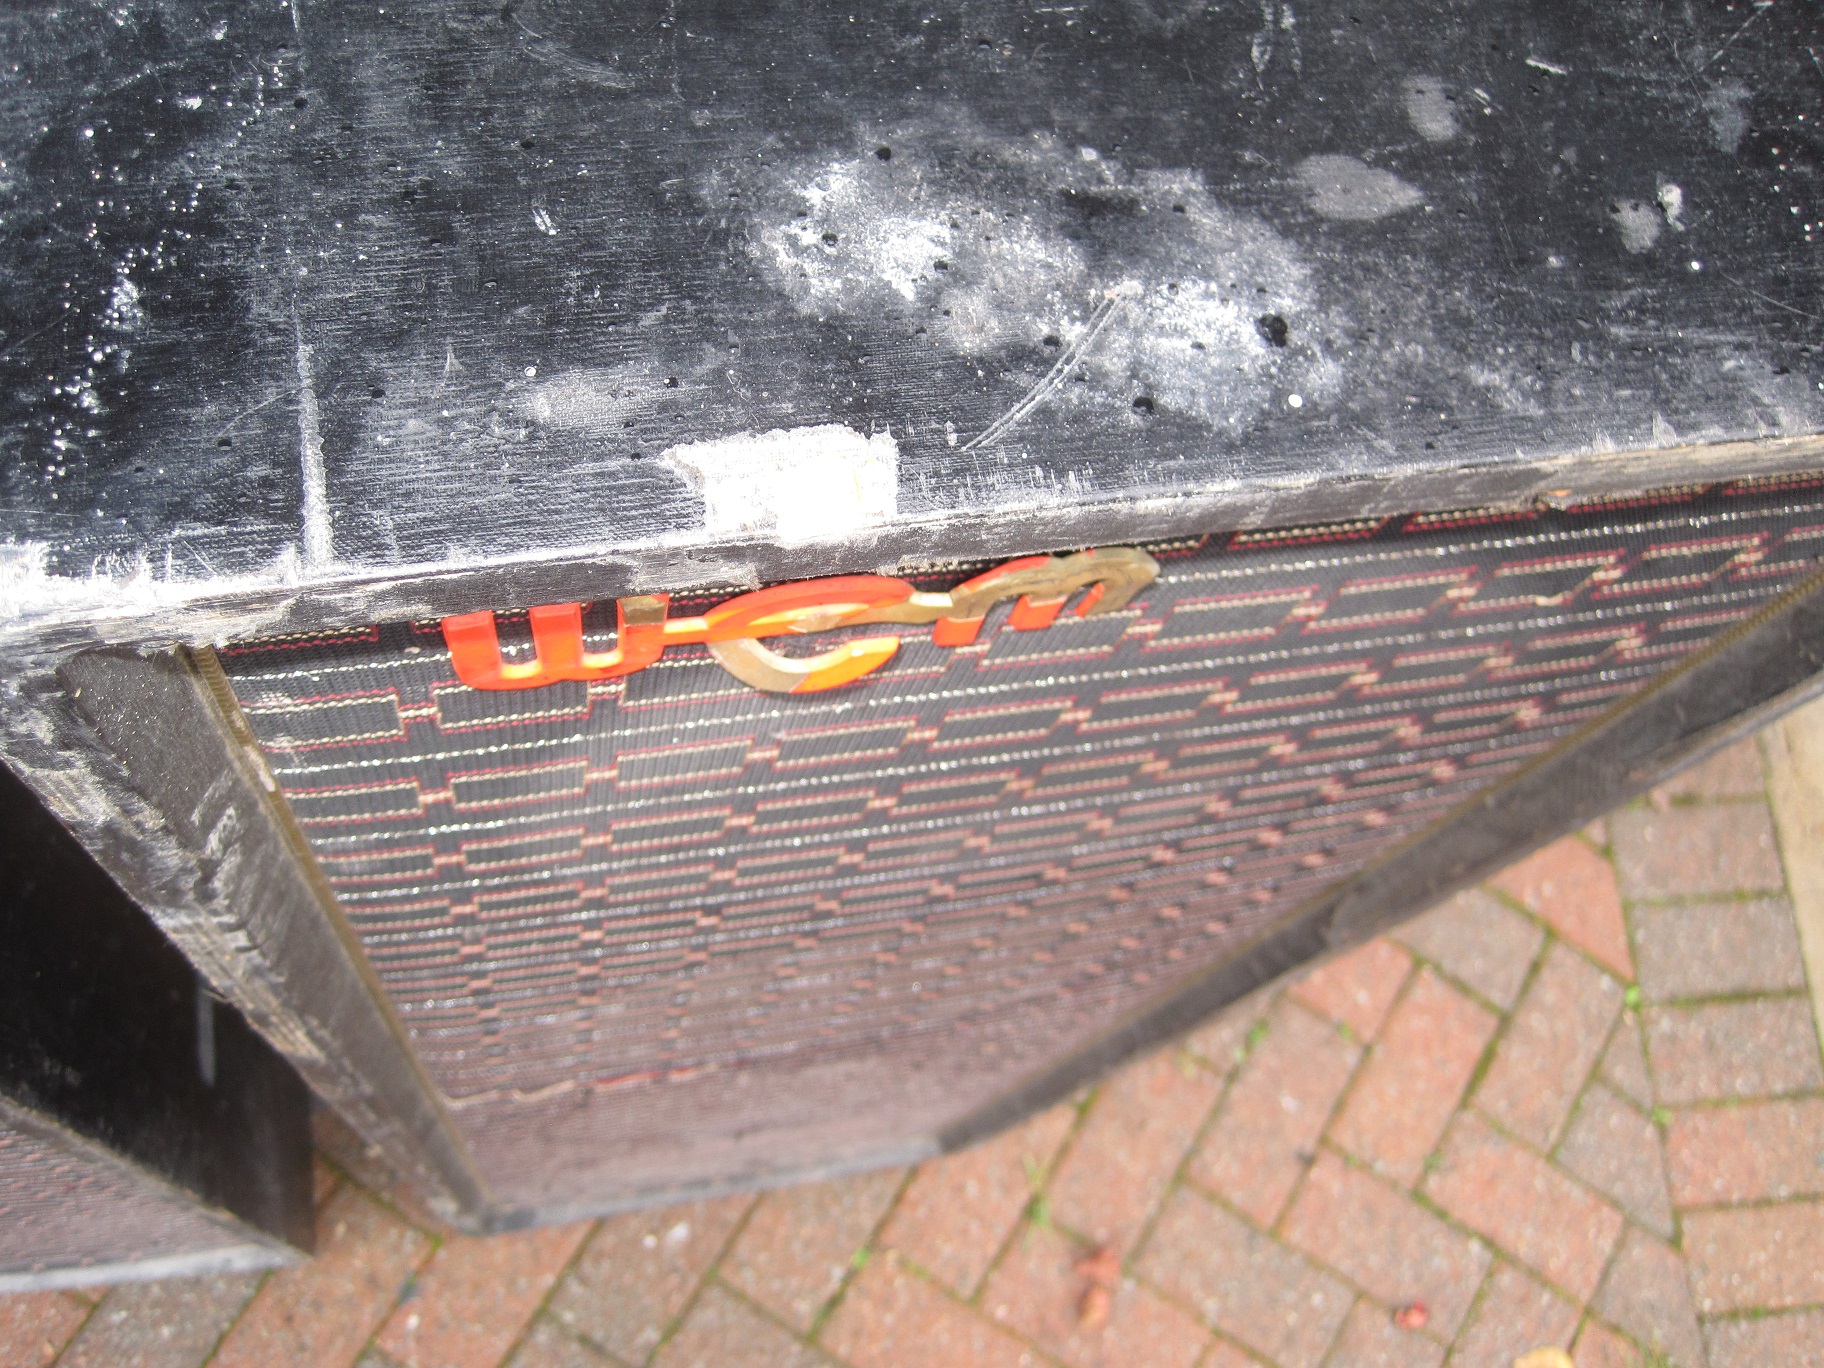
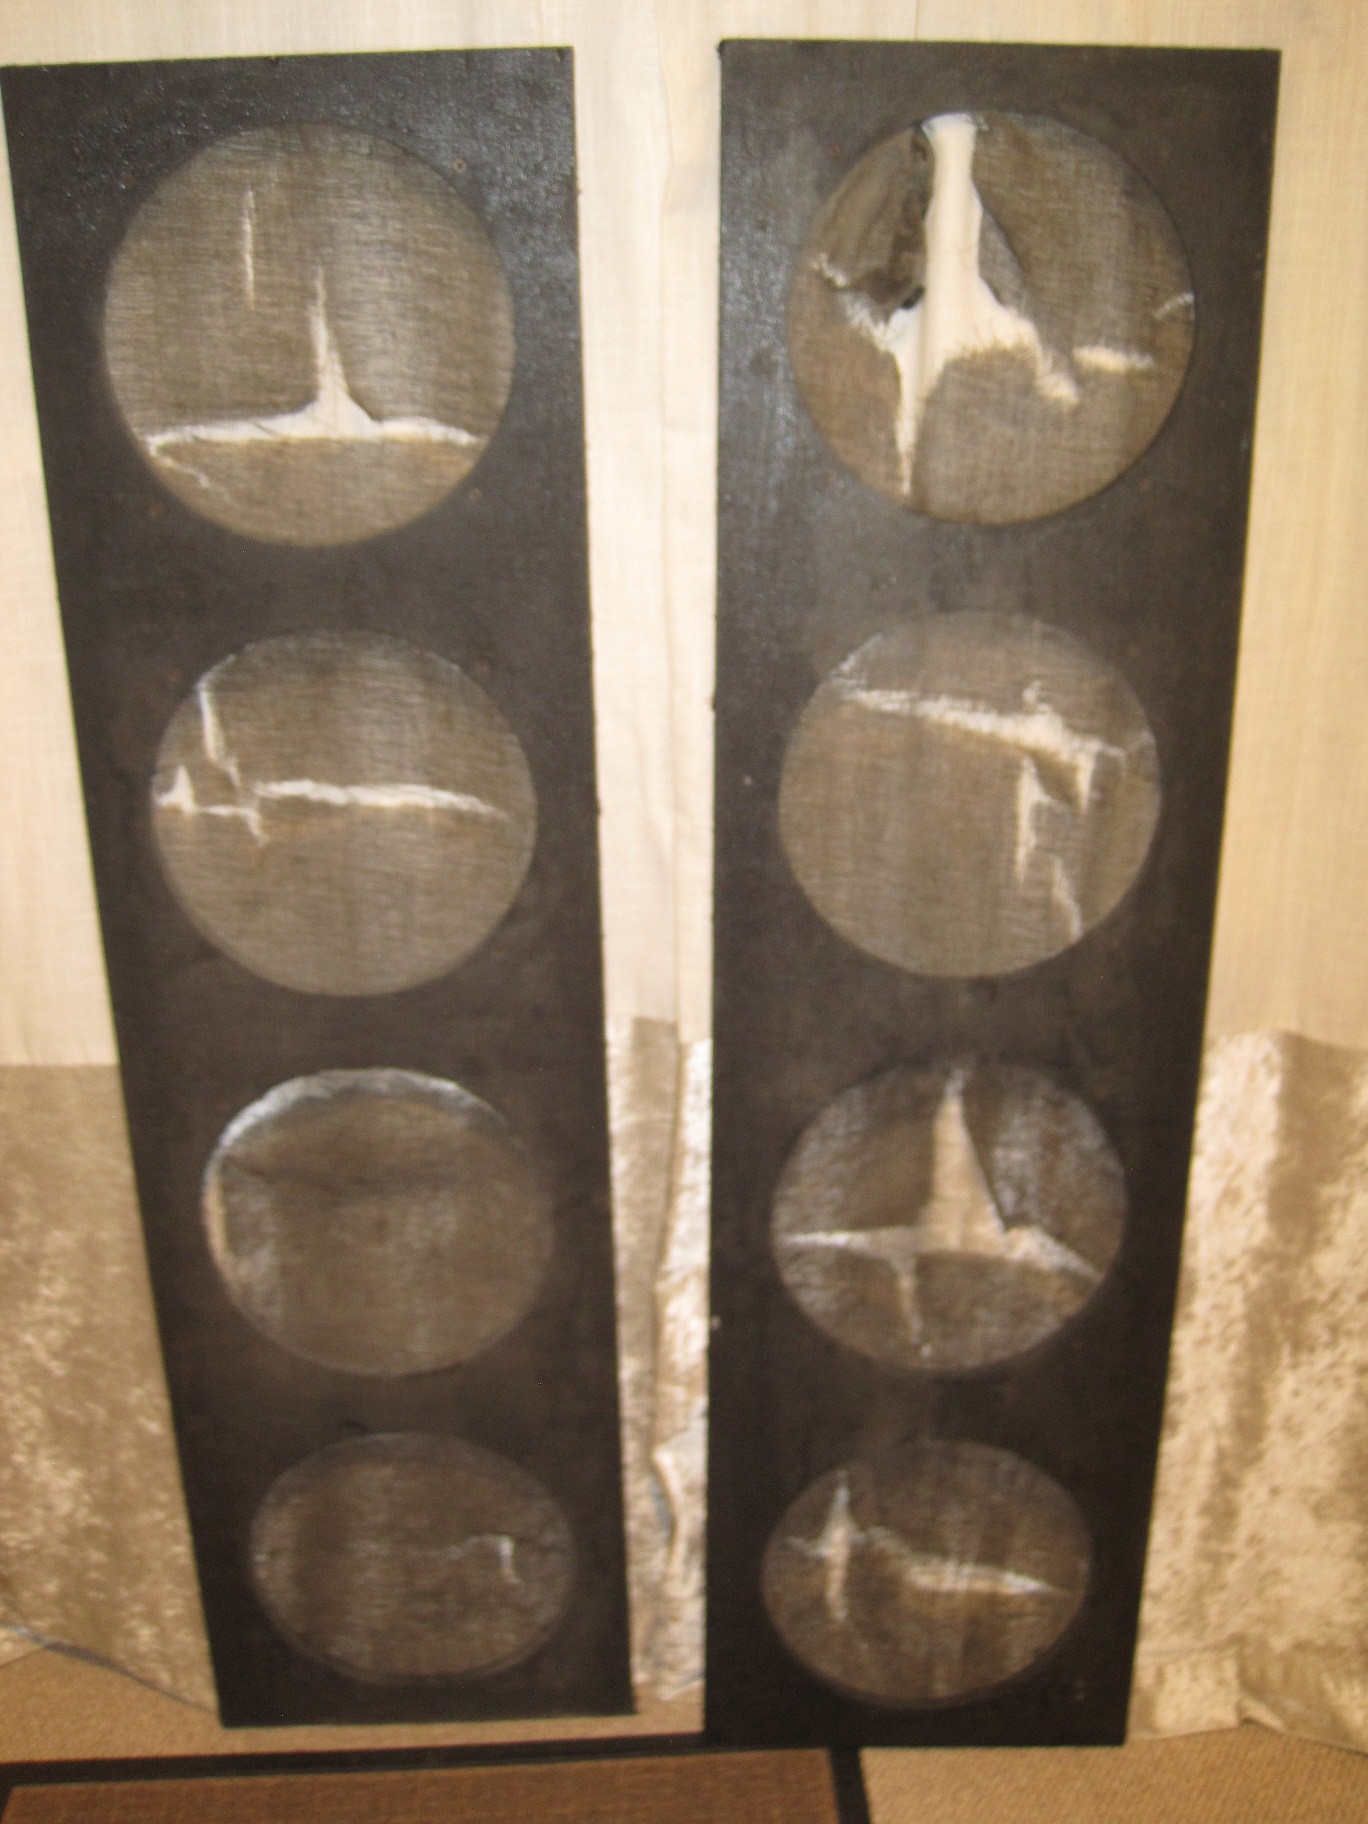
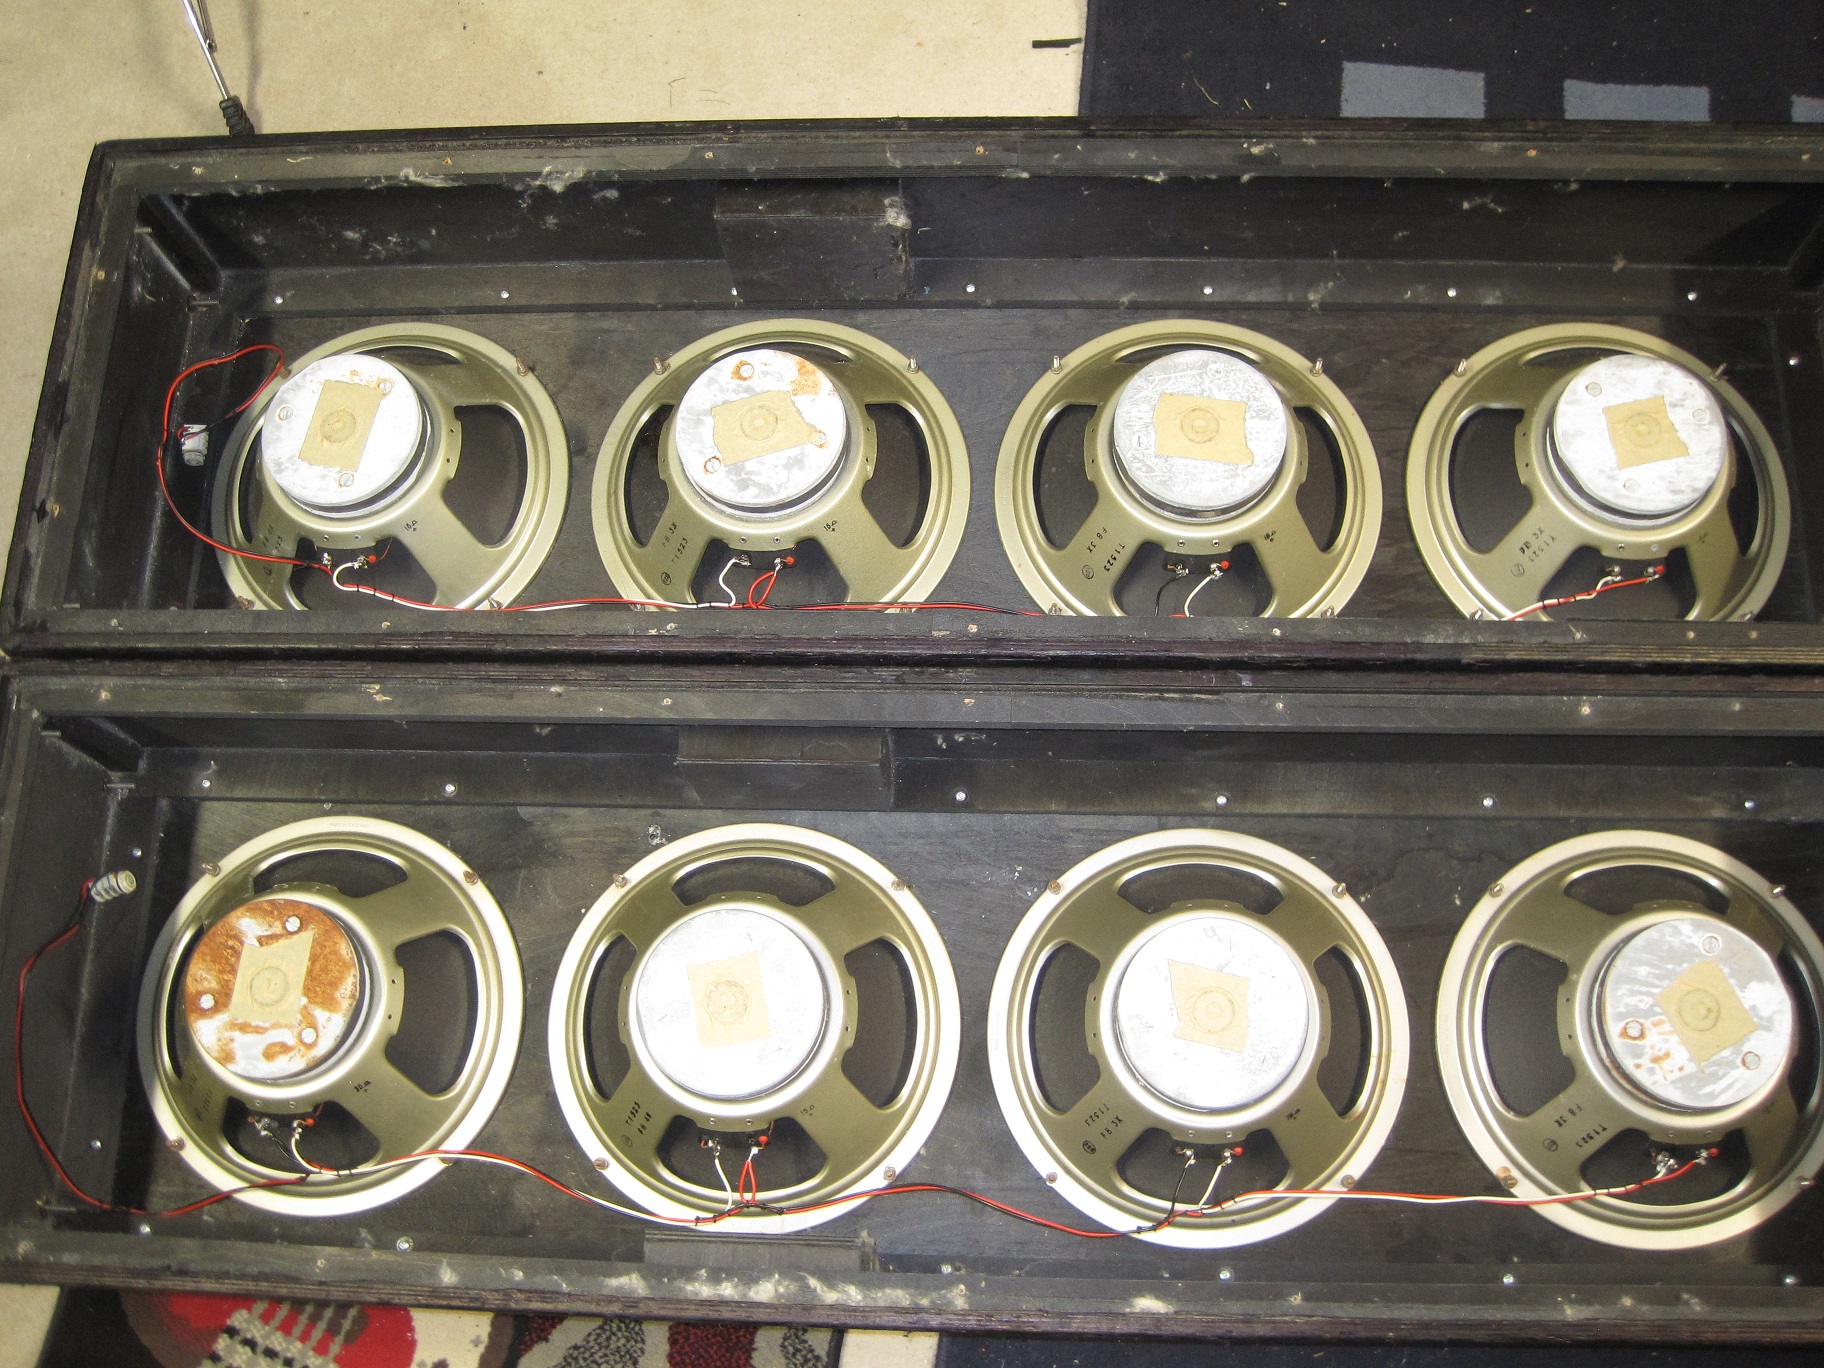
I acquired this rather tatty pair of 4×12″ columns in November 2023. I could have just sold them on as they were but I decided to do some refurbishment on them. To start with, here are a few pics of what the columns looked like when I acquired them –

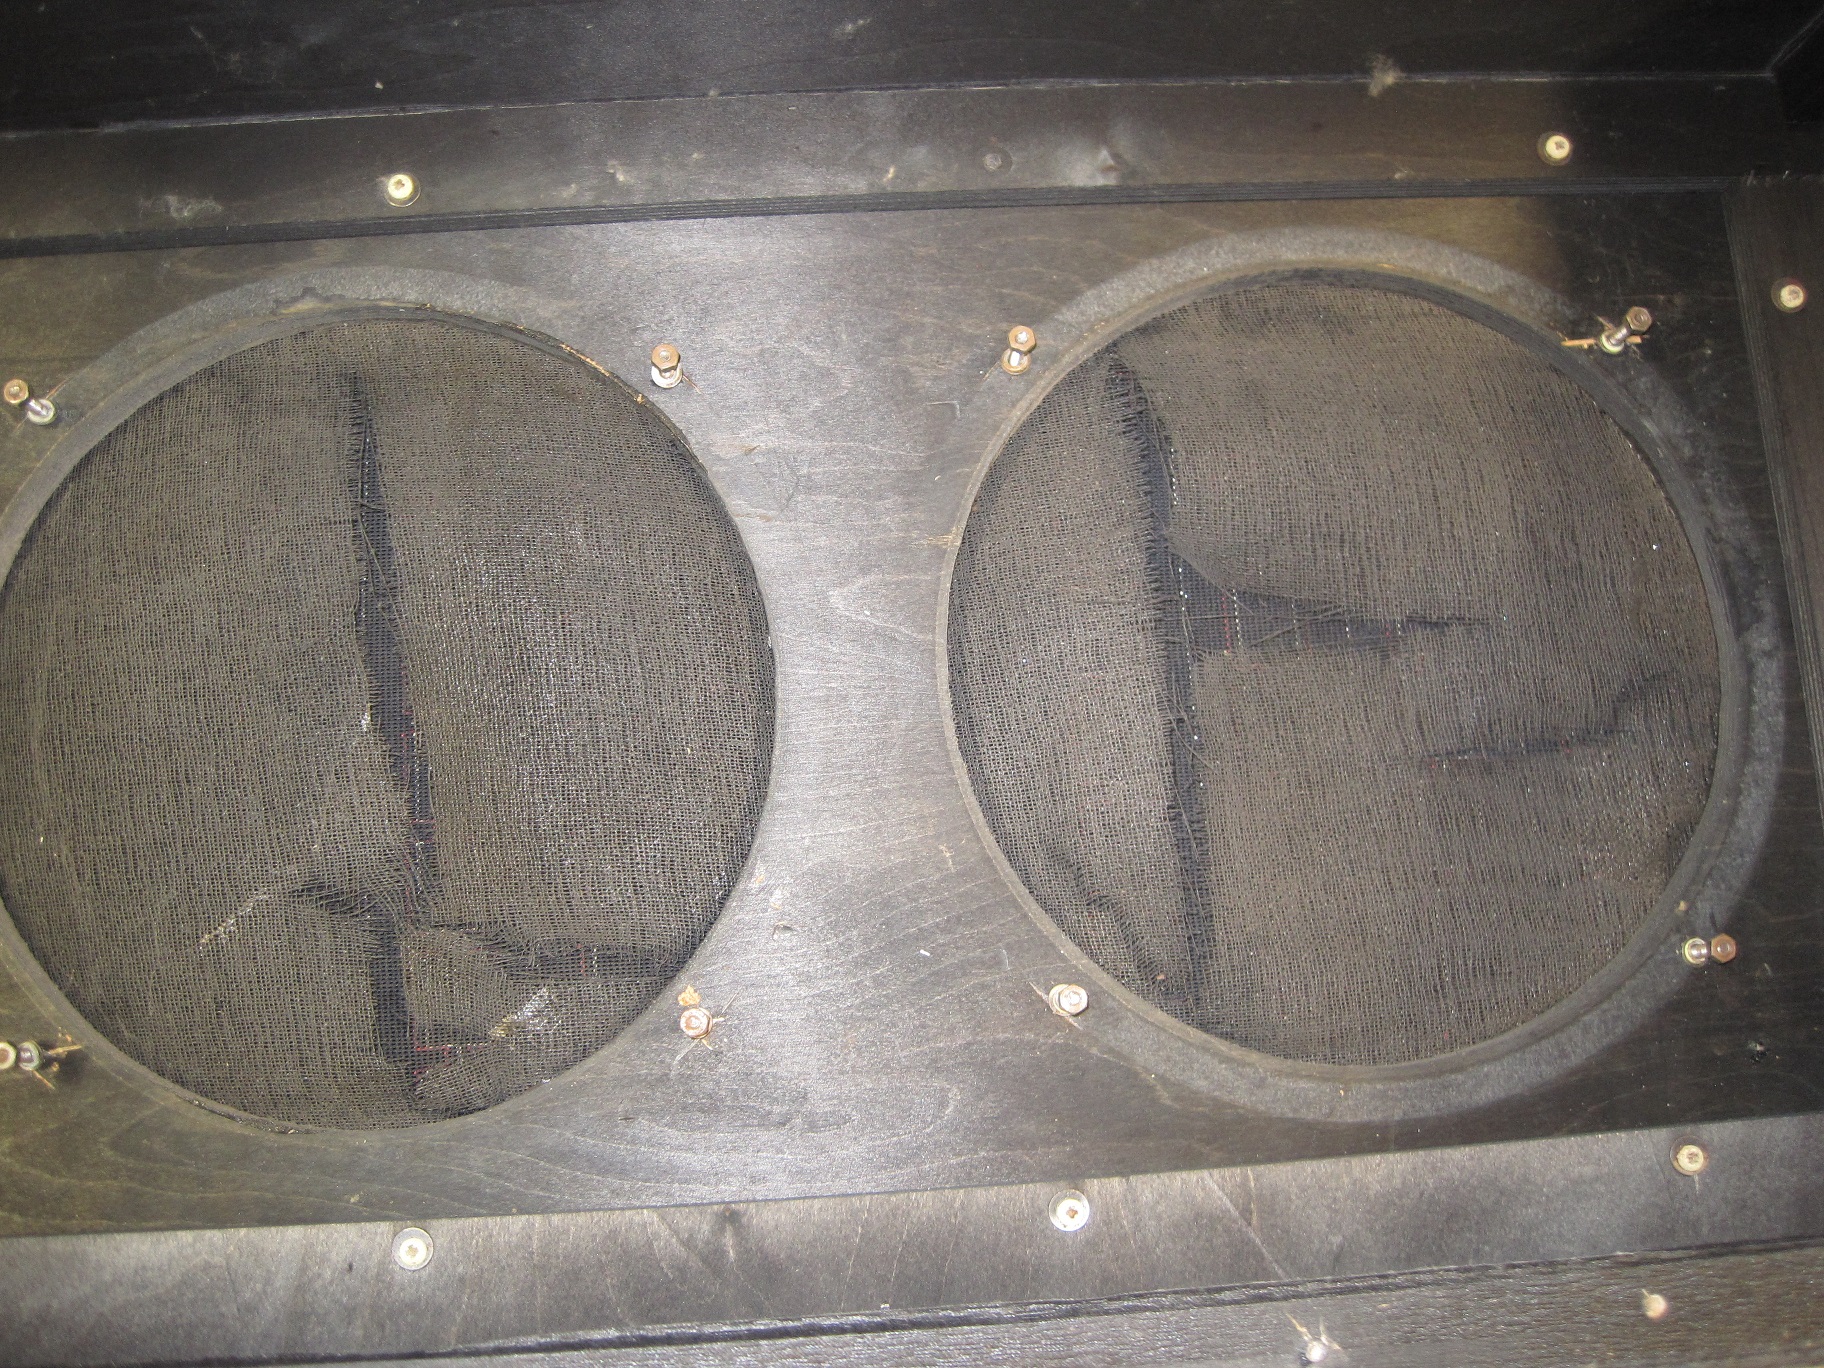
First job was to take the columns apart and carefully remove all the drivers. Fortunately the nuts and bolts holding the drivers in place weren’t badly corroded and they came off fairly easily. This left the inside of the baffle clearly visible and, as expected, the thin layer of black mesh that sits underneath the patterned grill cloth, was in very poor condition.
At this time I also removed the metal WEM logos. These can usually be gently levered out from the front but you can also use a thin long nail, or something similar, to push them out from the holes on the inside of the cabs.
So, the next job was to completely remove the front baffles. The baffles were held in place by screws which were screwed through from inside the back of the cabs. These can sometimes be quite difficult to remove if they are corroded. In this instance, they came out quite easily. On later cabs the front baffles is glued as well as screwed in place. This makes it far more difficult to remove them and usually involves using a hammer and chisel to lever the baffles out.
Once the front baffles had been removed I then set about removing the patterned grill cloth. This involved first removing the plastic piping from around the edge of the baffle. This is held in place by staples which had to be levered out using a bradawl and pliers.
Next I had to remove the patterned cloth. Sometimes this is glued in place, sometimes stapled, and sometimes both. In this case it was glued in place. To remove it I find the easiest way is to soak the glued edges with warm water. Once the water has soaked in, the cloth can usually be gently pulled away from the edges of the baffle. Some minor damage is almost inevitable so it must be done very slowly and very gently.
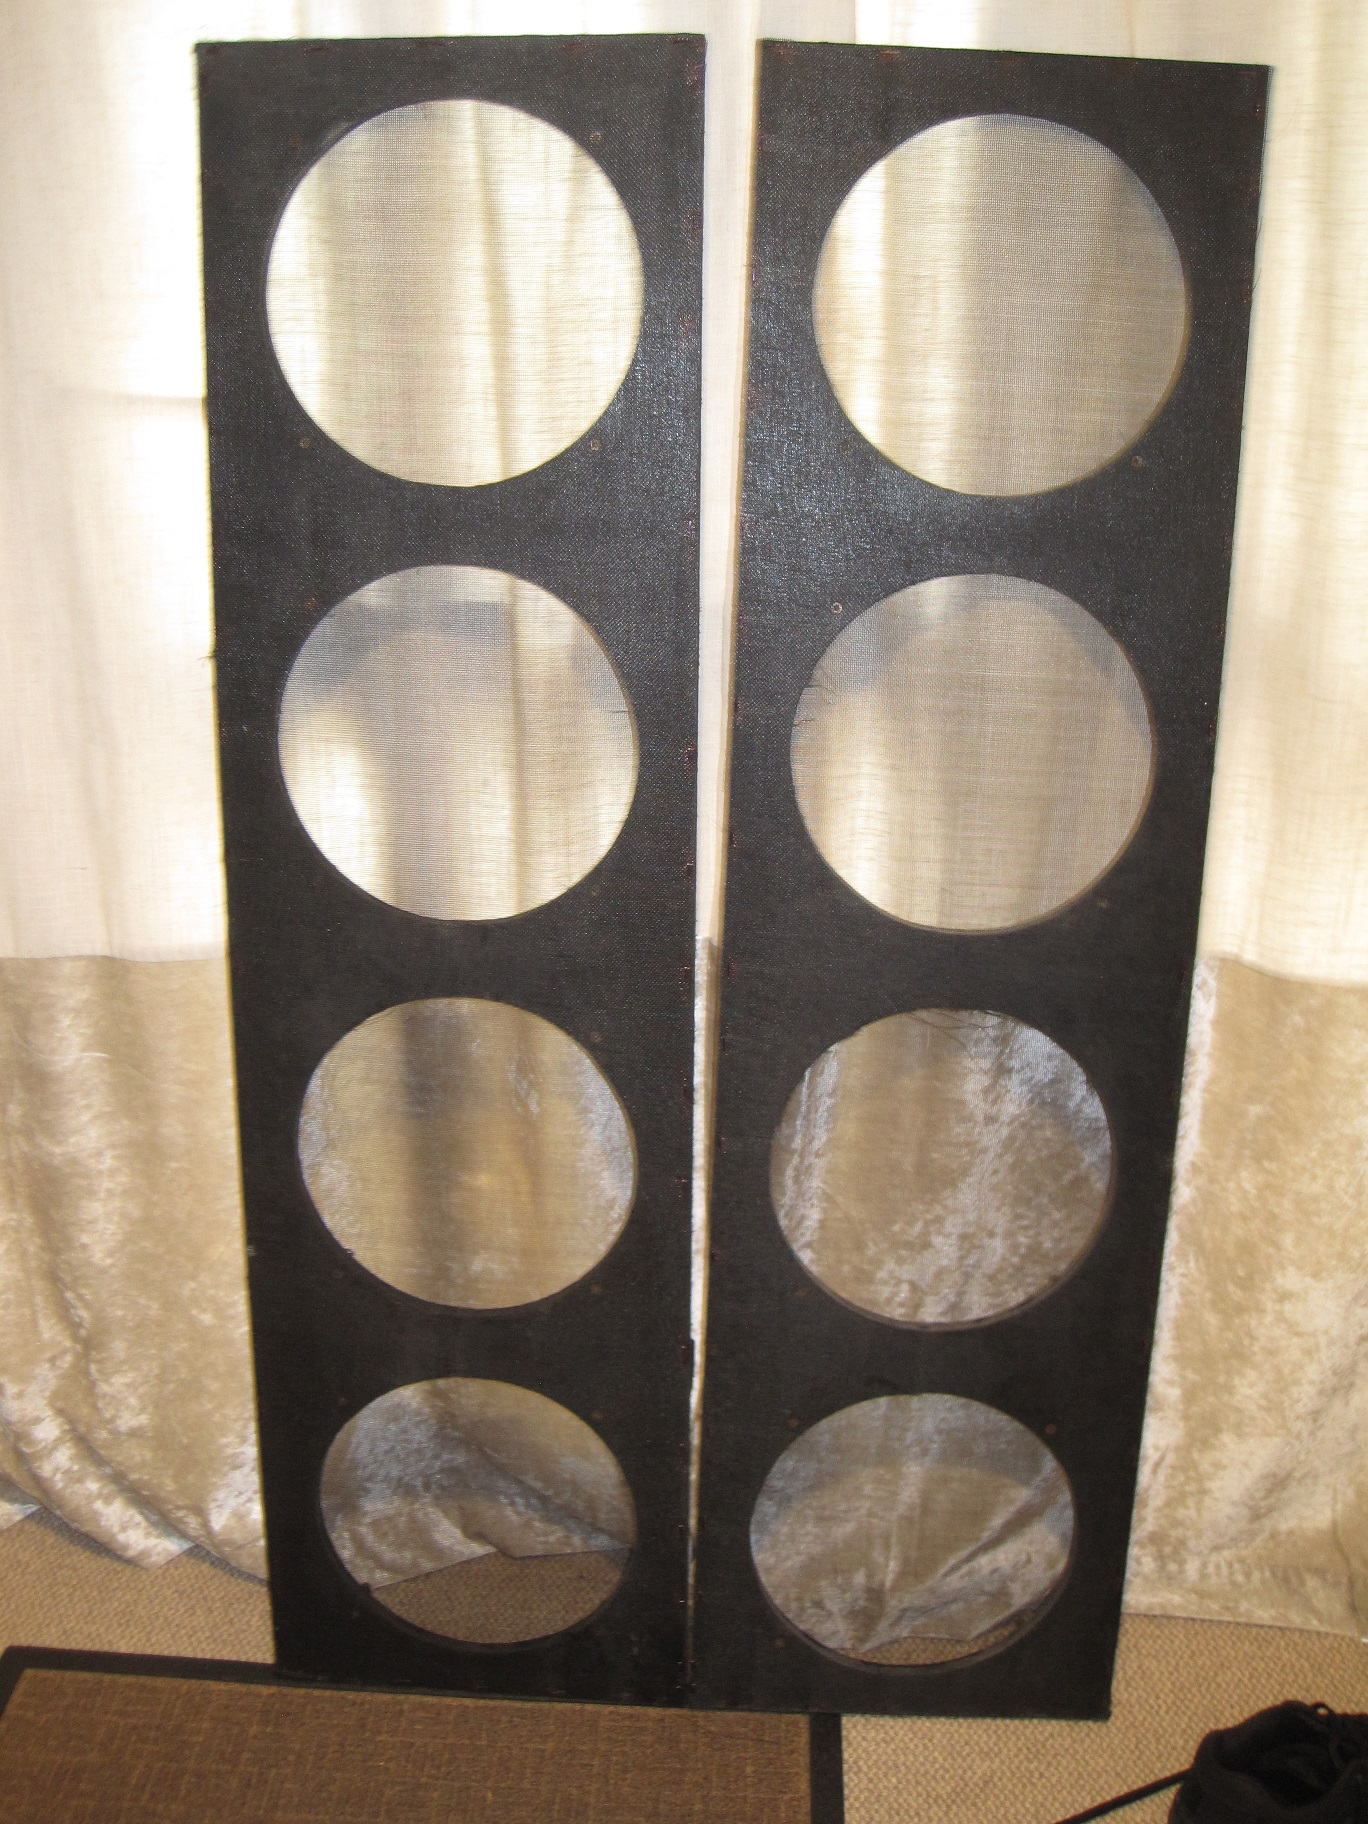
I then had a front baffle that looked like this.
I removed the damaged black mesh as much as possible and fitted a much stronger replacement mesh which is almost invisible.
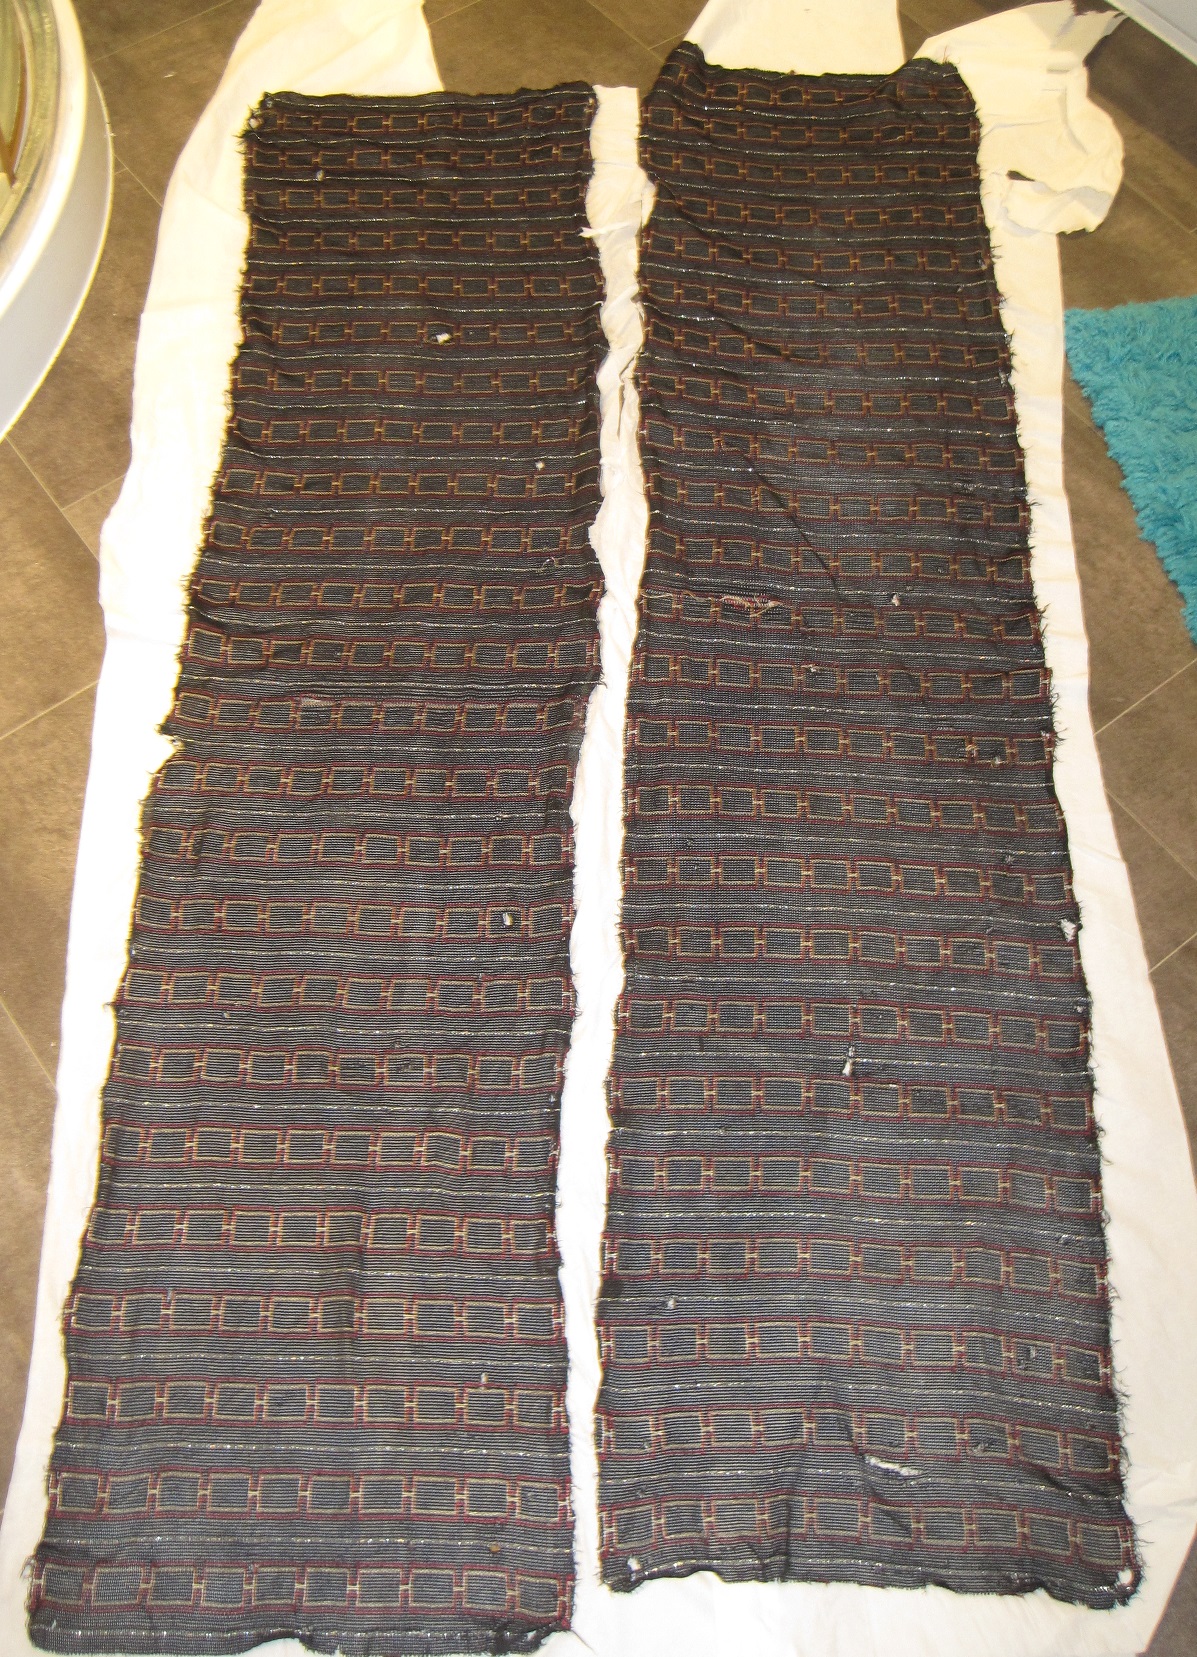
The patterned grill cloth was washed with warm water and a very mild detergent. Unsurprisingly, the warm water turned a dark brown colour as it soaked up more than 50 years of dirt.
Once washed, the patterned cloth was left to dry slowly.
With the black mesh replaced and the patterned cloth cleaned, I then stapled the patterned cloth back into place. This needs to be done very carefully as it will involve stretching the cloth to make it fit. It will also need a lot of staples so a staple gun is essential.
Once the cloth is back in place, the piping can be stapled back around the edges.
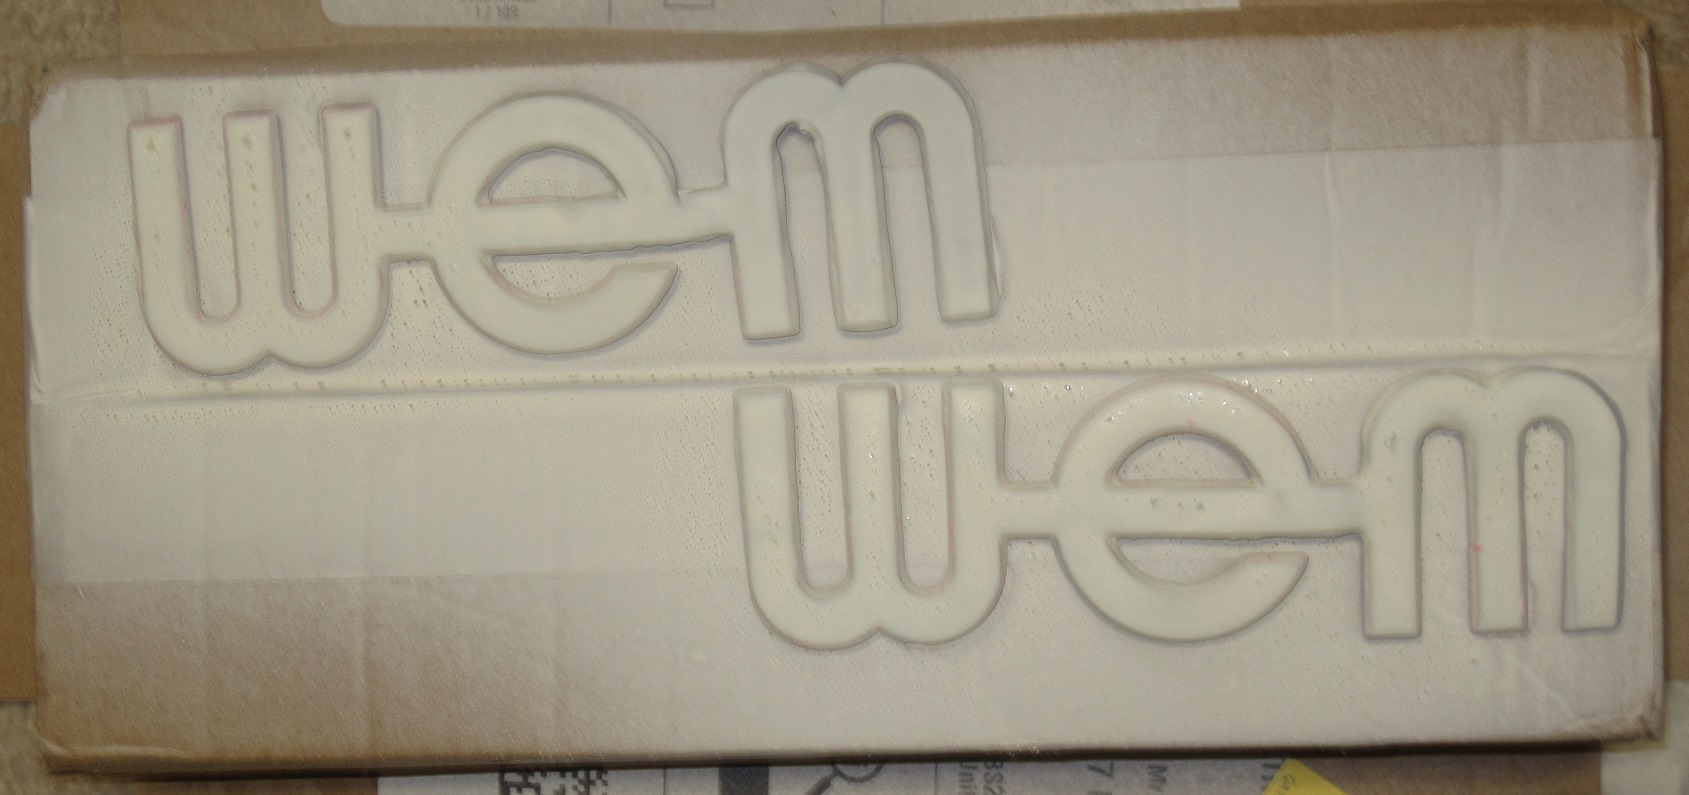
The WEM logos which were removed from the baffles earlier, were straightened using small pointed-nose pliers. Any remaining paint was then scraped off the logos and they were then sprayed with white metal primer followed by a coat of bright red Hi-Glo paint.
With the baffles now done. but still out of the cabs, I set about cleaning up the wooden cabs. The bottom of one of the cabs was so bad that I just rubbed it down and glued a layer of tolex on top. As these are early, 1960s cabs, they have the thin black rexine which WEM used at the time and which is no longer available.
I could have completely recovered the cabs and they would have looked almost new. This is something that could still be done in the future but would be very expensive as around 6 metres of tolex would be needed at a cost of around £200. I, therefore, decided to retain authenticity and save costs by cleaning up the existing rexine as much as possible.
First step was to remove the various stickers. I then filled the small areas on a couple of corners that needed to be restored. Following that, I used black marker and black liquid polish to smarten up the cabs as much as possible. If you look at them closely, the marks from 50 years of use are still clearly visible but, from a few feet away, the cabs look reasonably good.
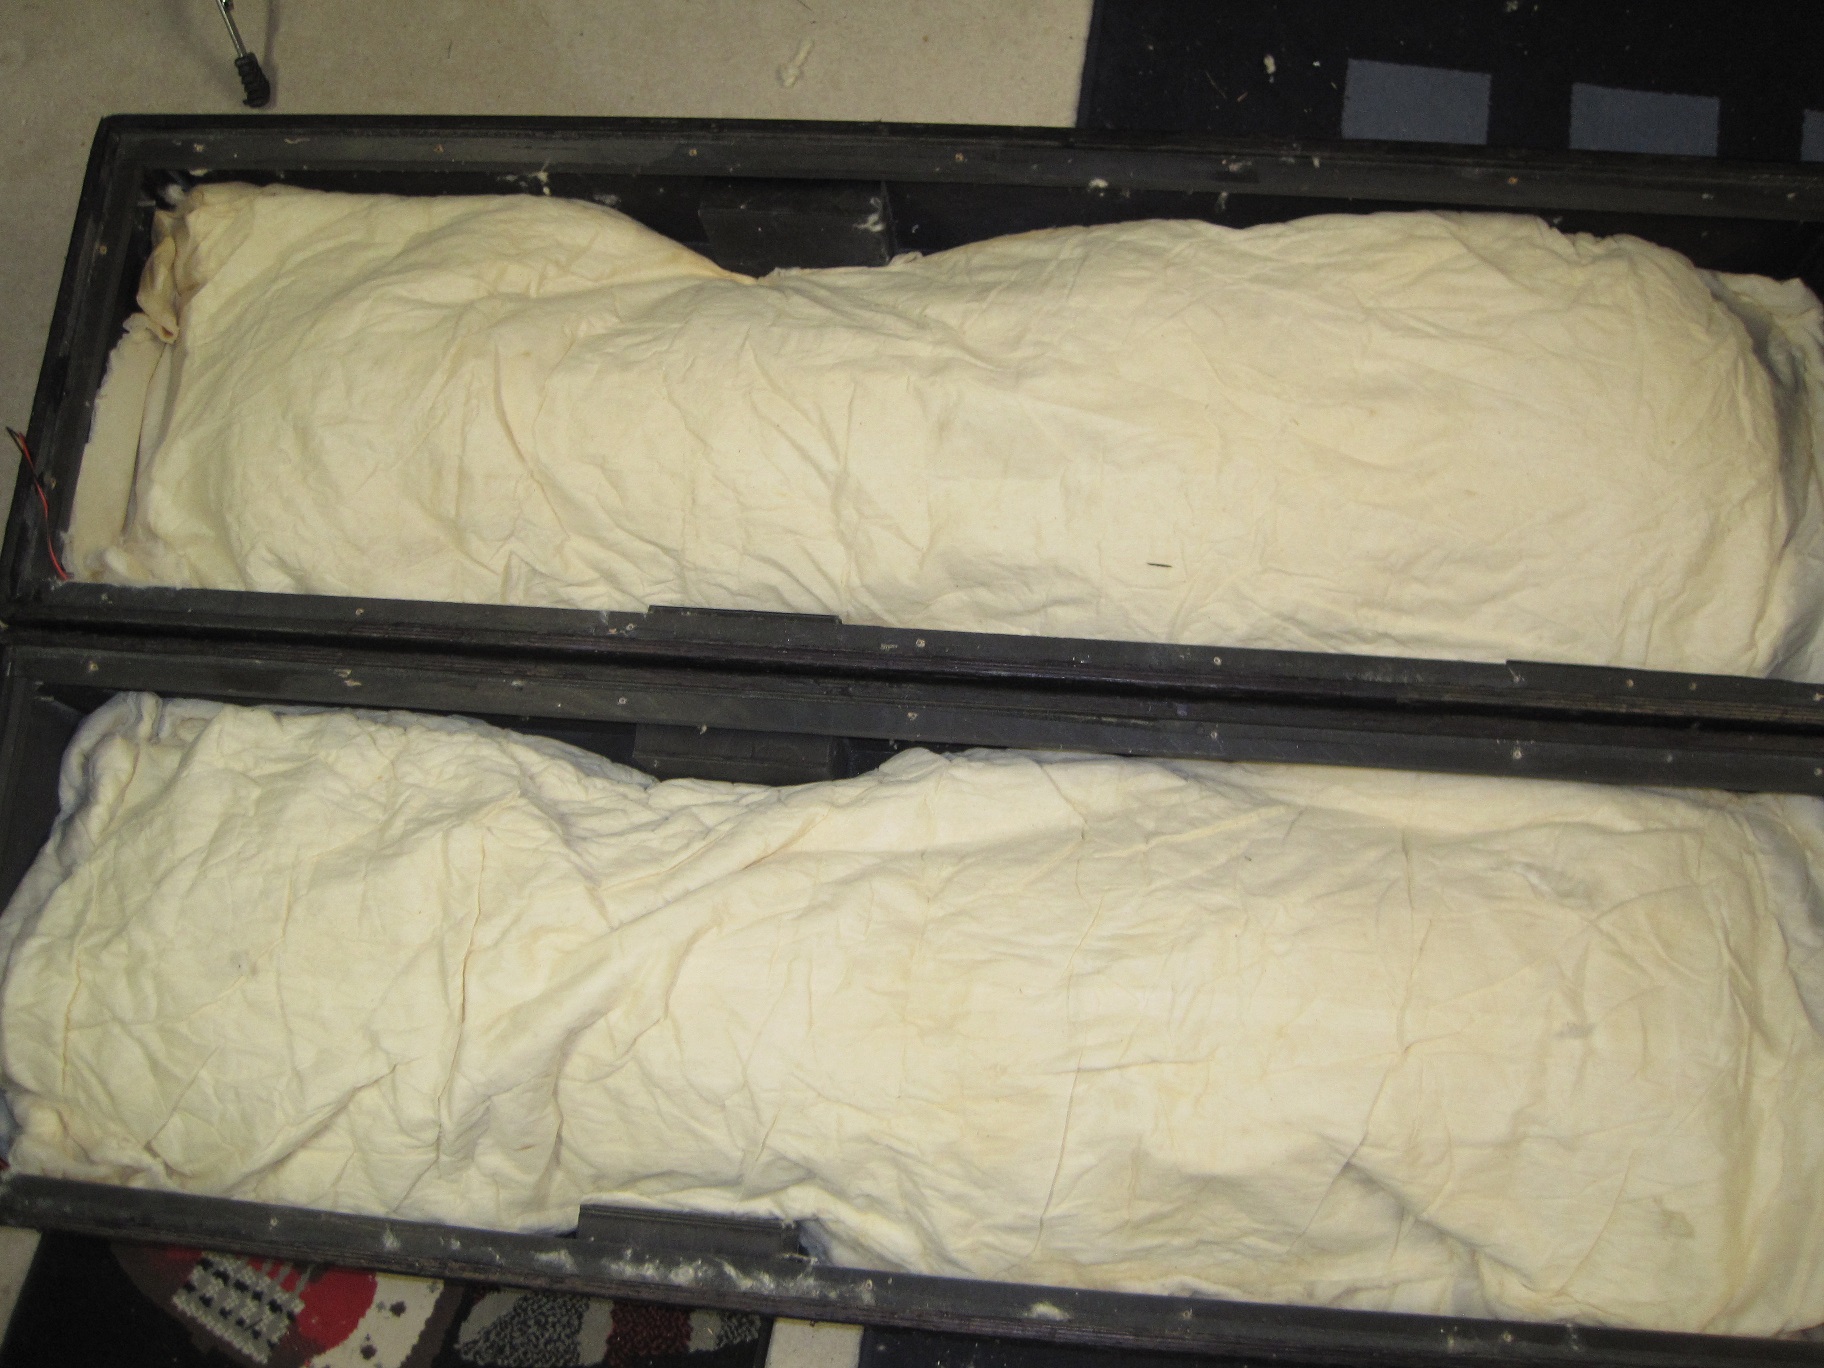
Final steps were to put the baffles back into the cabs, bolt the drivers back into place and repair some of the solder connections, replace the white acoustic wadding that filled the back of the cabs, and then to screw the back panels back on.
Job done. They look fairly good considering their age, and a quick test with an amplifier showed that all was working well.